Posted by Wayne Scraba
on September 10, 2021 at 9:19 am
Building and routing ignition wires seems to be a simple task—at least at first glance. And the job can be quick and dirty, but the results usually speak for themselves. Here, the wires usually look like some kind of mad science project gone bad. The end result is usually a combination that cooks wires, melts spark plug boots, and causes nothing but frustration.
The alternative though, is to take your time and plan the assembly and route path for each and every wire. Sure, it takes more time, but it looks better, it works better, and makes engine maintenance a bunch easier.
What follows are eighteen tips that will help you weave your way through the wire maze. If you’re careful, you’ll end up with a clean package that flat works. Check out the wire works tips. There’s something here for everyone.
***
18 Ignition Wire Assembly & Routing Tips
***
Tip 1
When assembling and routing a new set of ignition wires for the first time, don’t take a helter-skelter approach. It’s a good idea to either follow through the firing order or go through one bank of the engine at a time (my preference). (Image/Wayne Scraba)
***
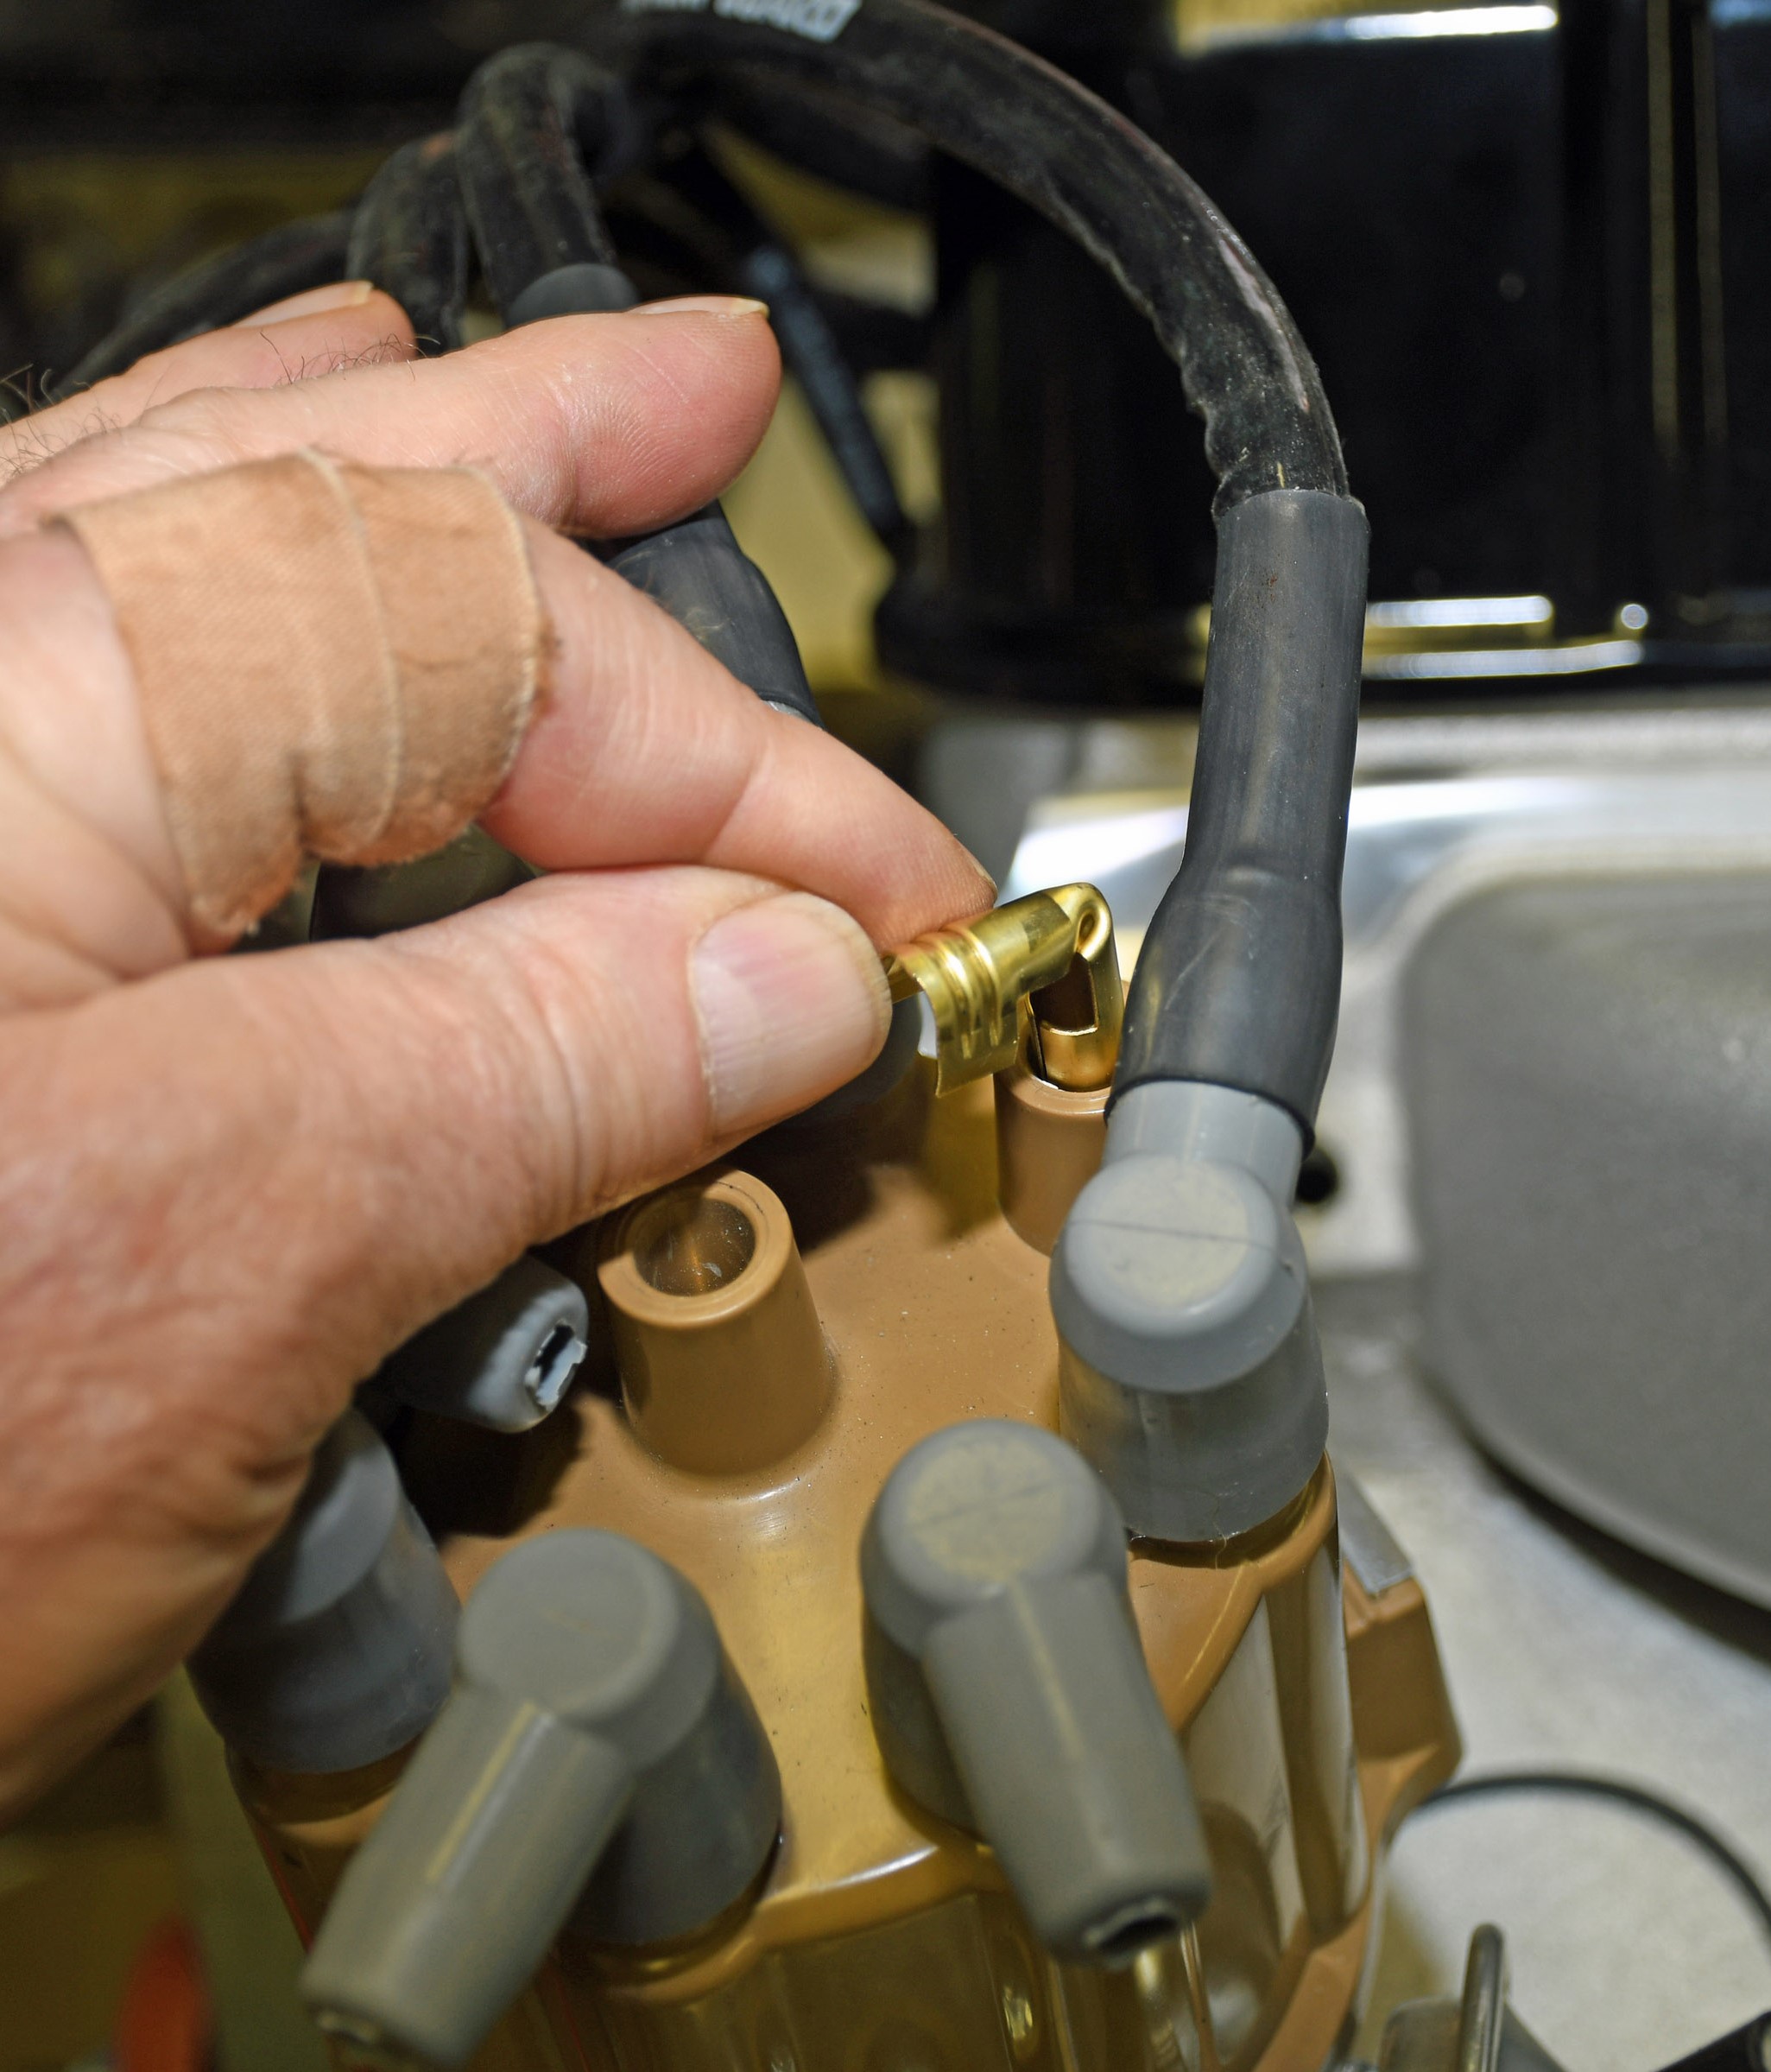
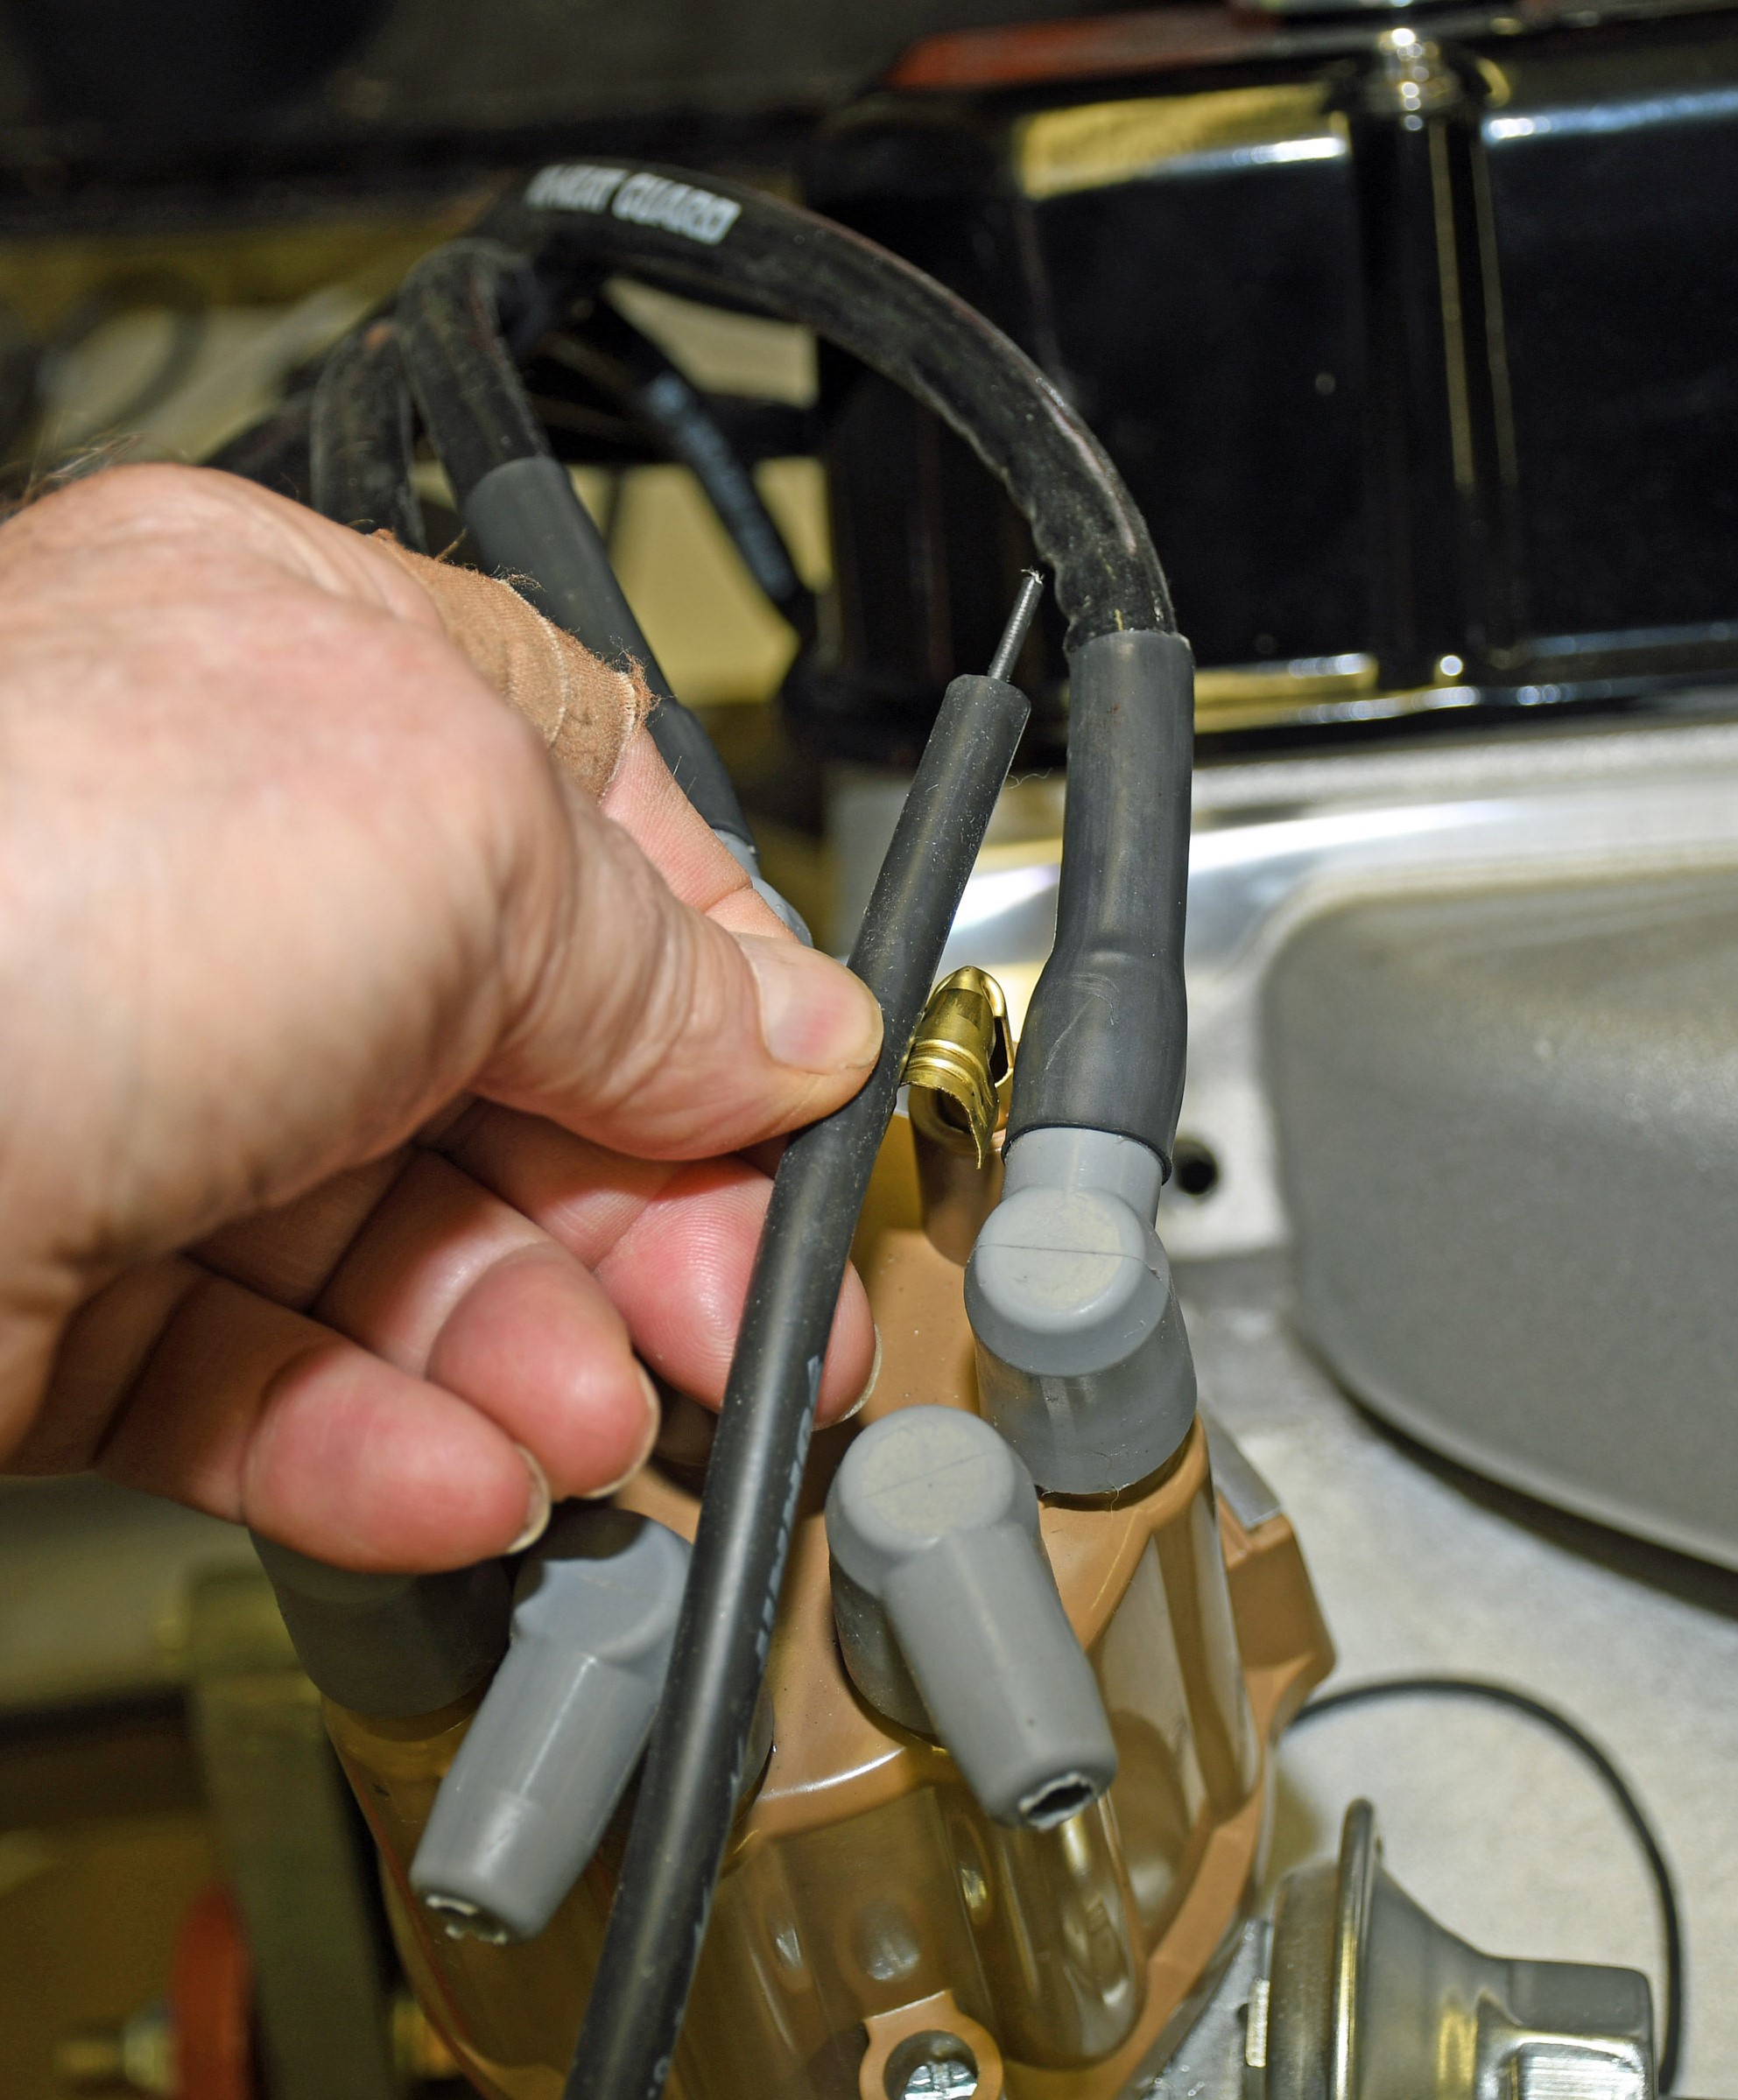
Tip 2
If you install a brass contact terminal in the cap, then it’s easy to approximate the length of the wire you need for a specific cylinder. (Image/Wayne Scraba) (Image/Wayne Scraba)
***
Tip 3
Try starting with the shortest wire in the ignition wire kit you can get away with and then continue to use the next shortest (and so on). If you follow this plan, there’s a pretty good chance you’ll have a decent length wire left over as a spare. (Image/Wayne Scraba)
***
Tip 4
When I started this wiring job, I came up with this routing arrangement. (Image/Wayne Scraba)It was pretty clear that wasn’t go to work. The wires were re-routed like so. (Image/Wayne Scraba)This tightened up the jungle at the cap, and still made it completely workable. (Image/Wayne Scraba)
***
Tip 5
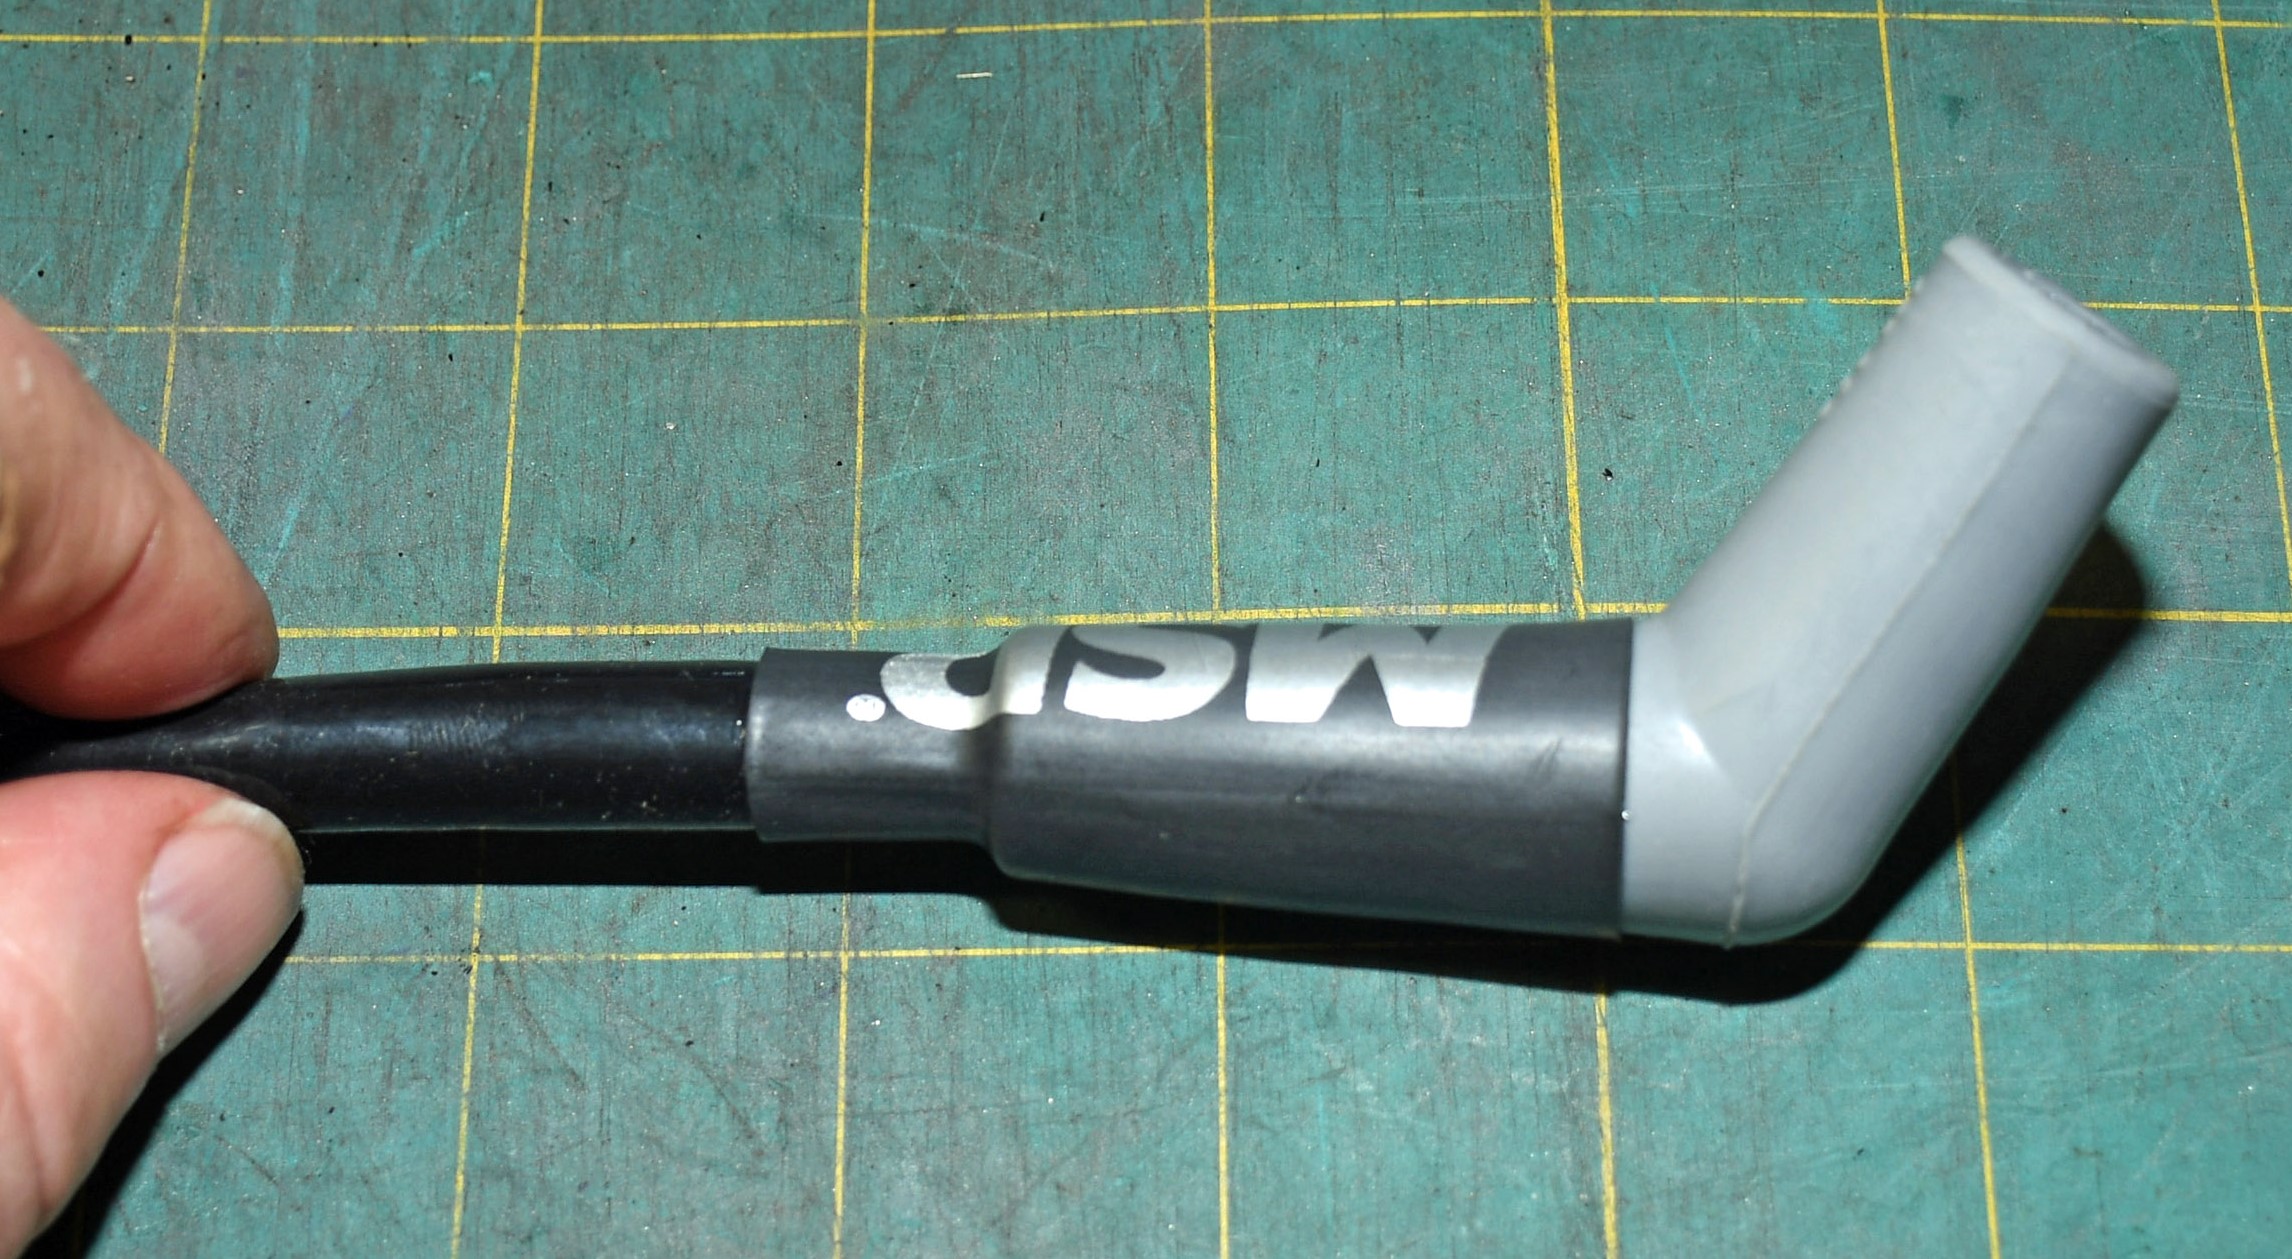
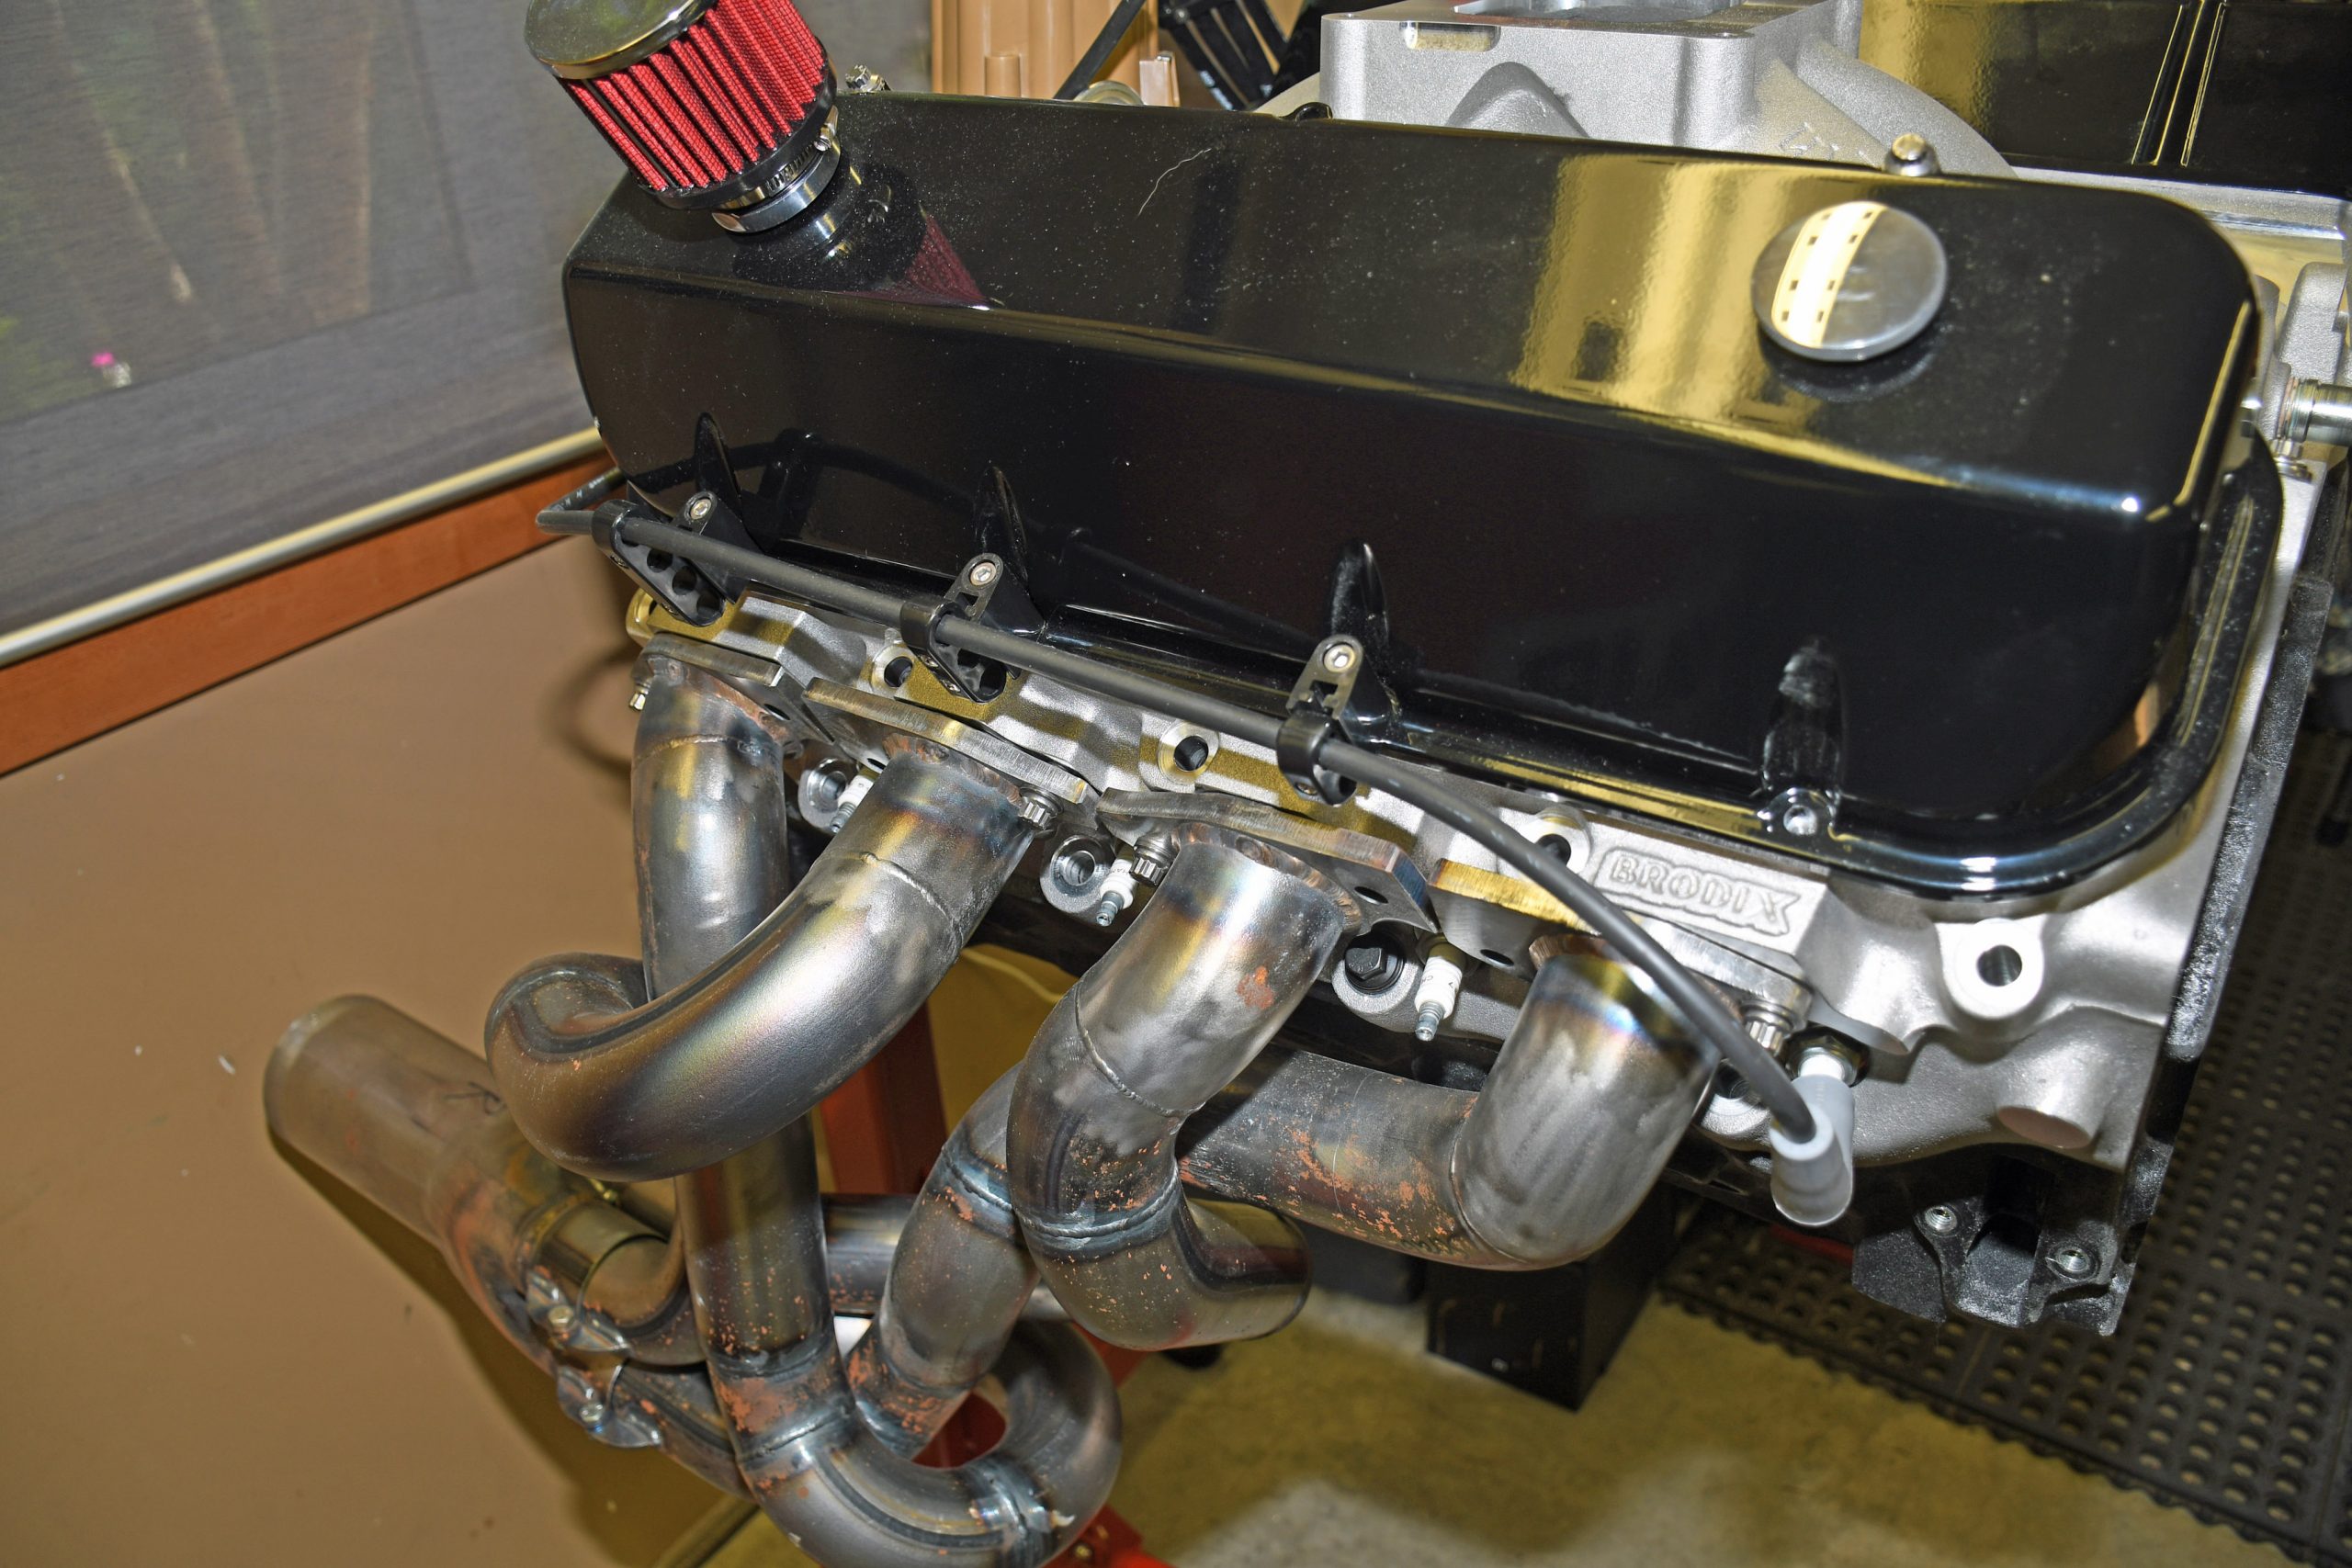
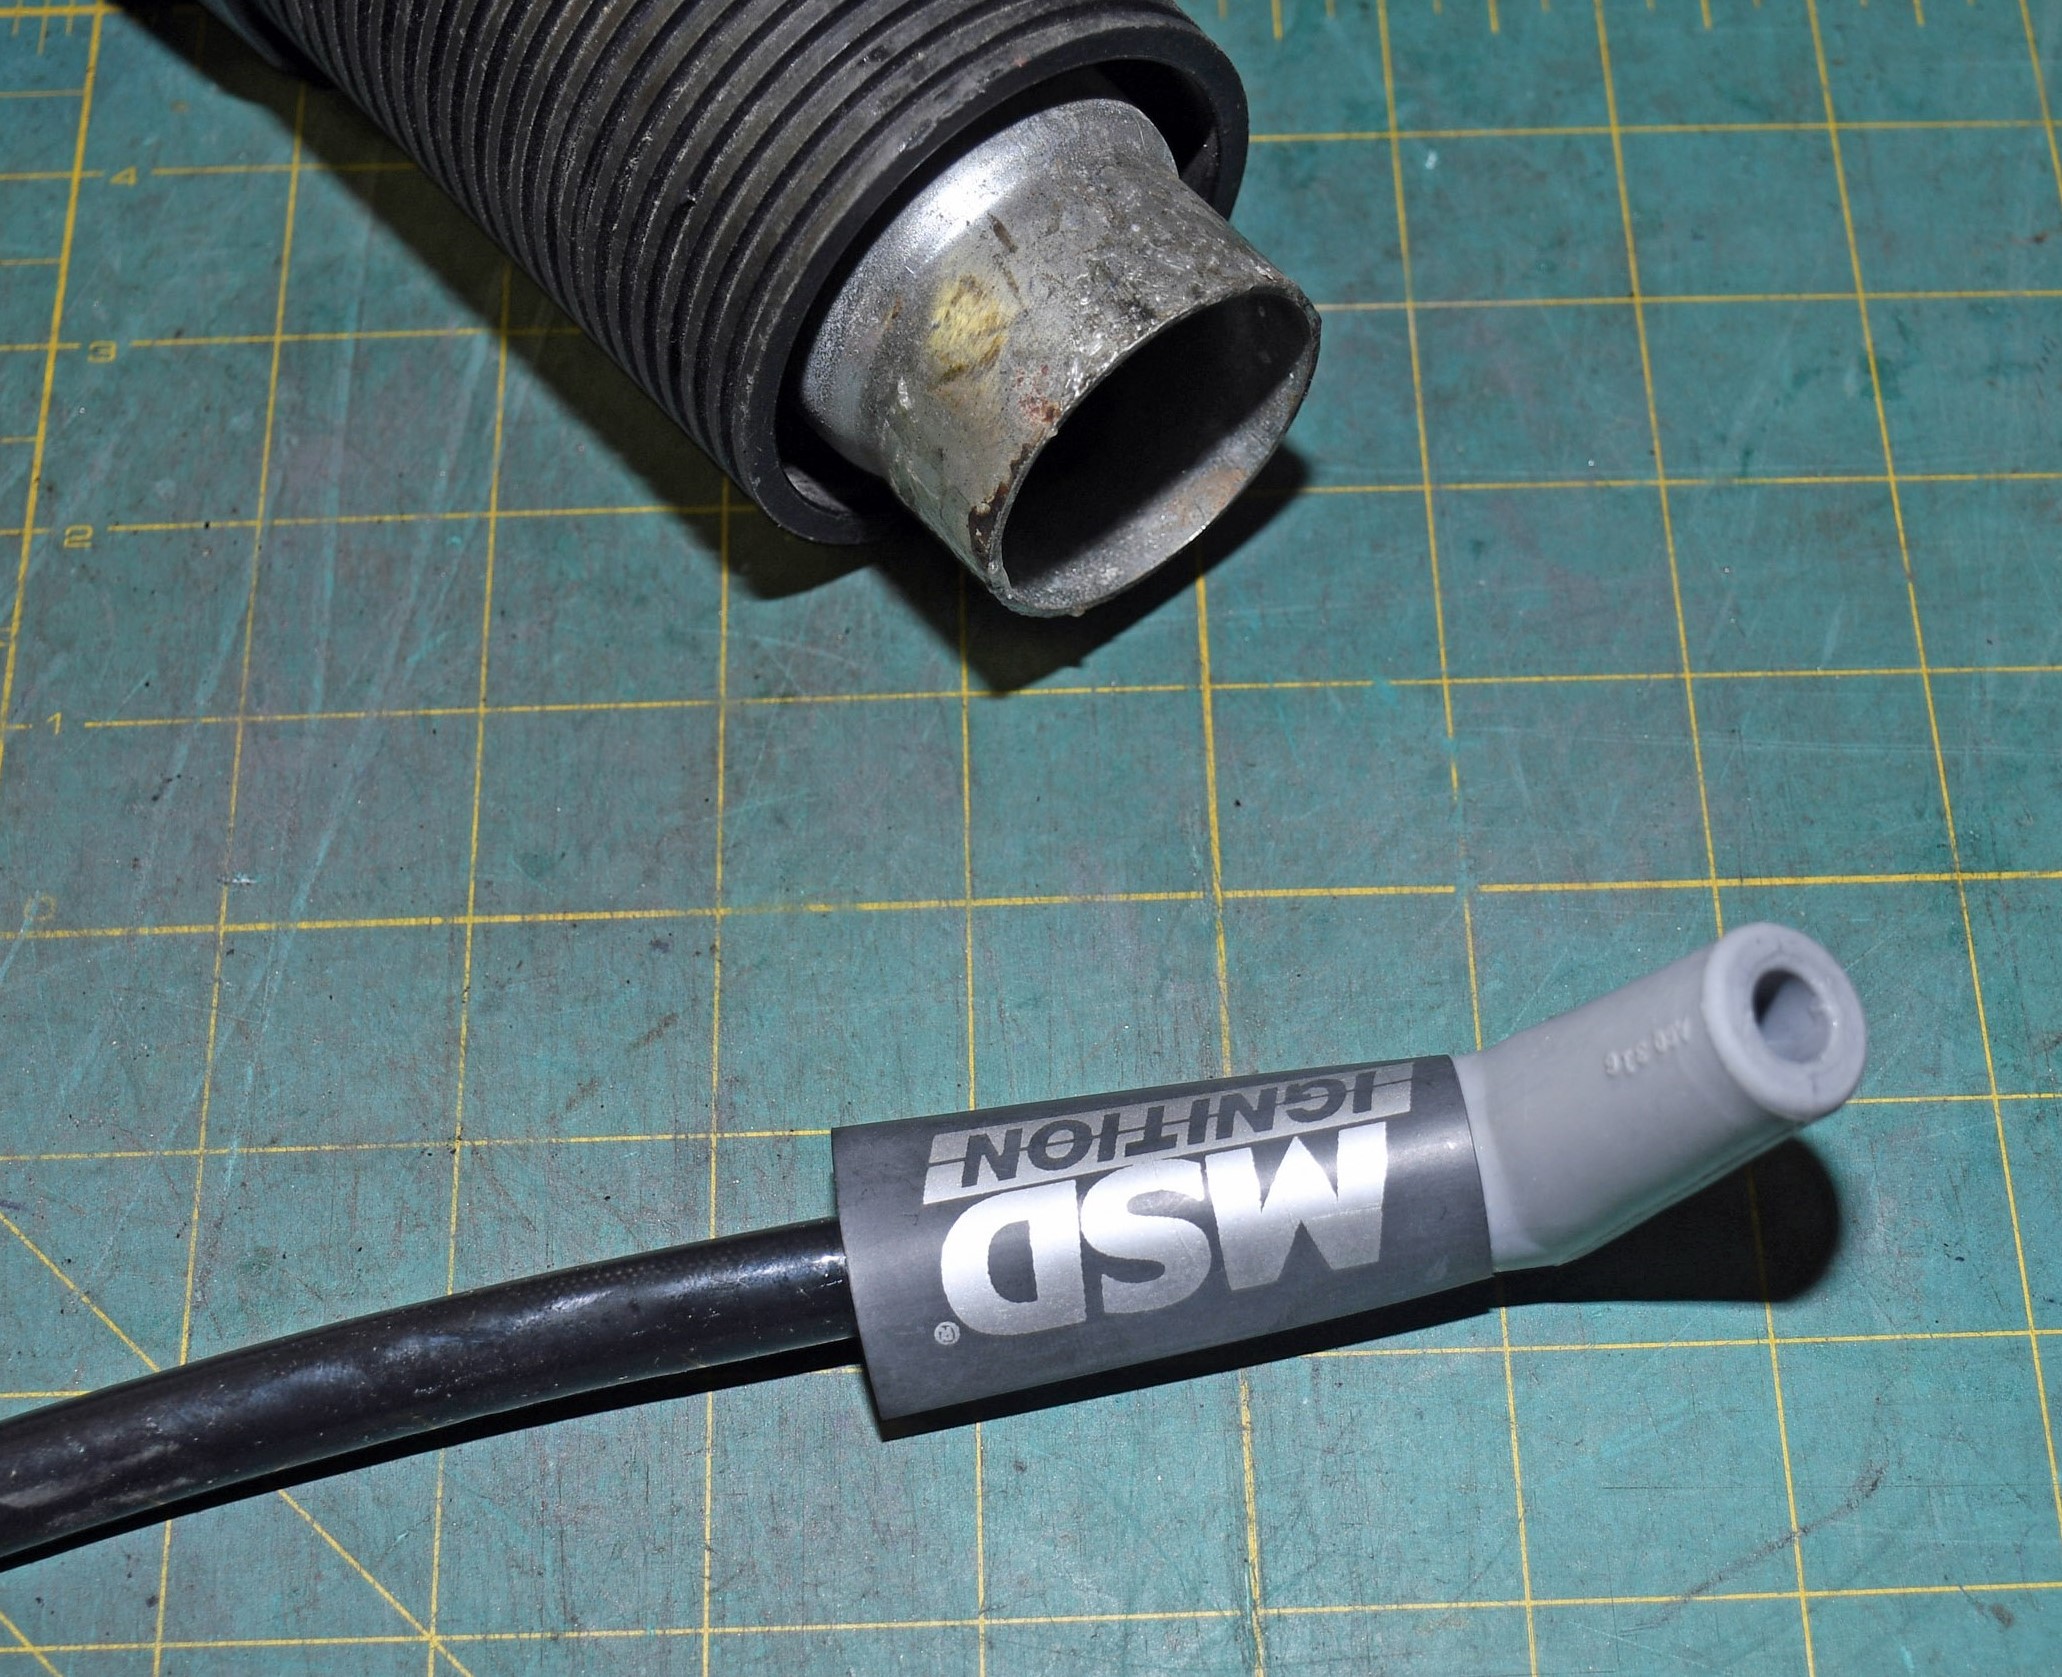
If a car is modified (for example, headers), then you might not be able to use the recommended wire set. The reason is, headers of all sorts often have pipes in different locations or with different diameters. Case-in-point is the writer’s big block Chevy. The most common wire set recommended has straight plug terminals and boots. But in this case, seven wires work better with 135-degree boots and terminals. (Image/Wayne Scraba)
***
Tip 6
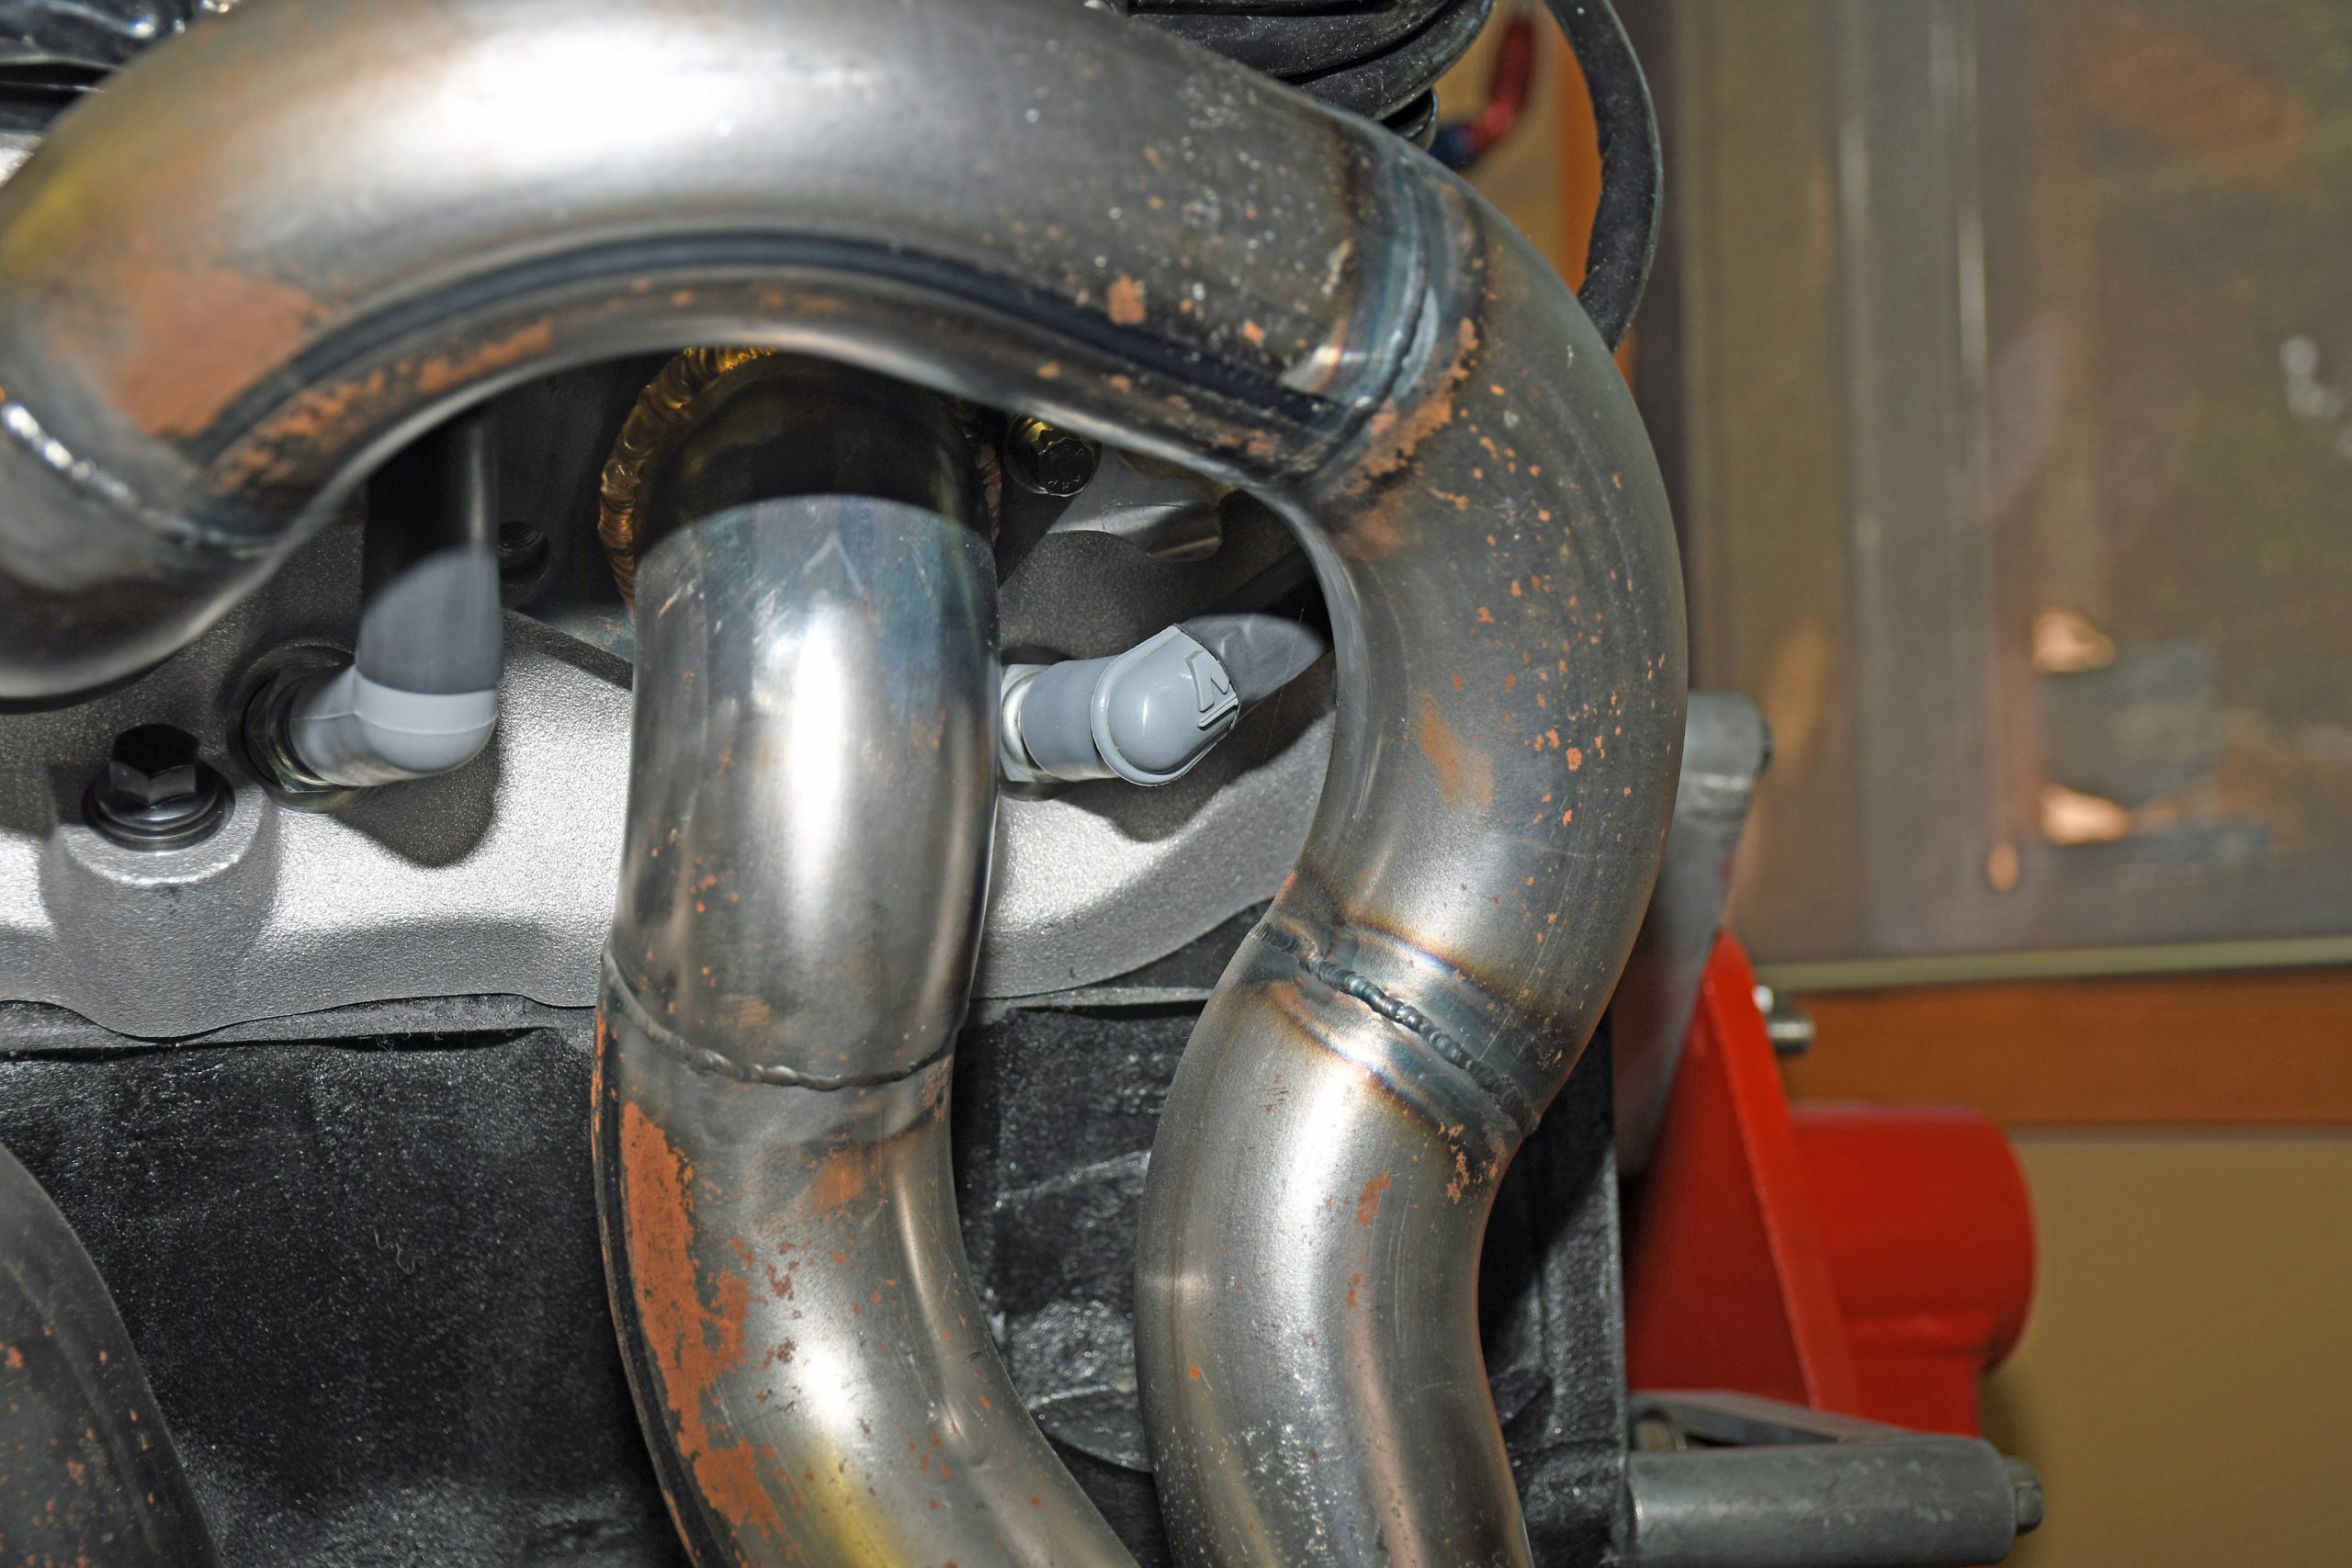
The lone wire that didn’t work with a 135-degree boot was cylinder number 7. Here, I had to use a 90-degree terminal and boot. With different combinations, you might discover more than one terminal will need to differ from the rest of the spark plug wire “pack”. Basically, it’s ok to mix and match. (Image/Wayne Scraba)
***
Tip 7
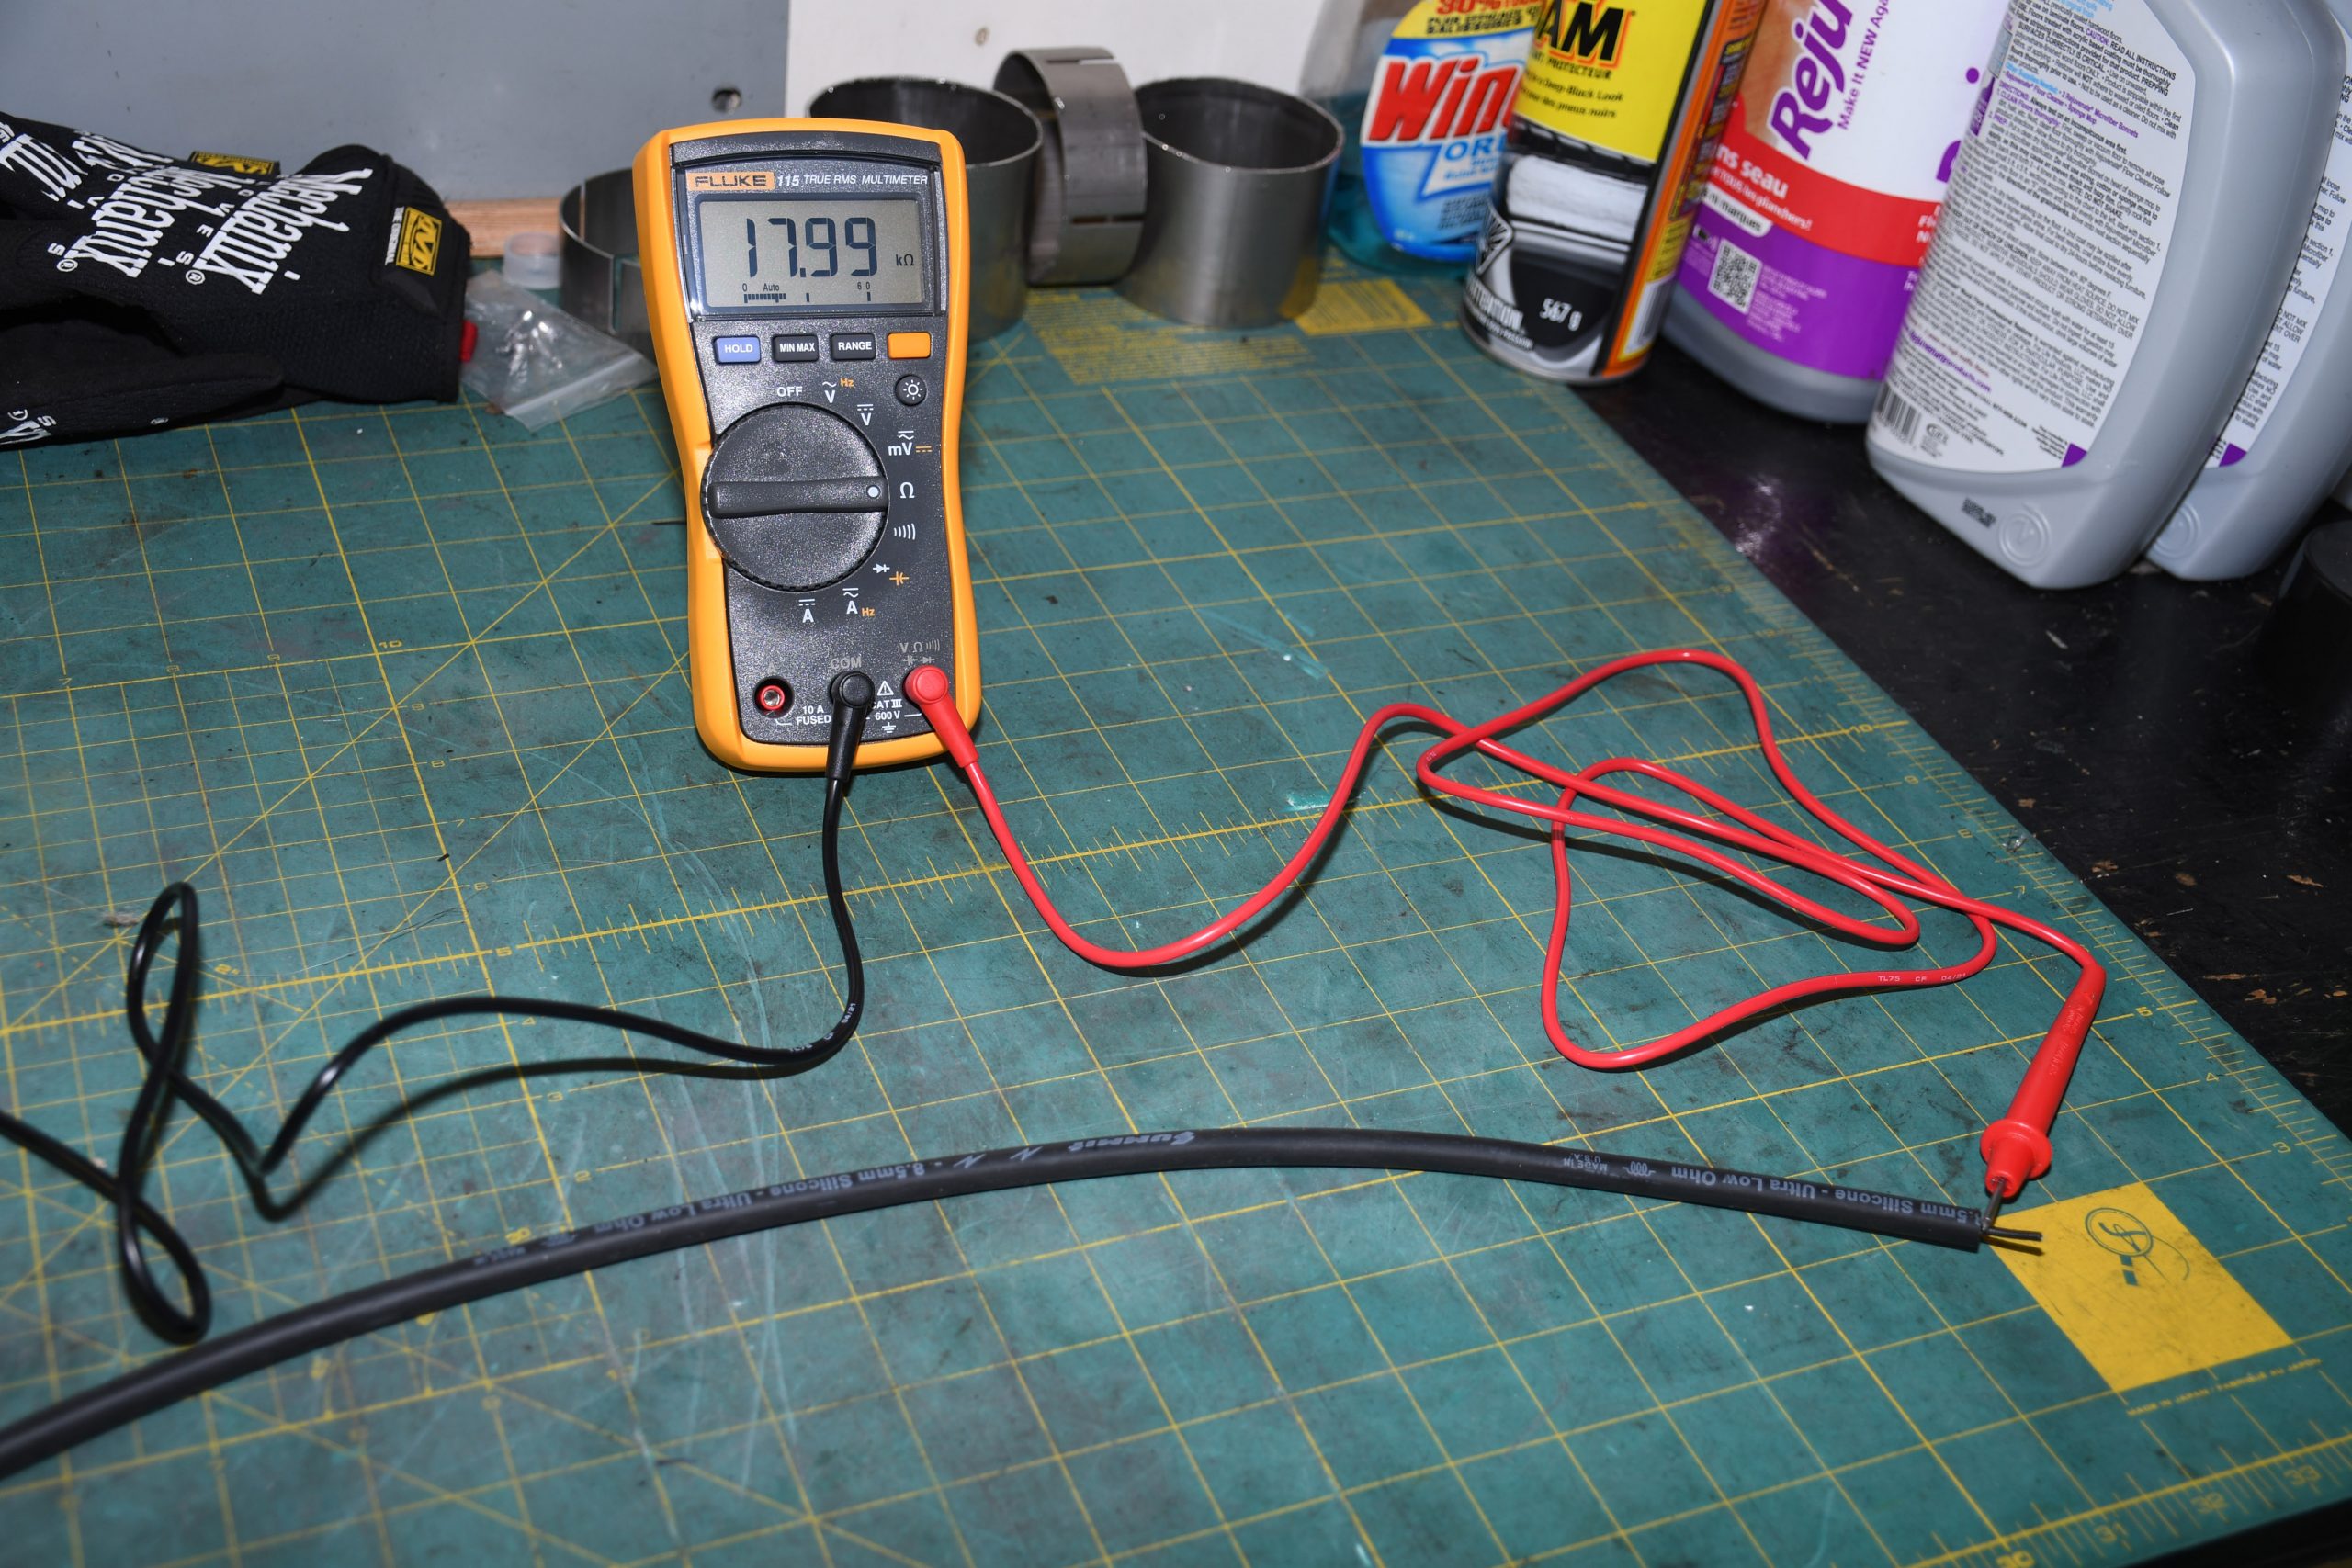
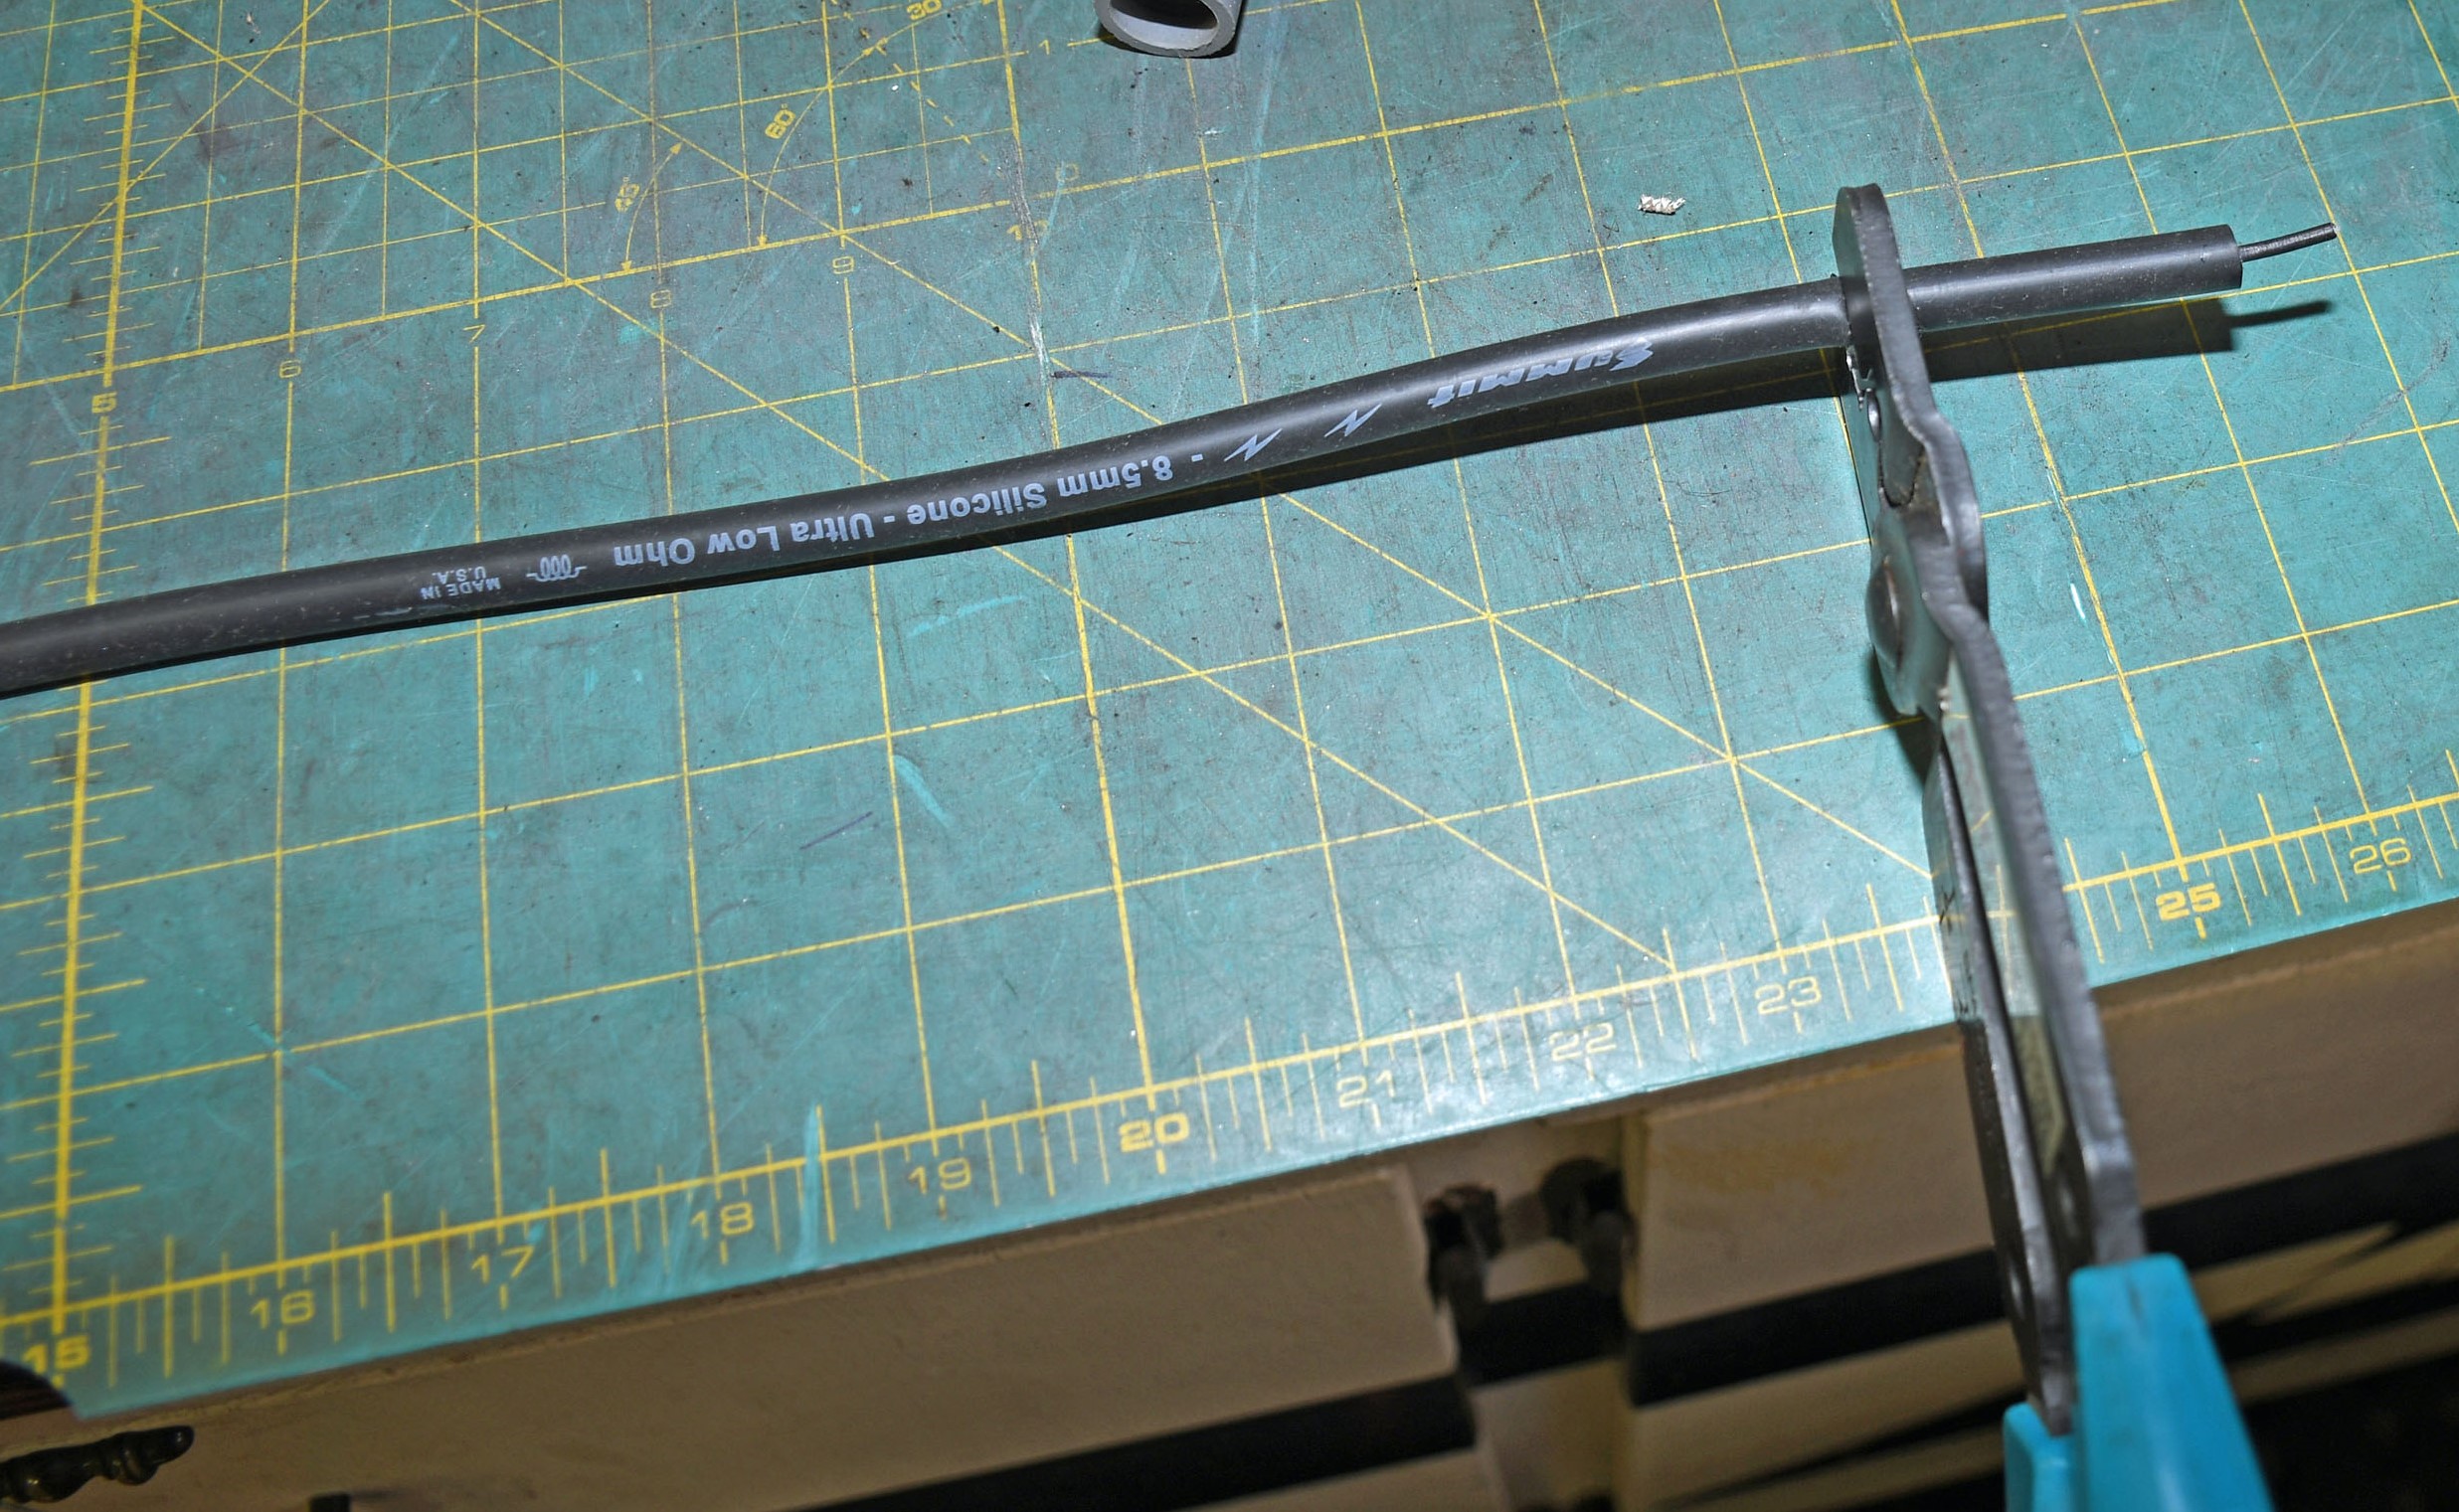
When assembling wires, it’s a good idea to test them for continuity before, during, and after the build. Here, we’re going through a set of Summit Racing 8.5mm “Ultra Low Ohm” wires with a multimeter. They test wonderfully by the way—and are the writer’s new “go-to” ignition wire! (Image/Wayne Scraba)
***
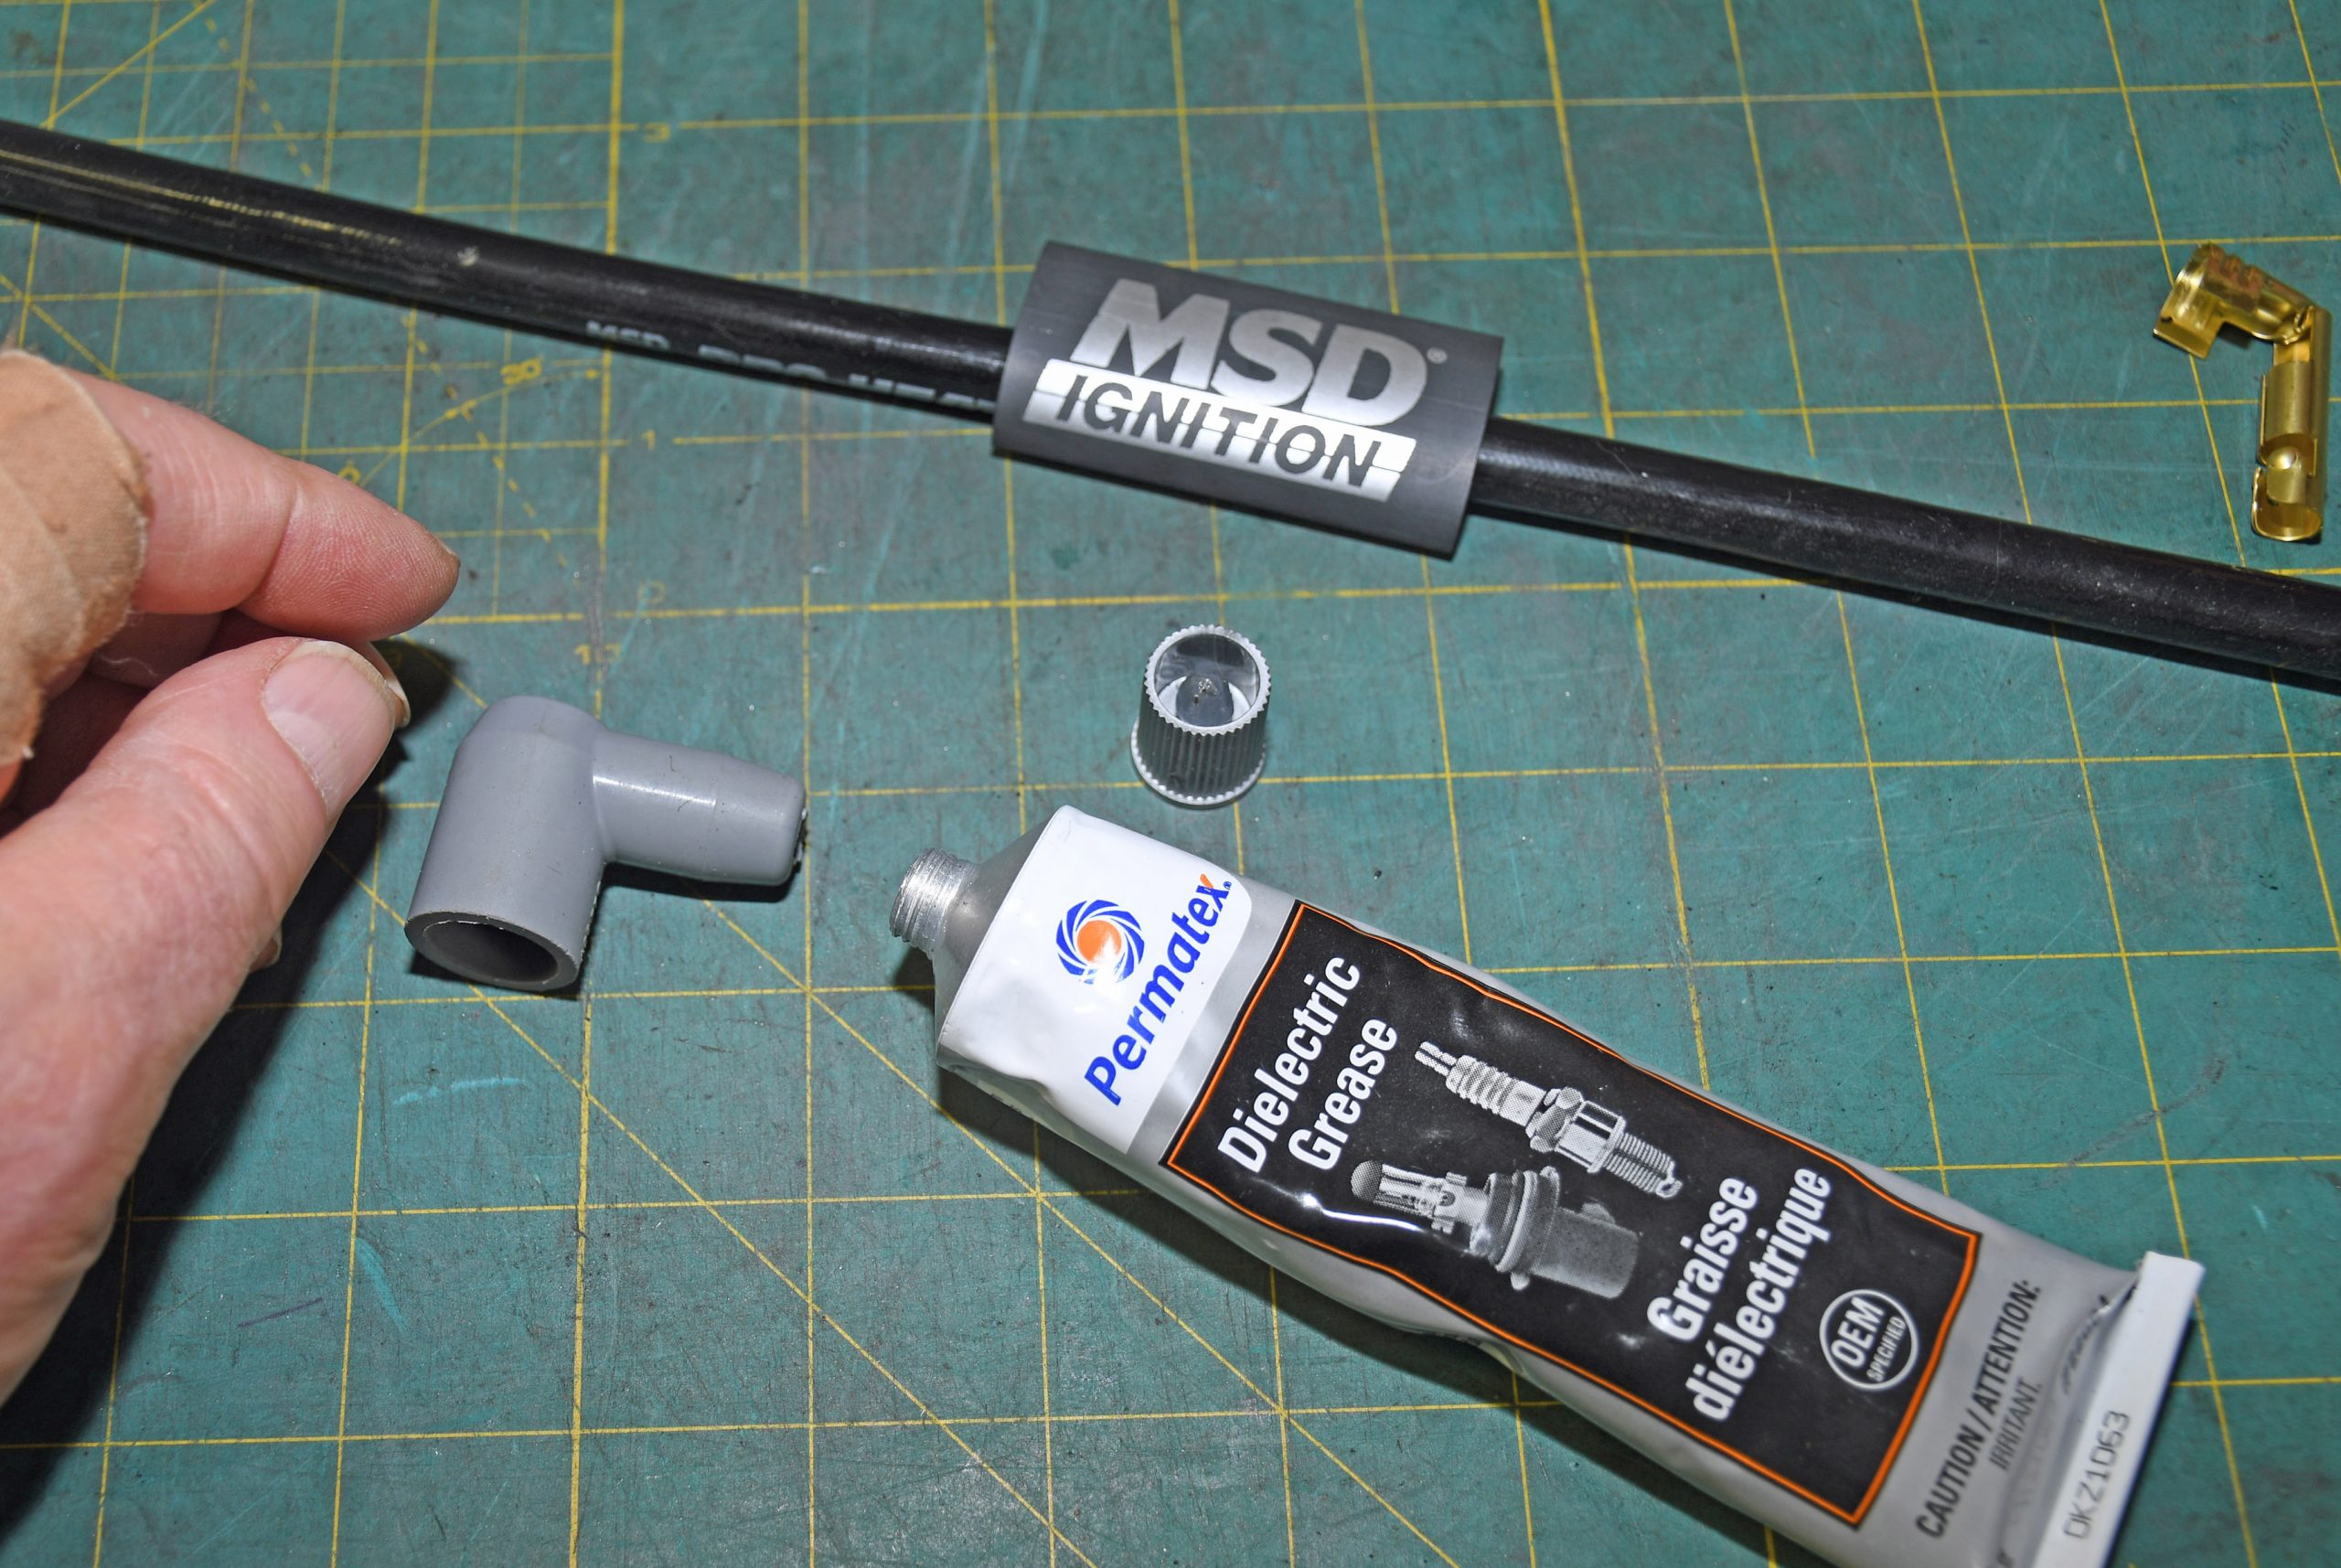
Tip 8
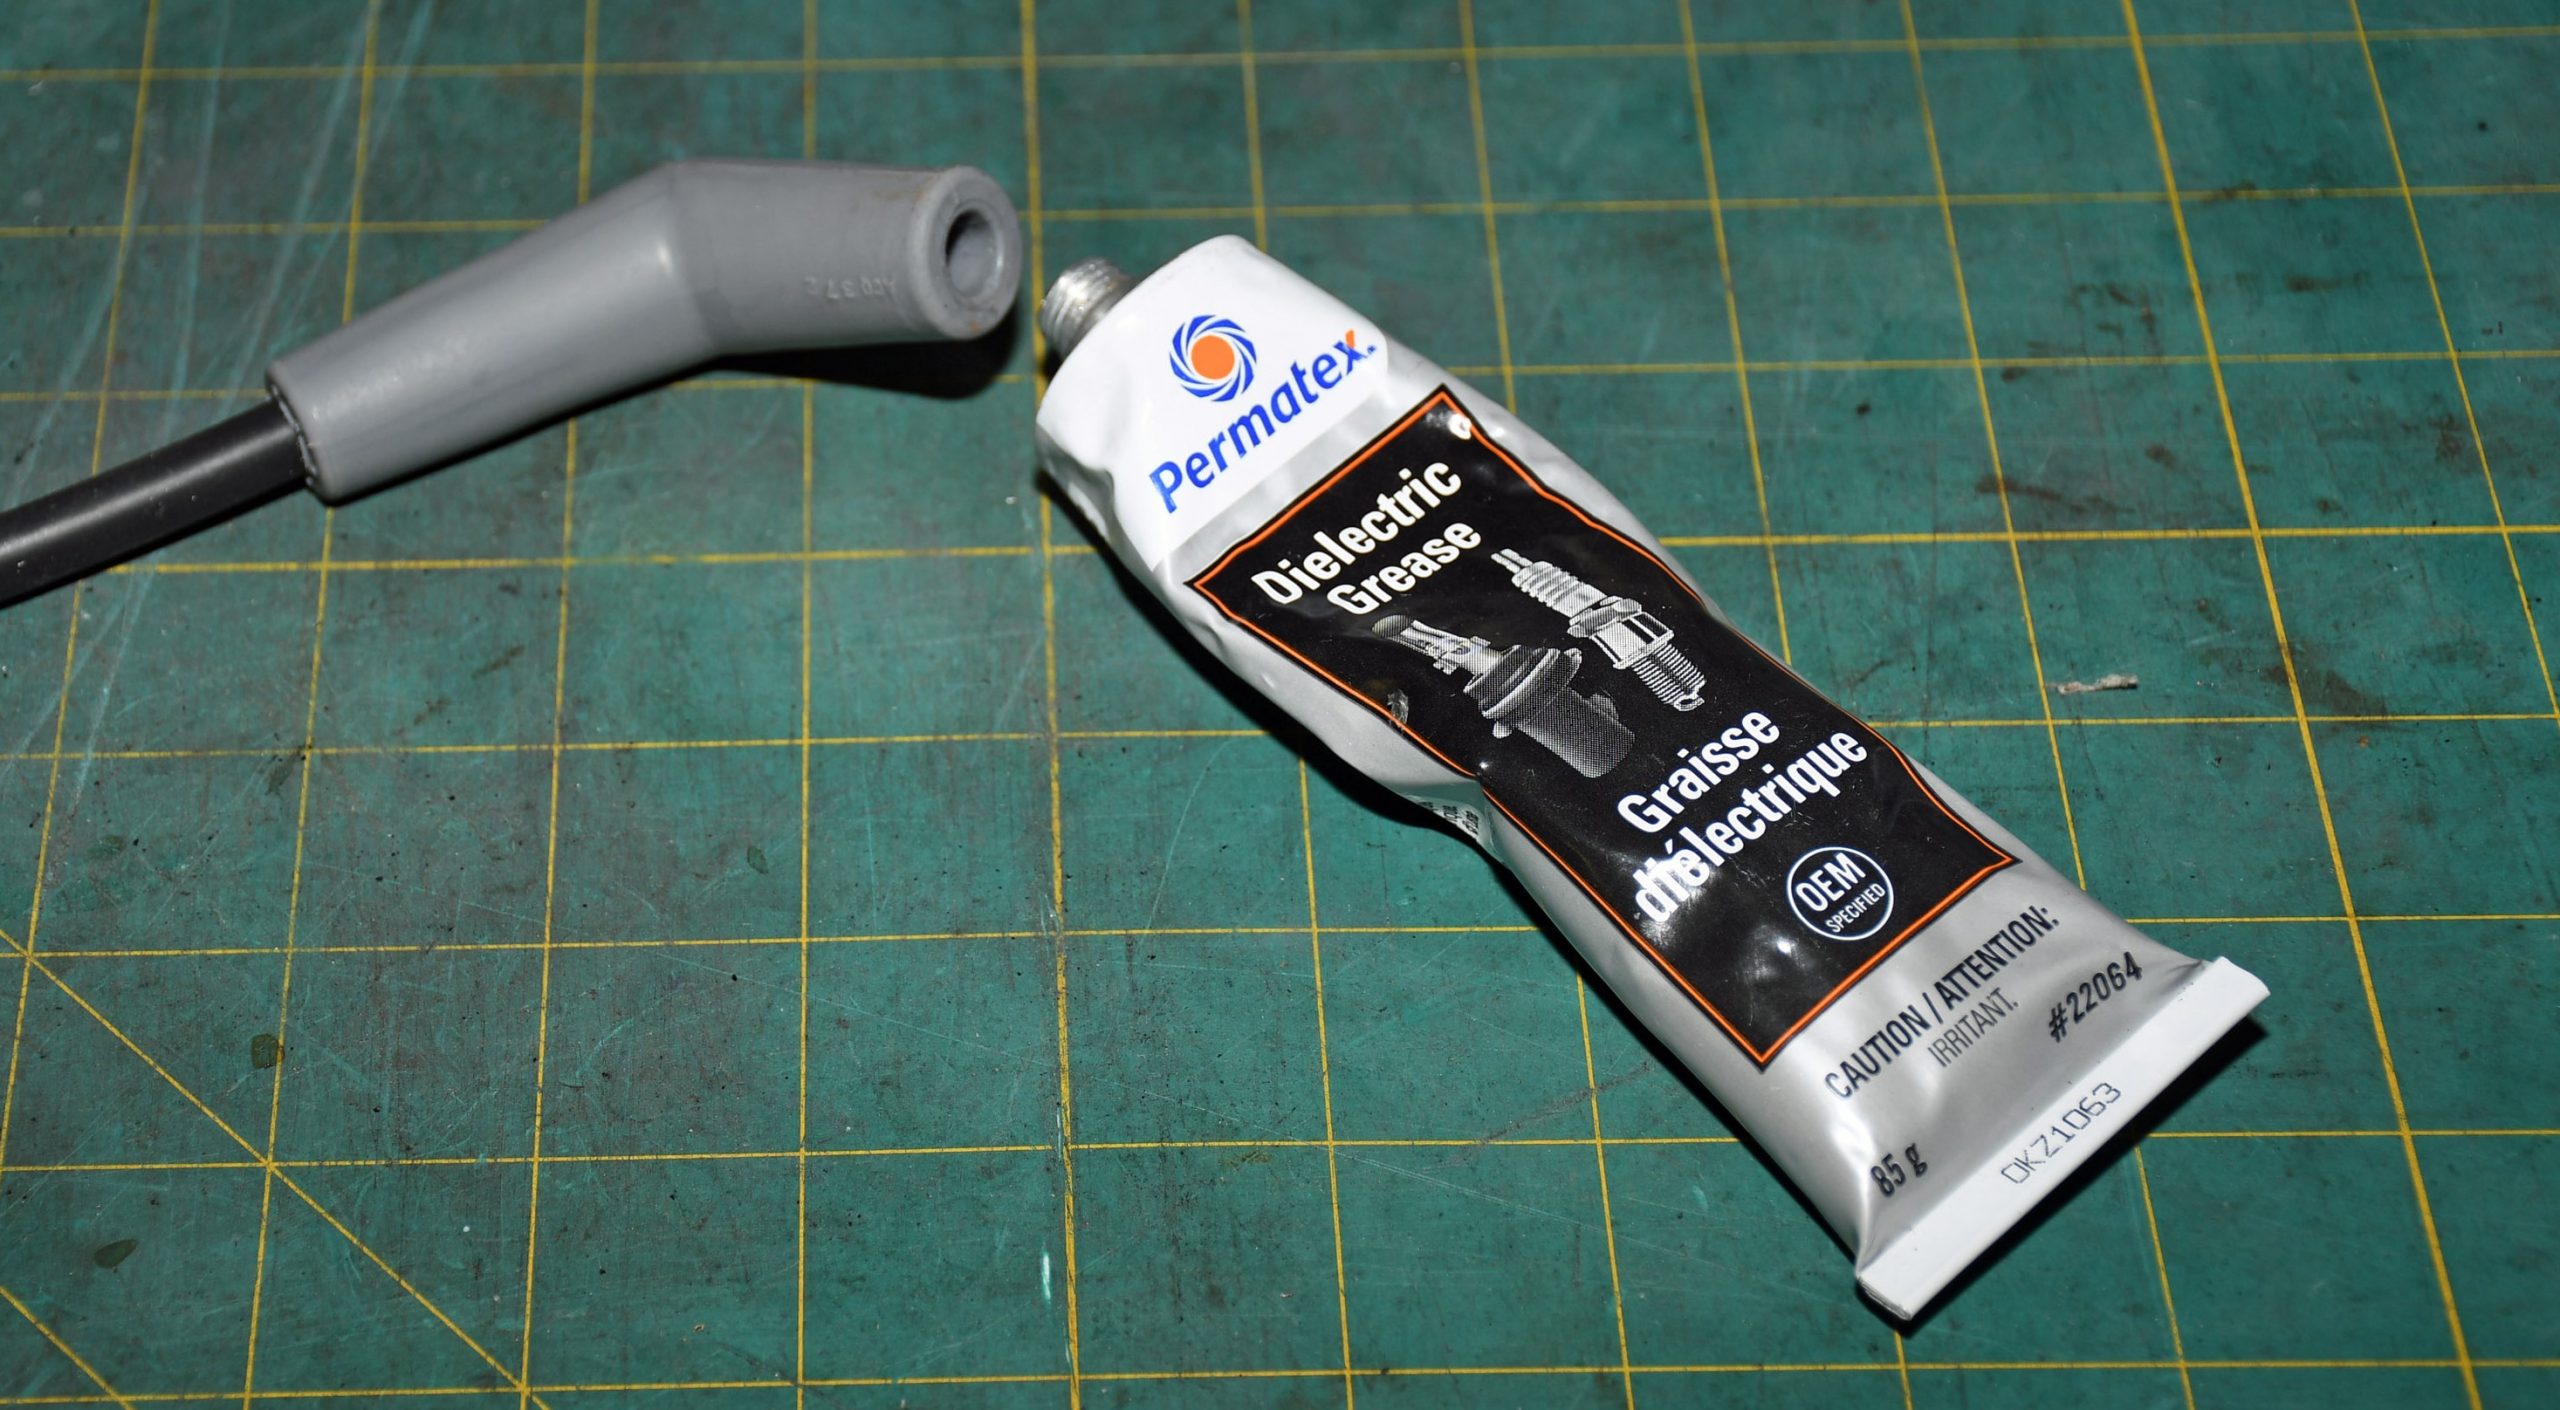
When installing the distributor boots over the wires during assembly, you’ll have to pull the boot back quite a ways over the wire in order to cleanly install the terminal. (Image/Wayne Scraba)You can fight with this for a long time, but the easiest solution is to use a little bit of dielectric grease in the boot. It goes a long way toward distributor boot installation. (Image/Wayne Scraba)
***
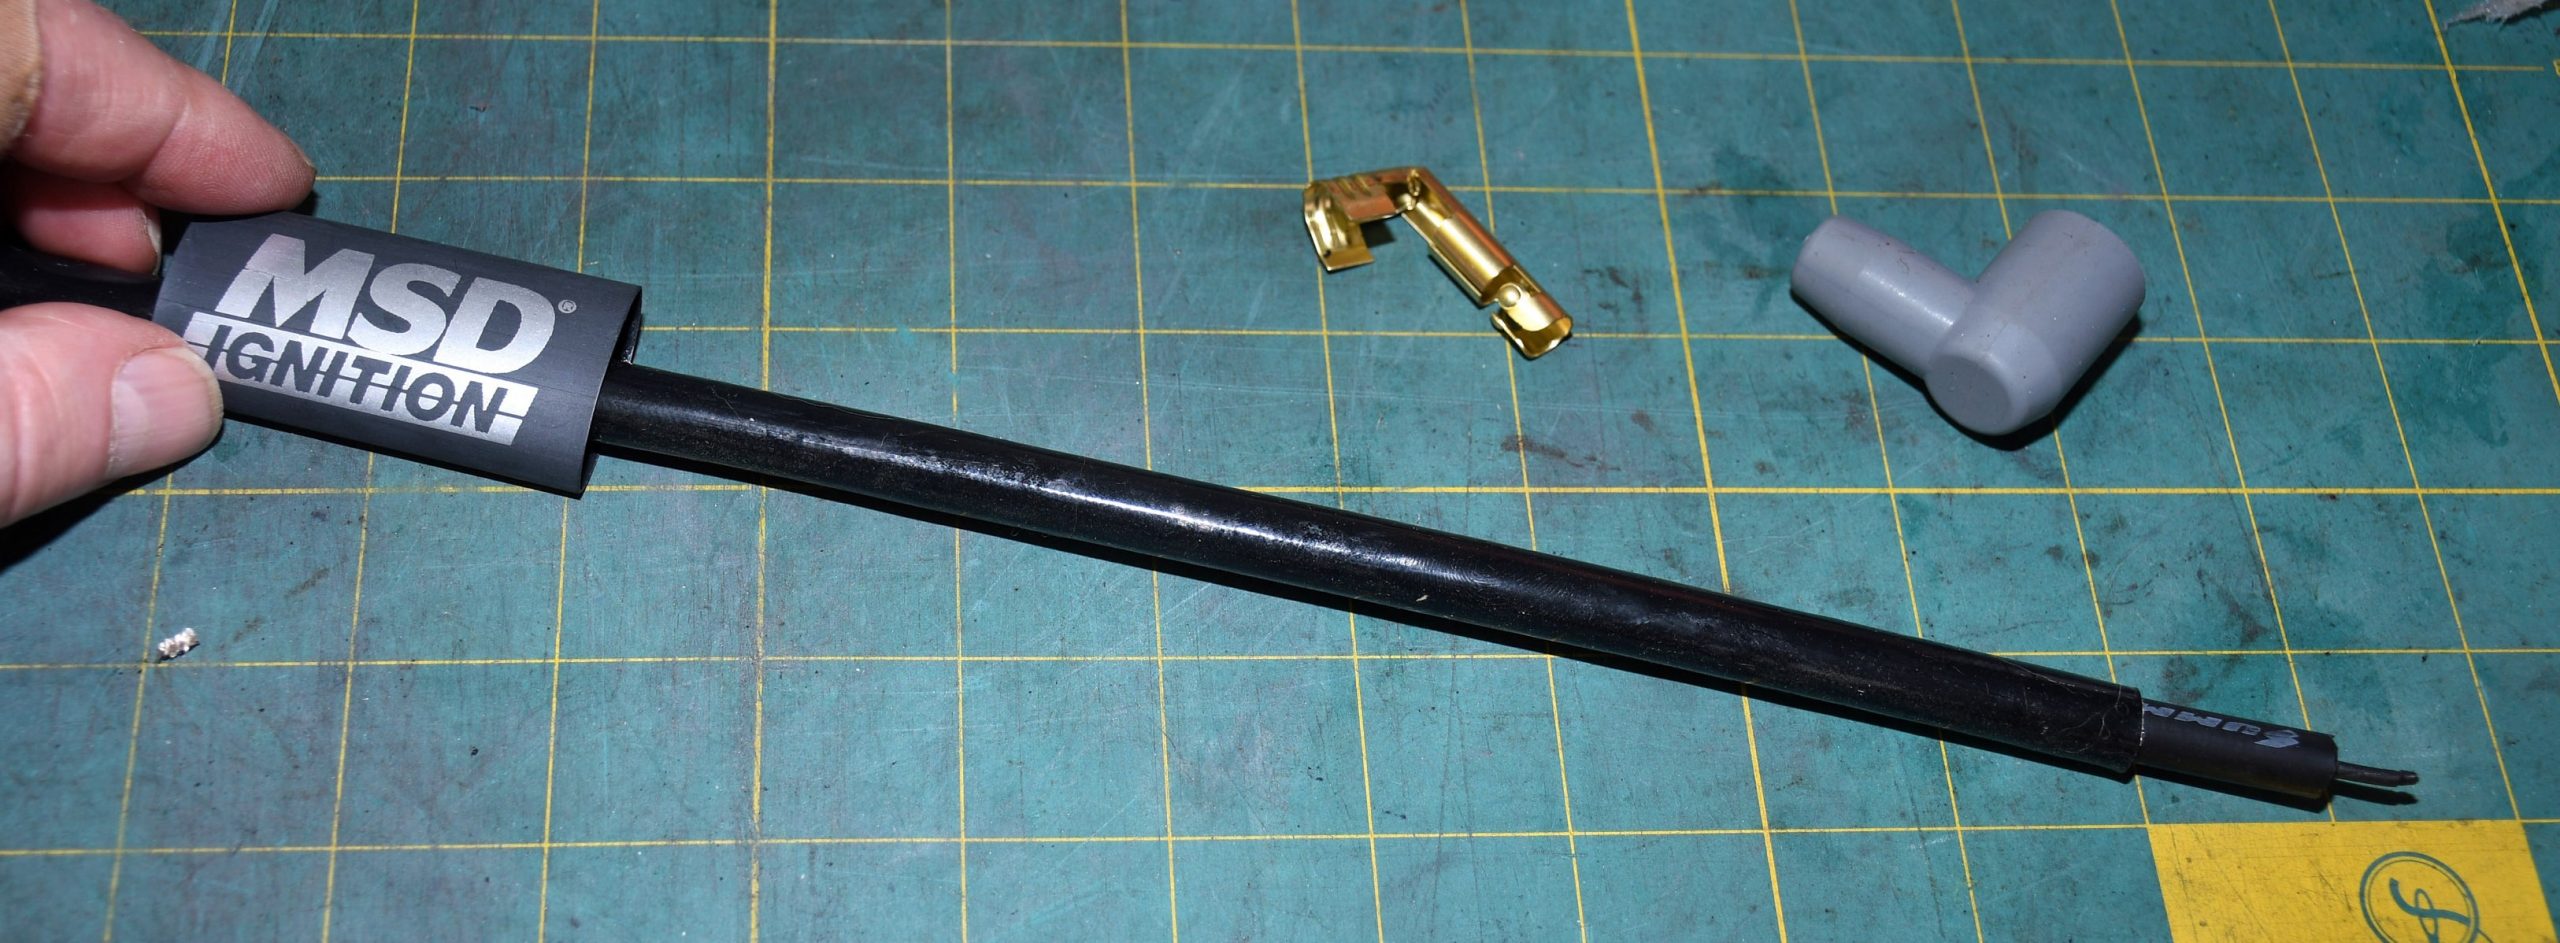
Tip 9
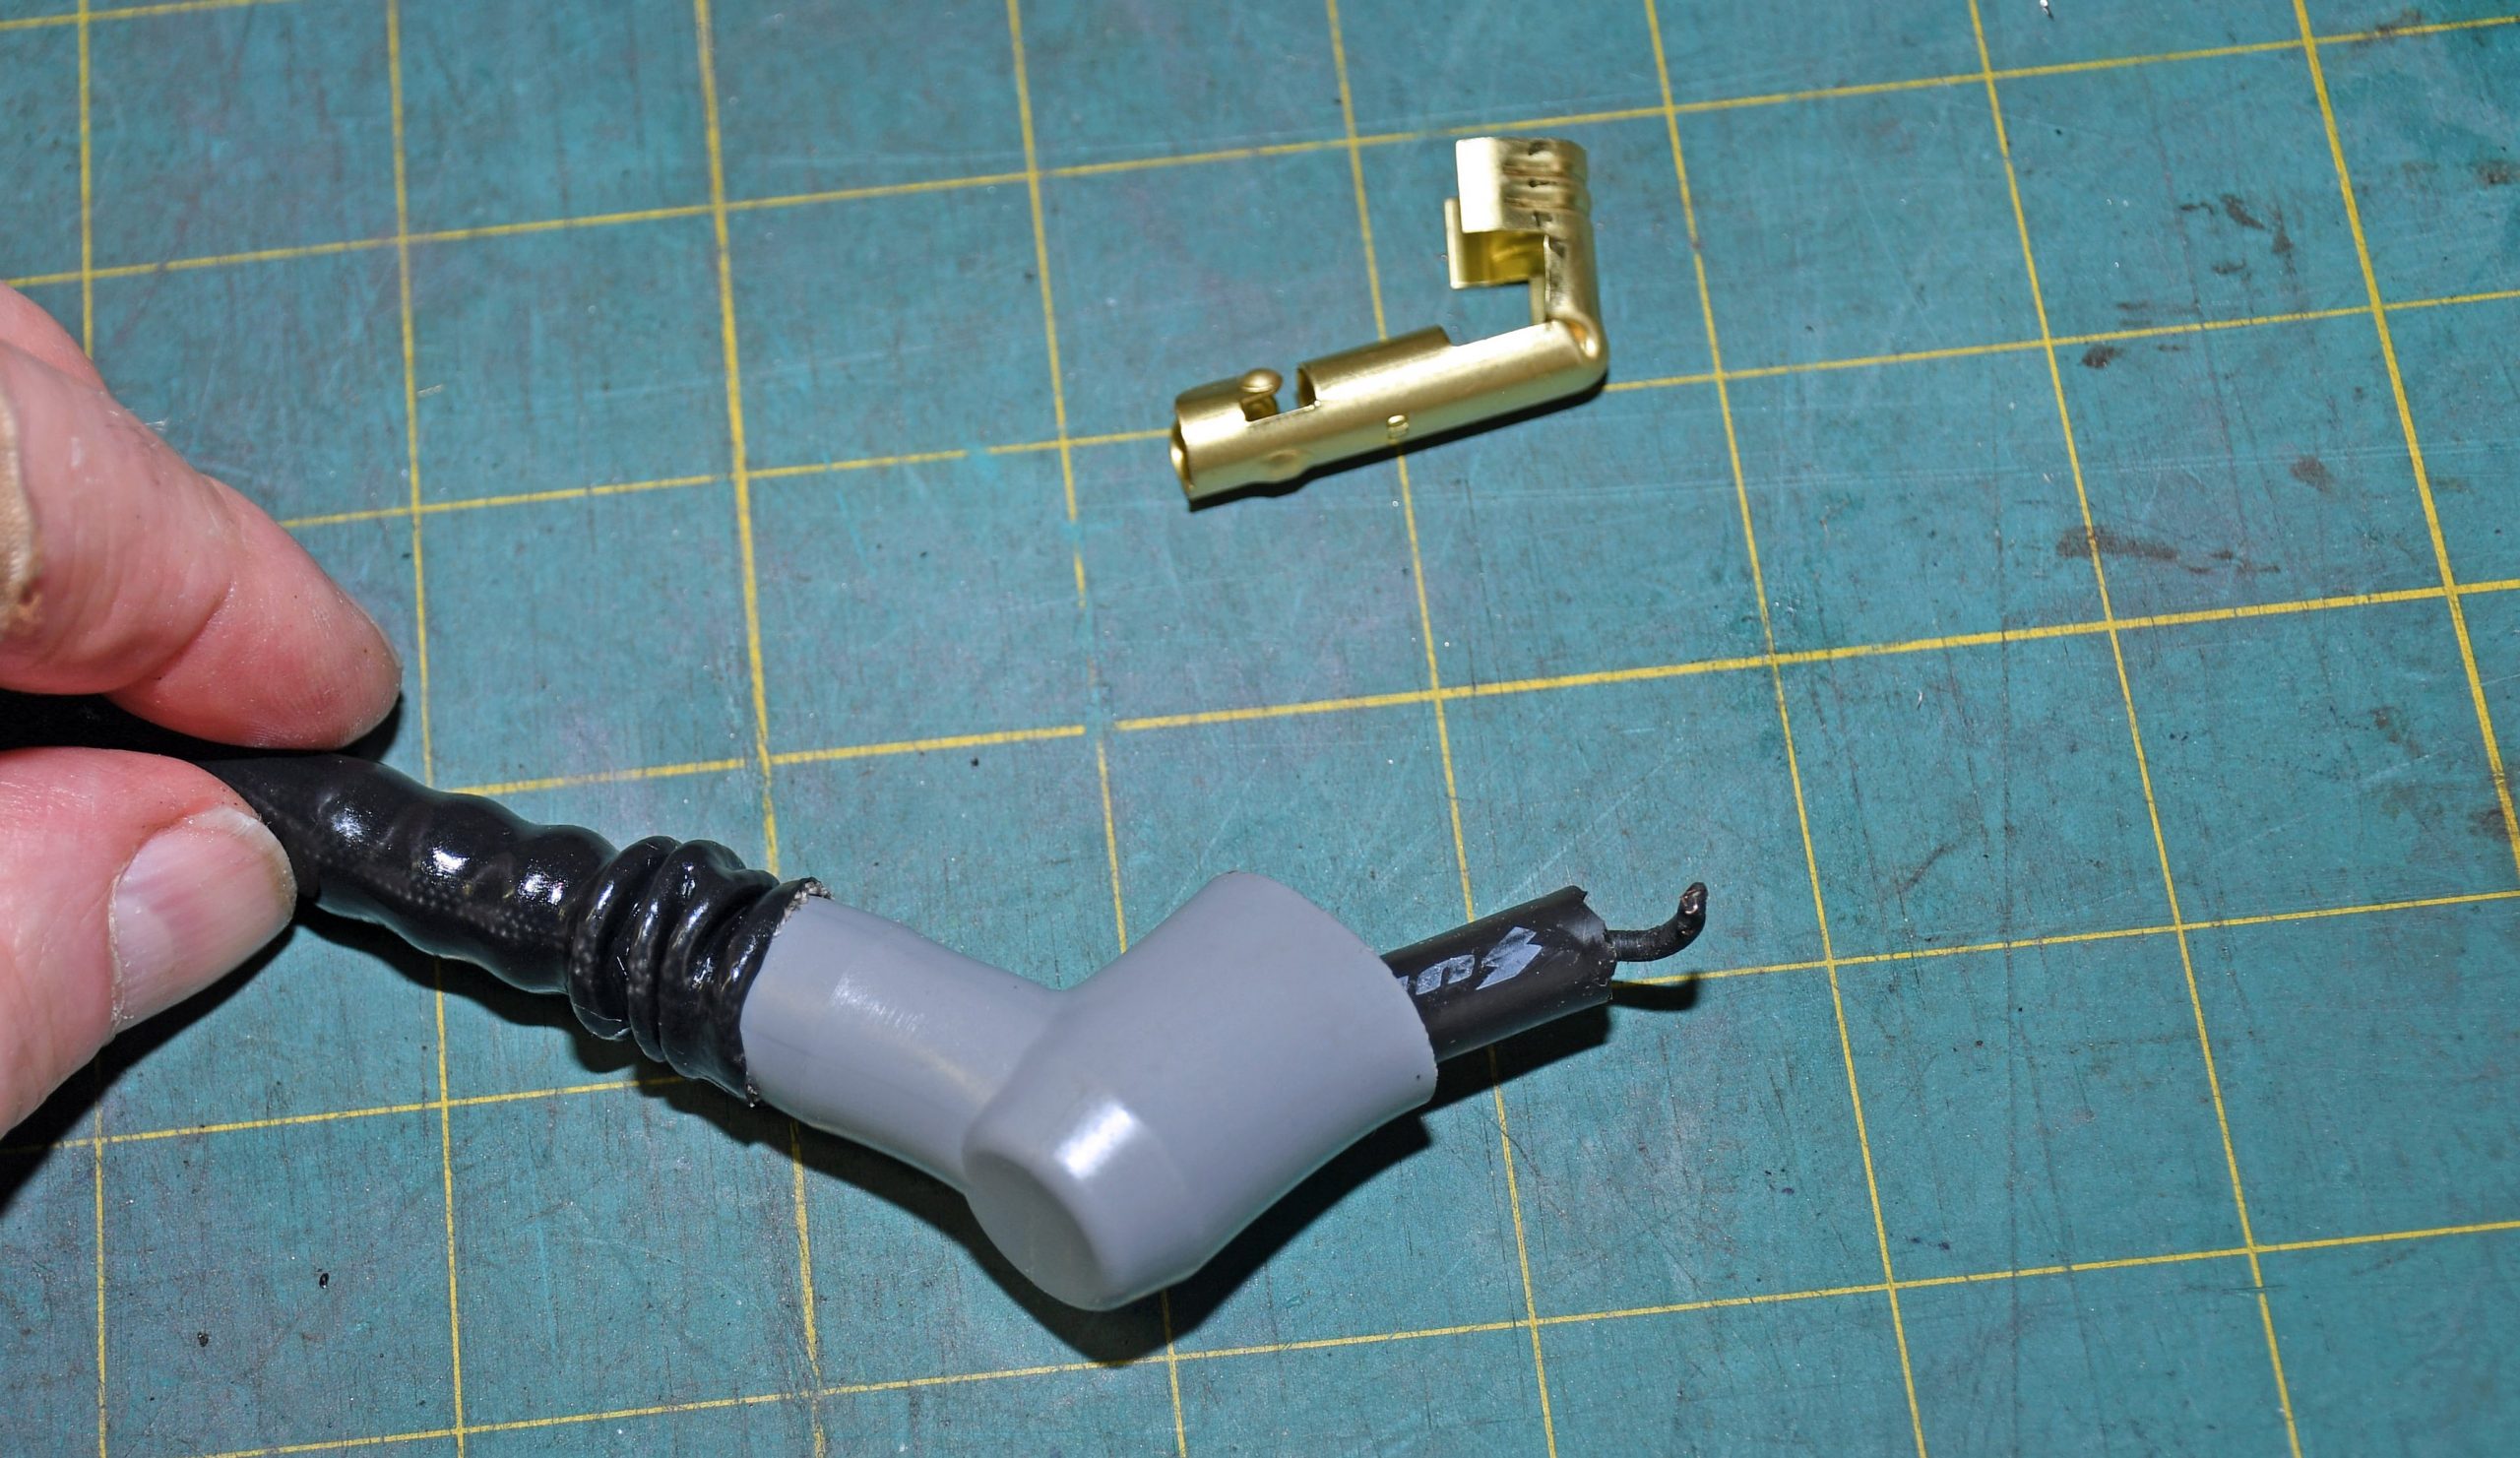
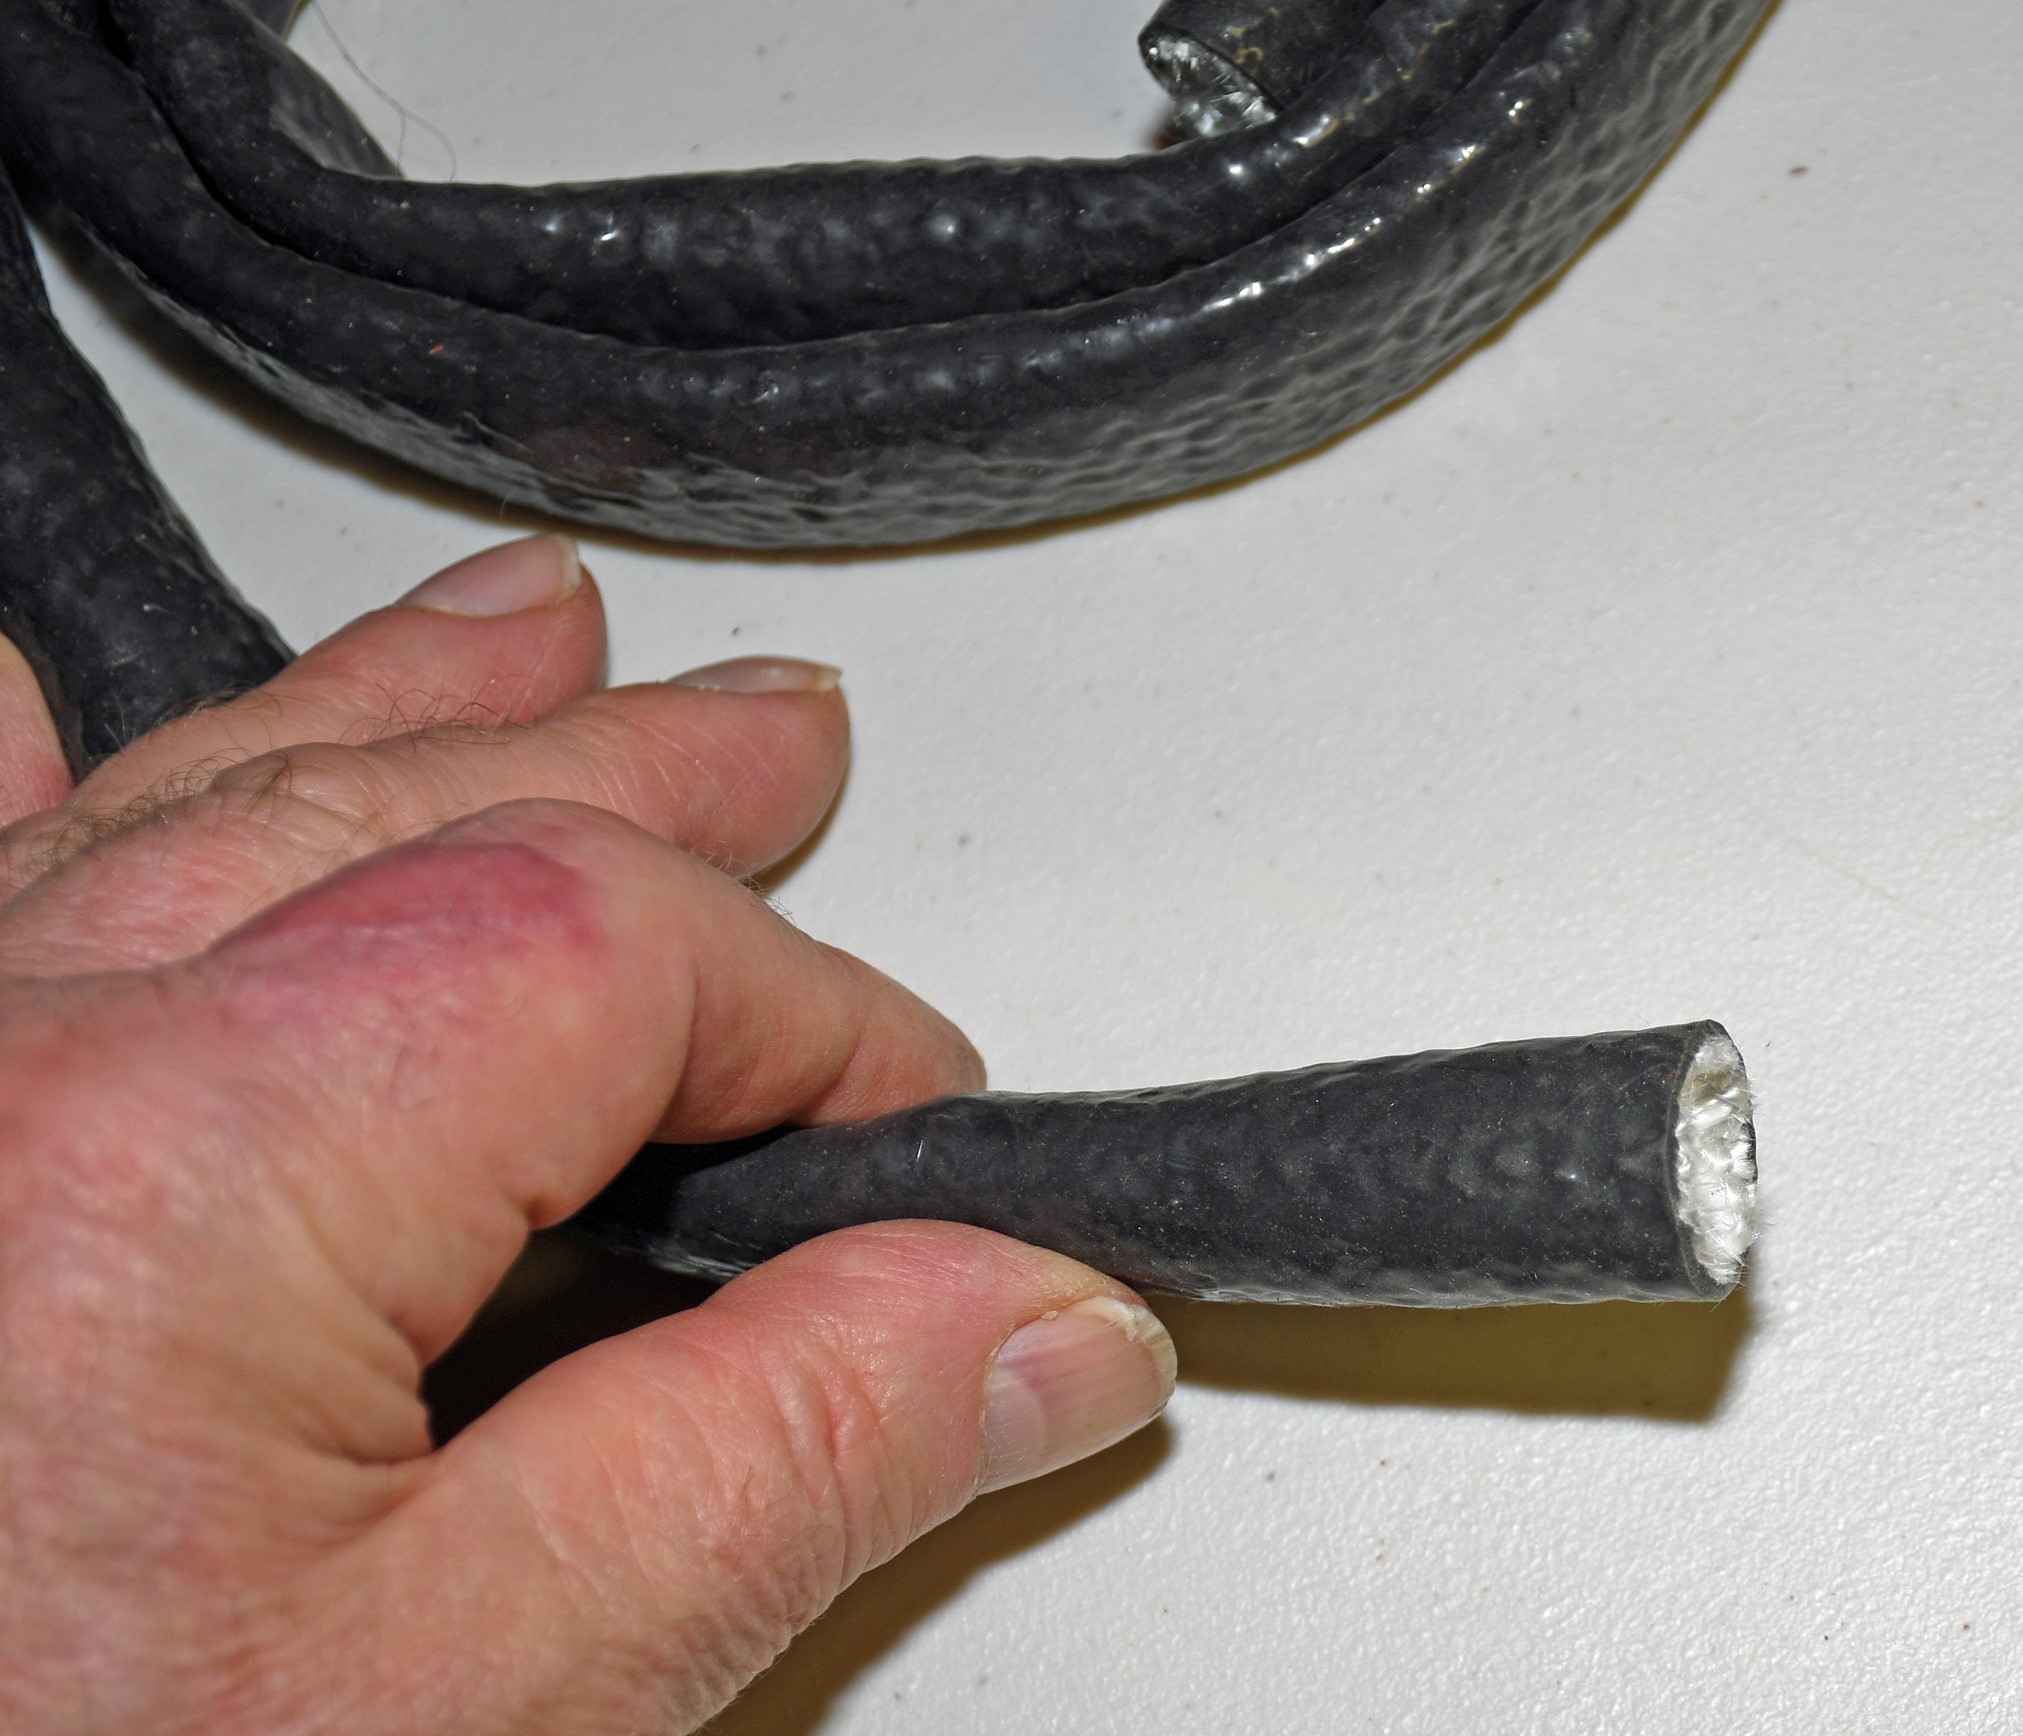
If your application calls for additional wire sleeves and shrink sleeves, be absolutely certain you get everything set up on the wire (pair of shrinks, number shrinks, sleeves, etc.) before you complete the termination. In most cases, its next to impossible to remove and install the boot after the terminal is installed. (Image/Wayne Scraba)
***
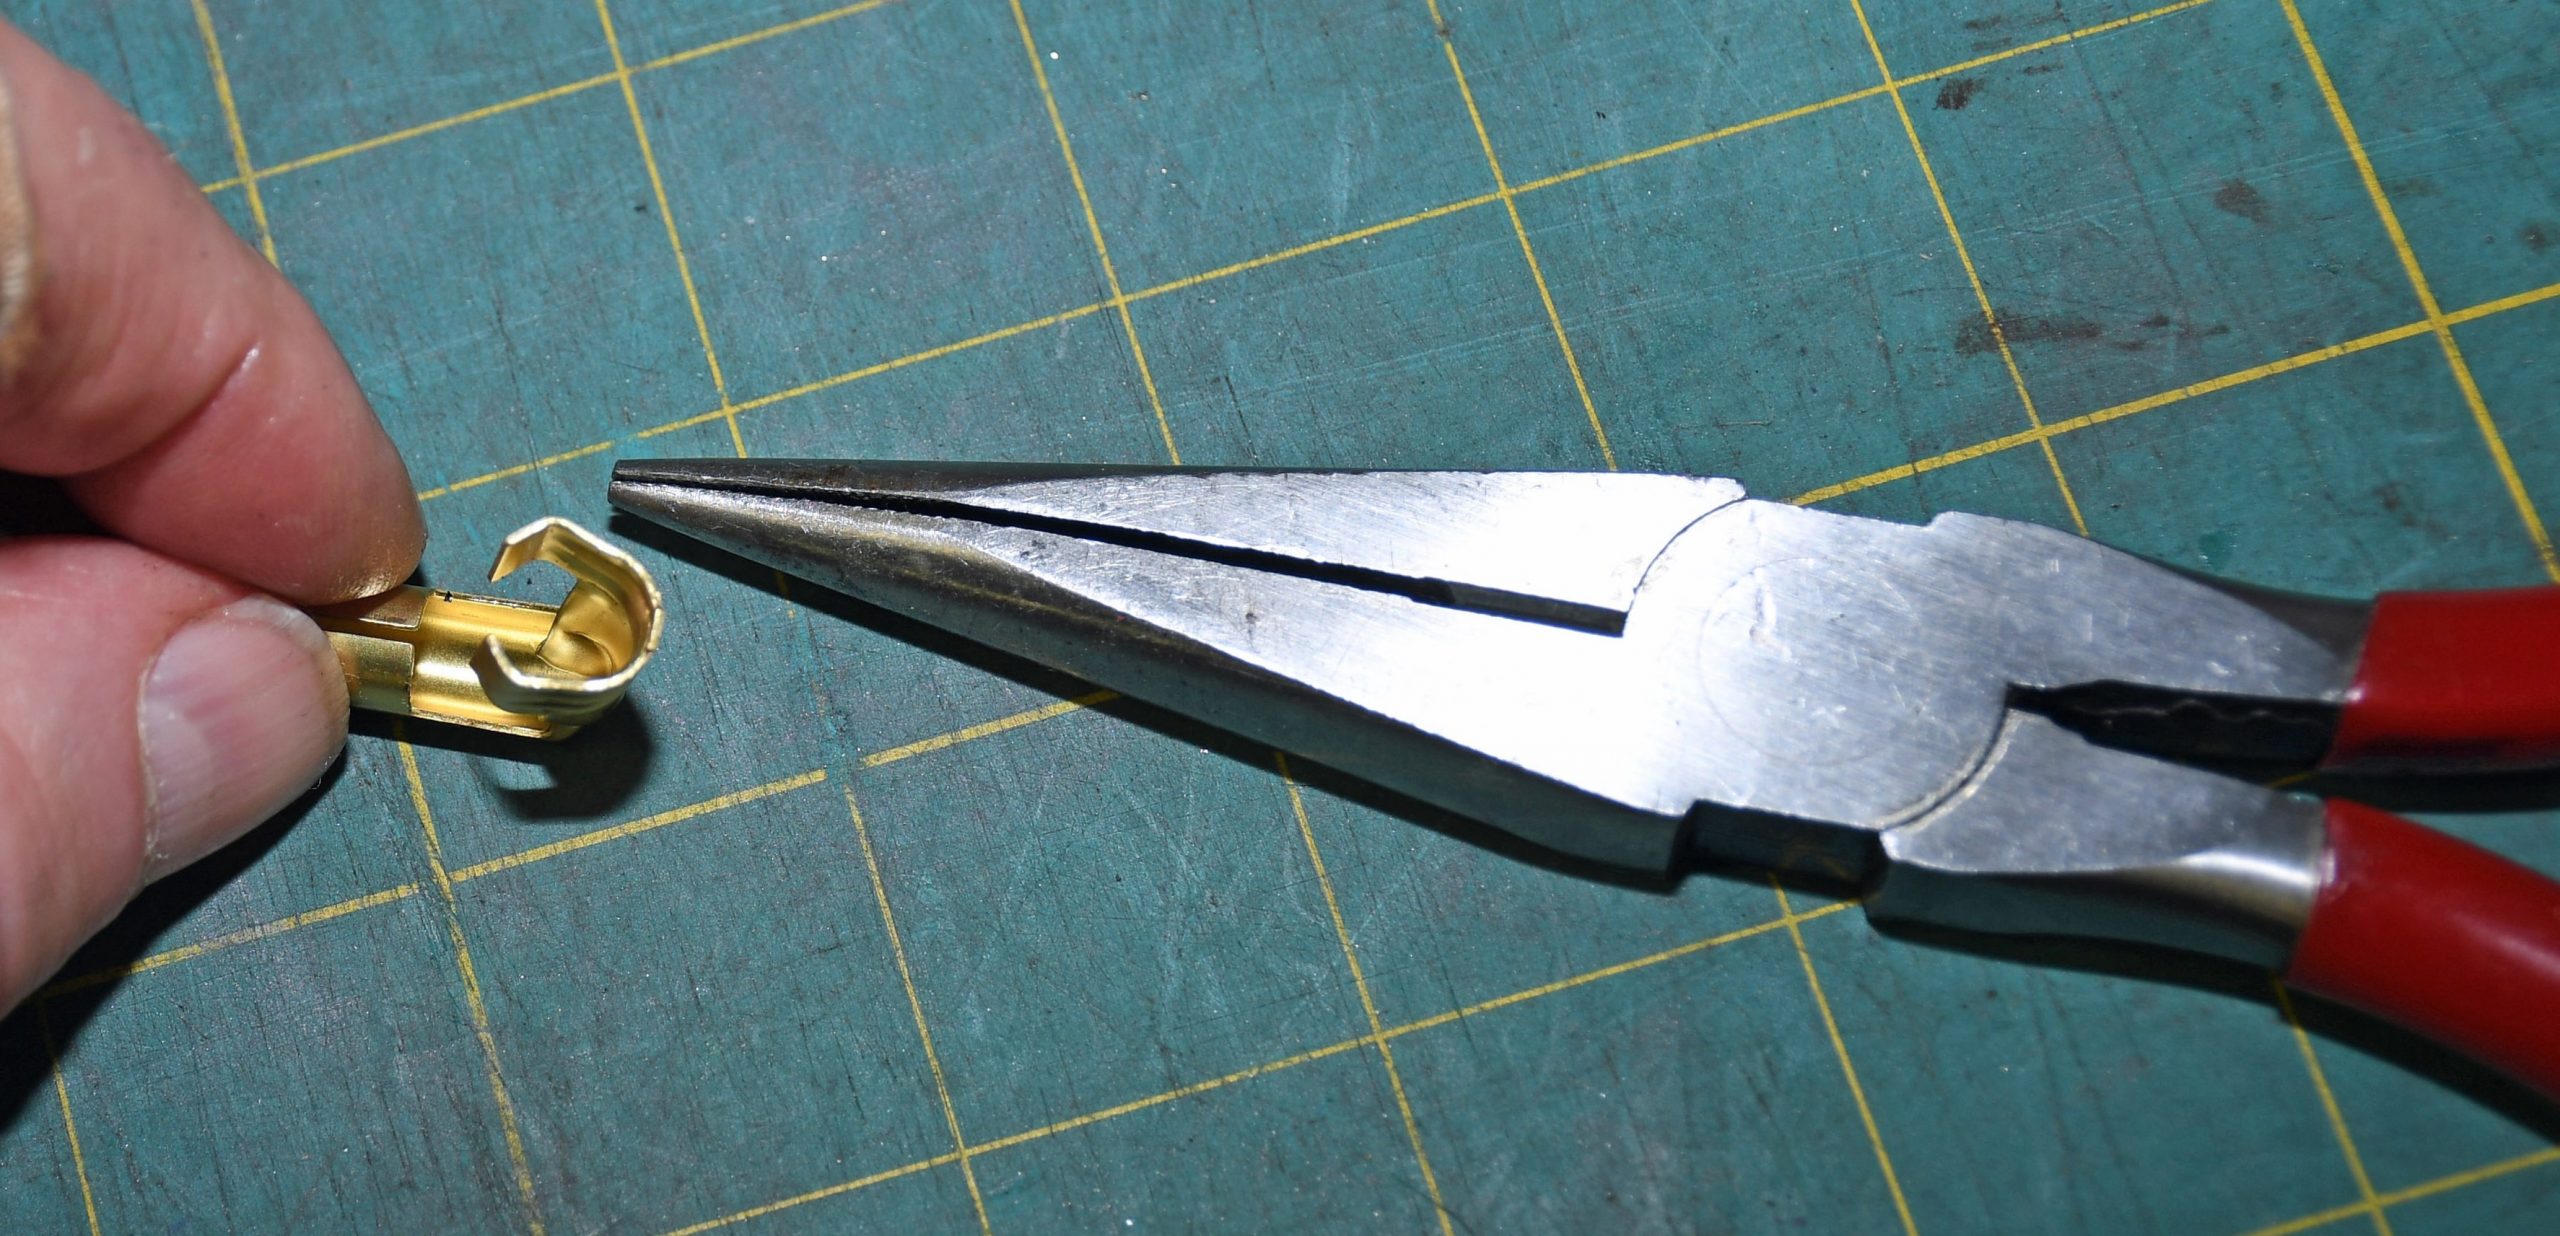
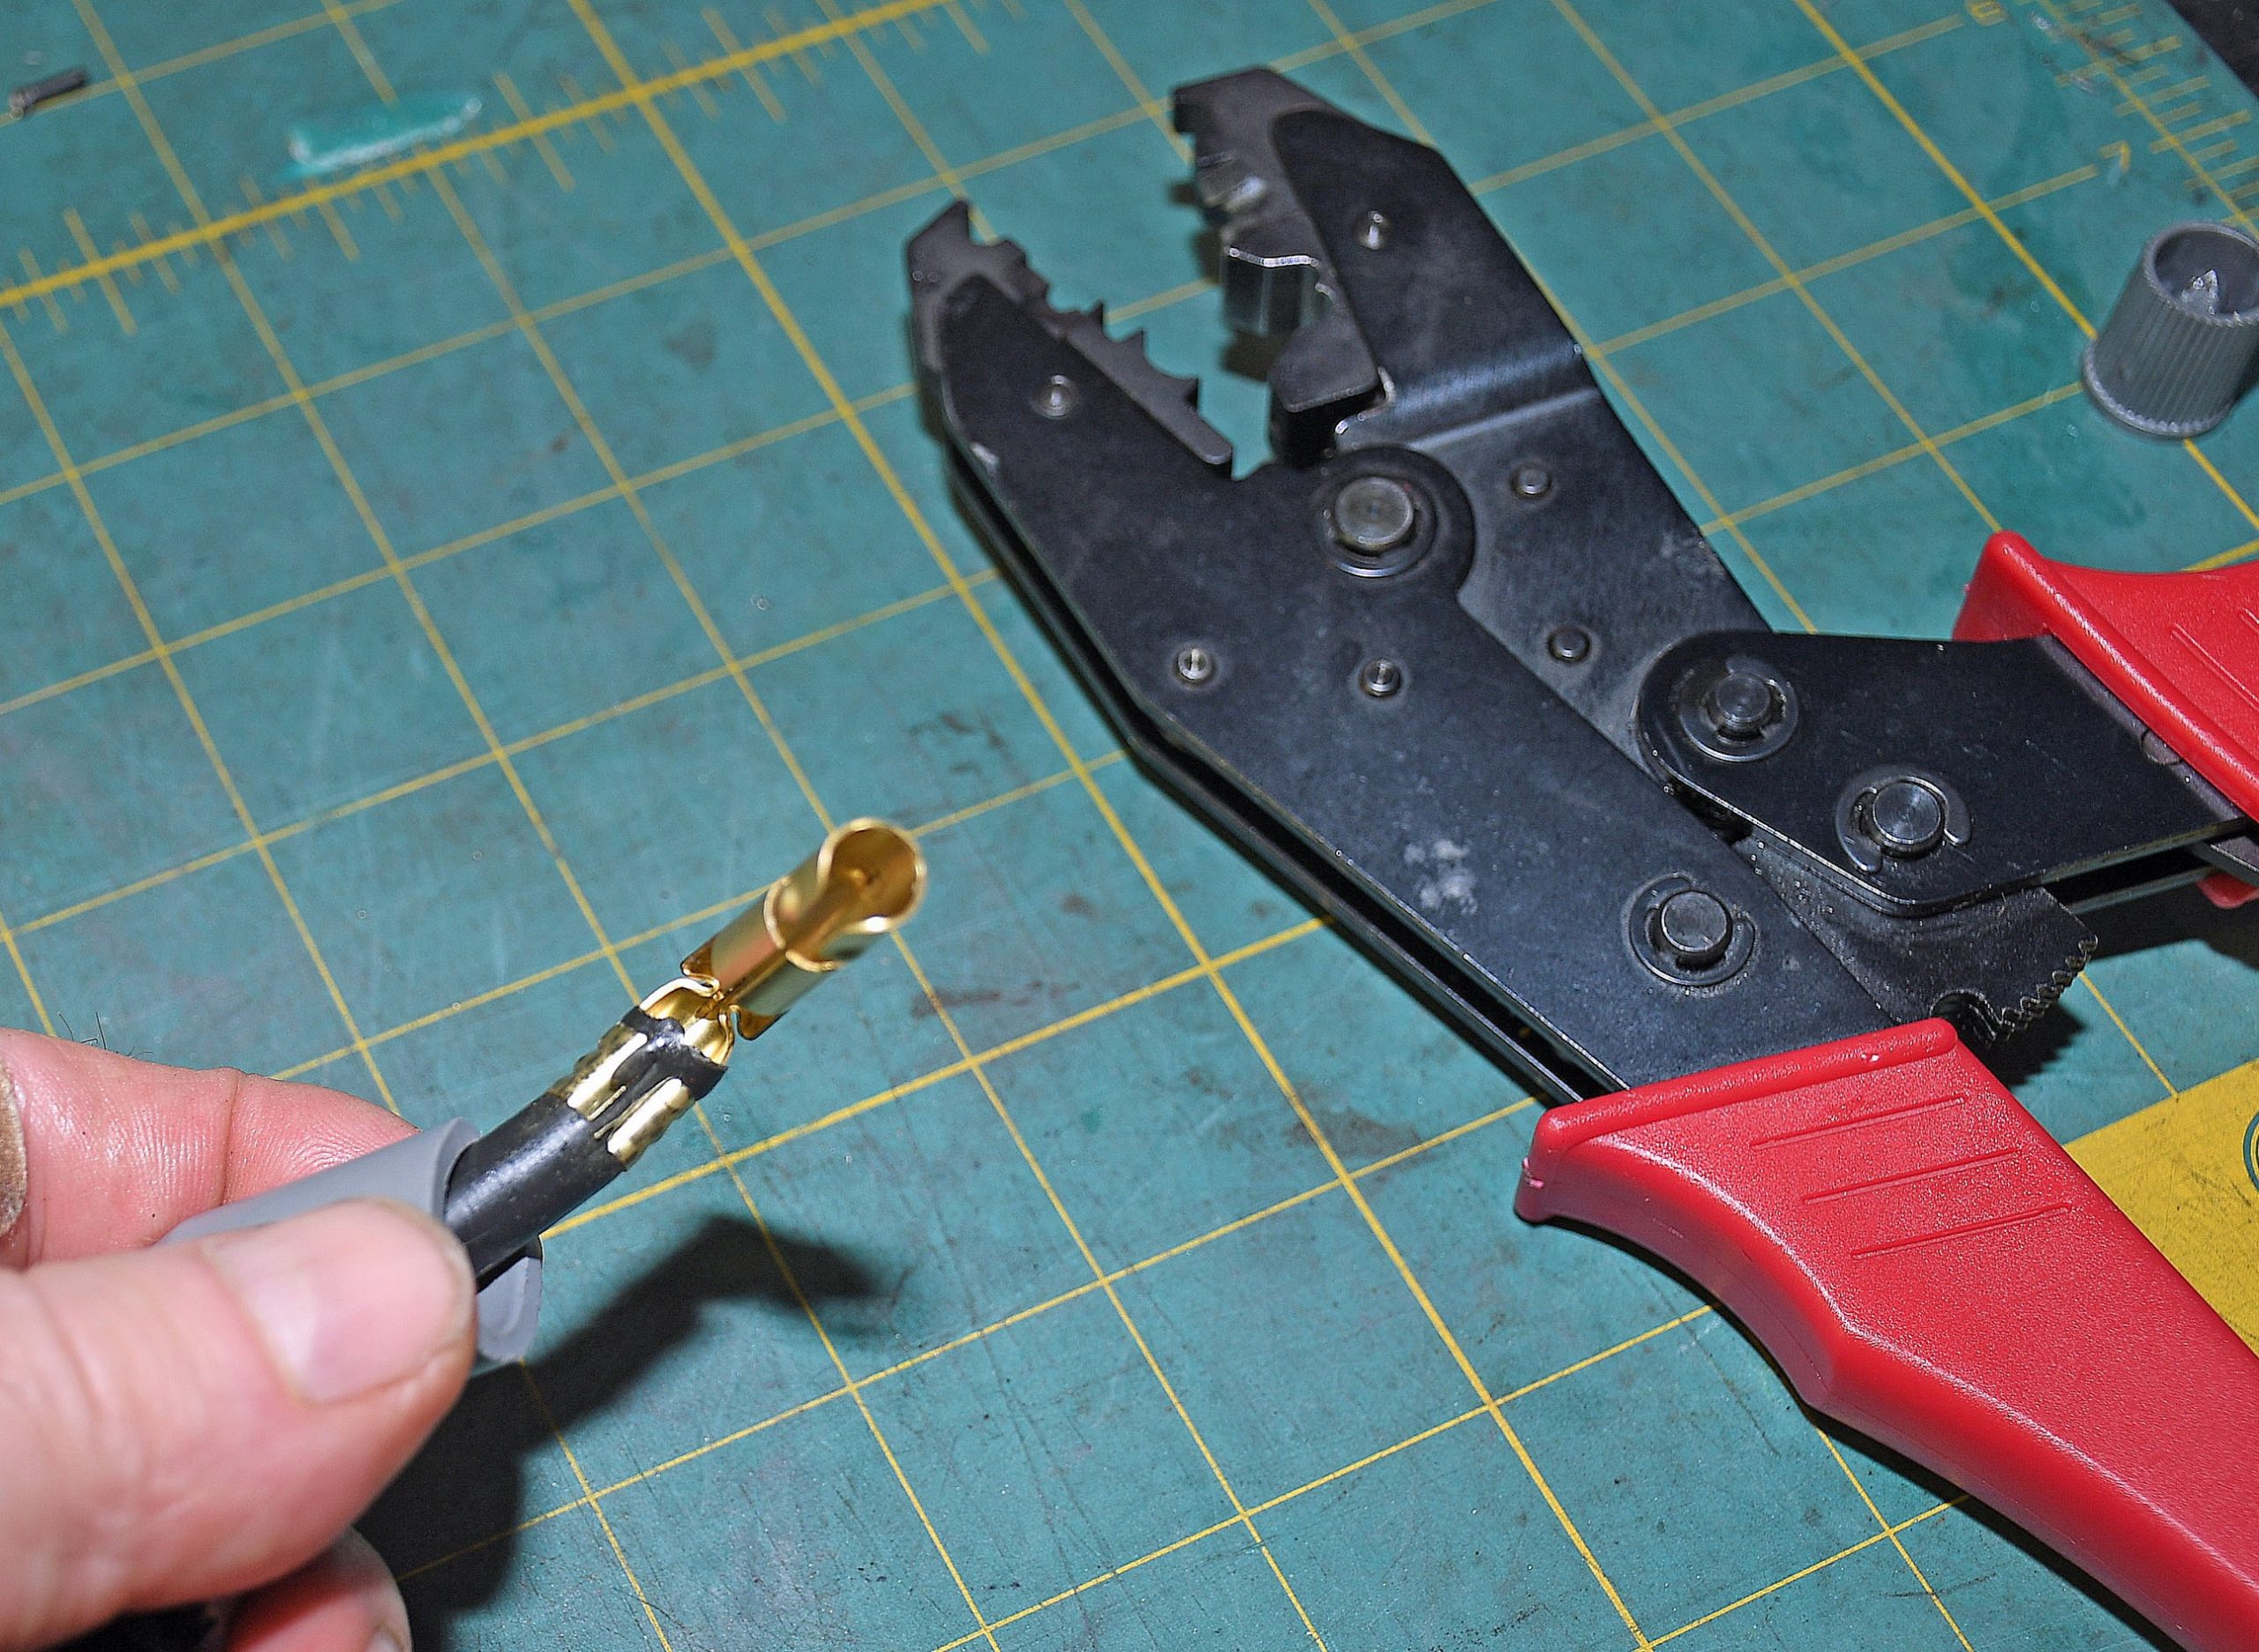
Tip 10
When crimping terminals, Summit Racing advises you bend the terminal slightly. (Image/Wayne Scraba)This provides for a much more secure crimp. You can see how it literally bites into the wire. (Image/Wayne Scraba)
***
Tip 11
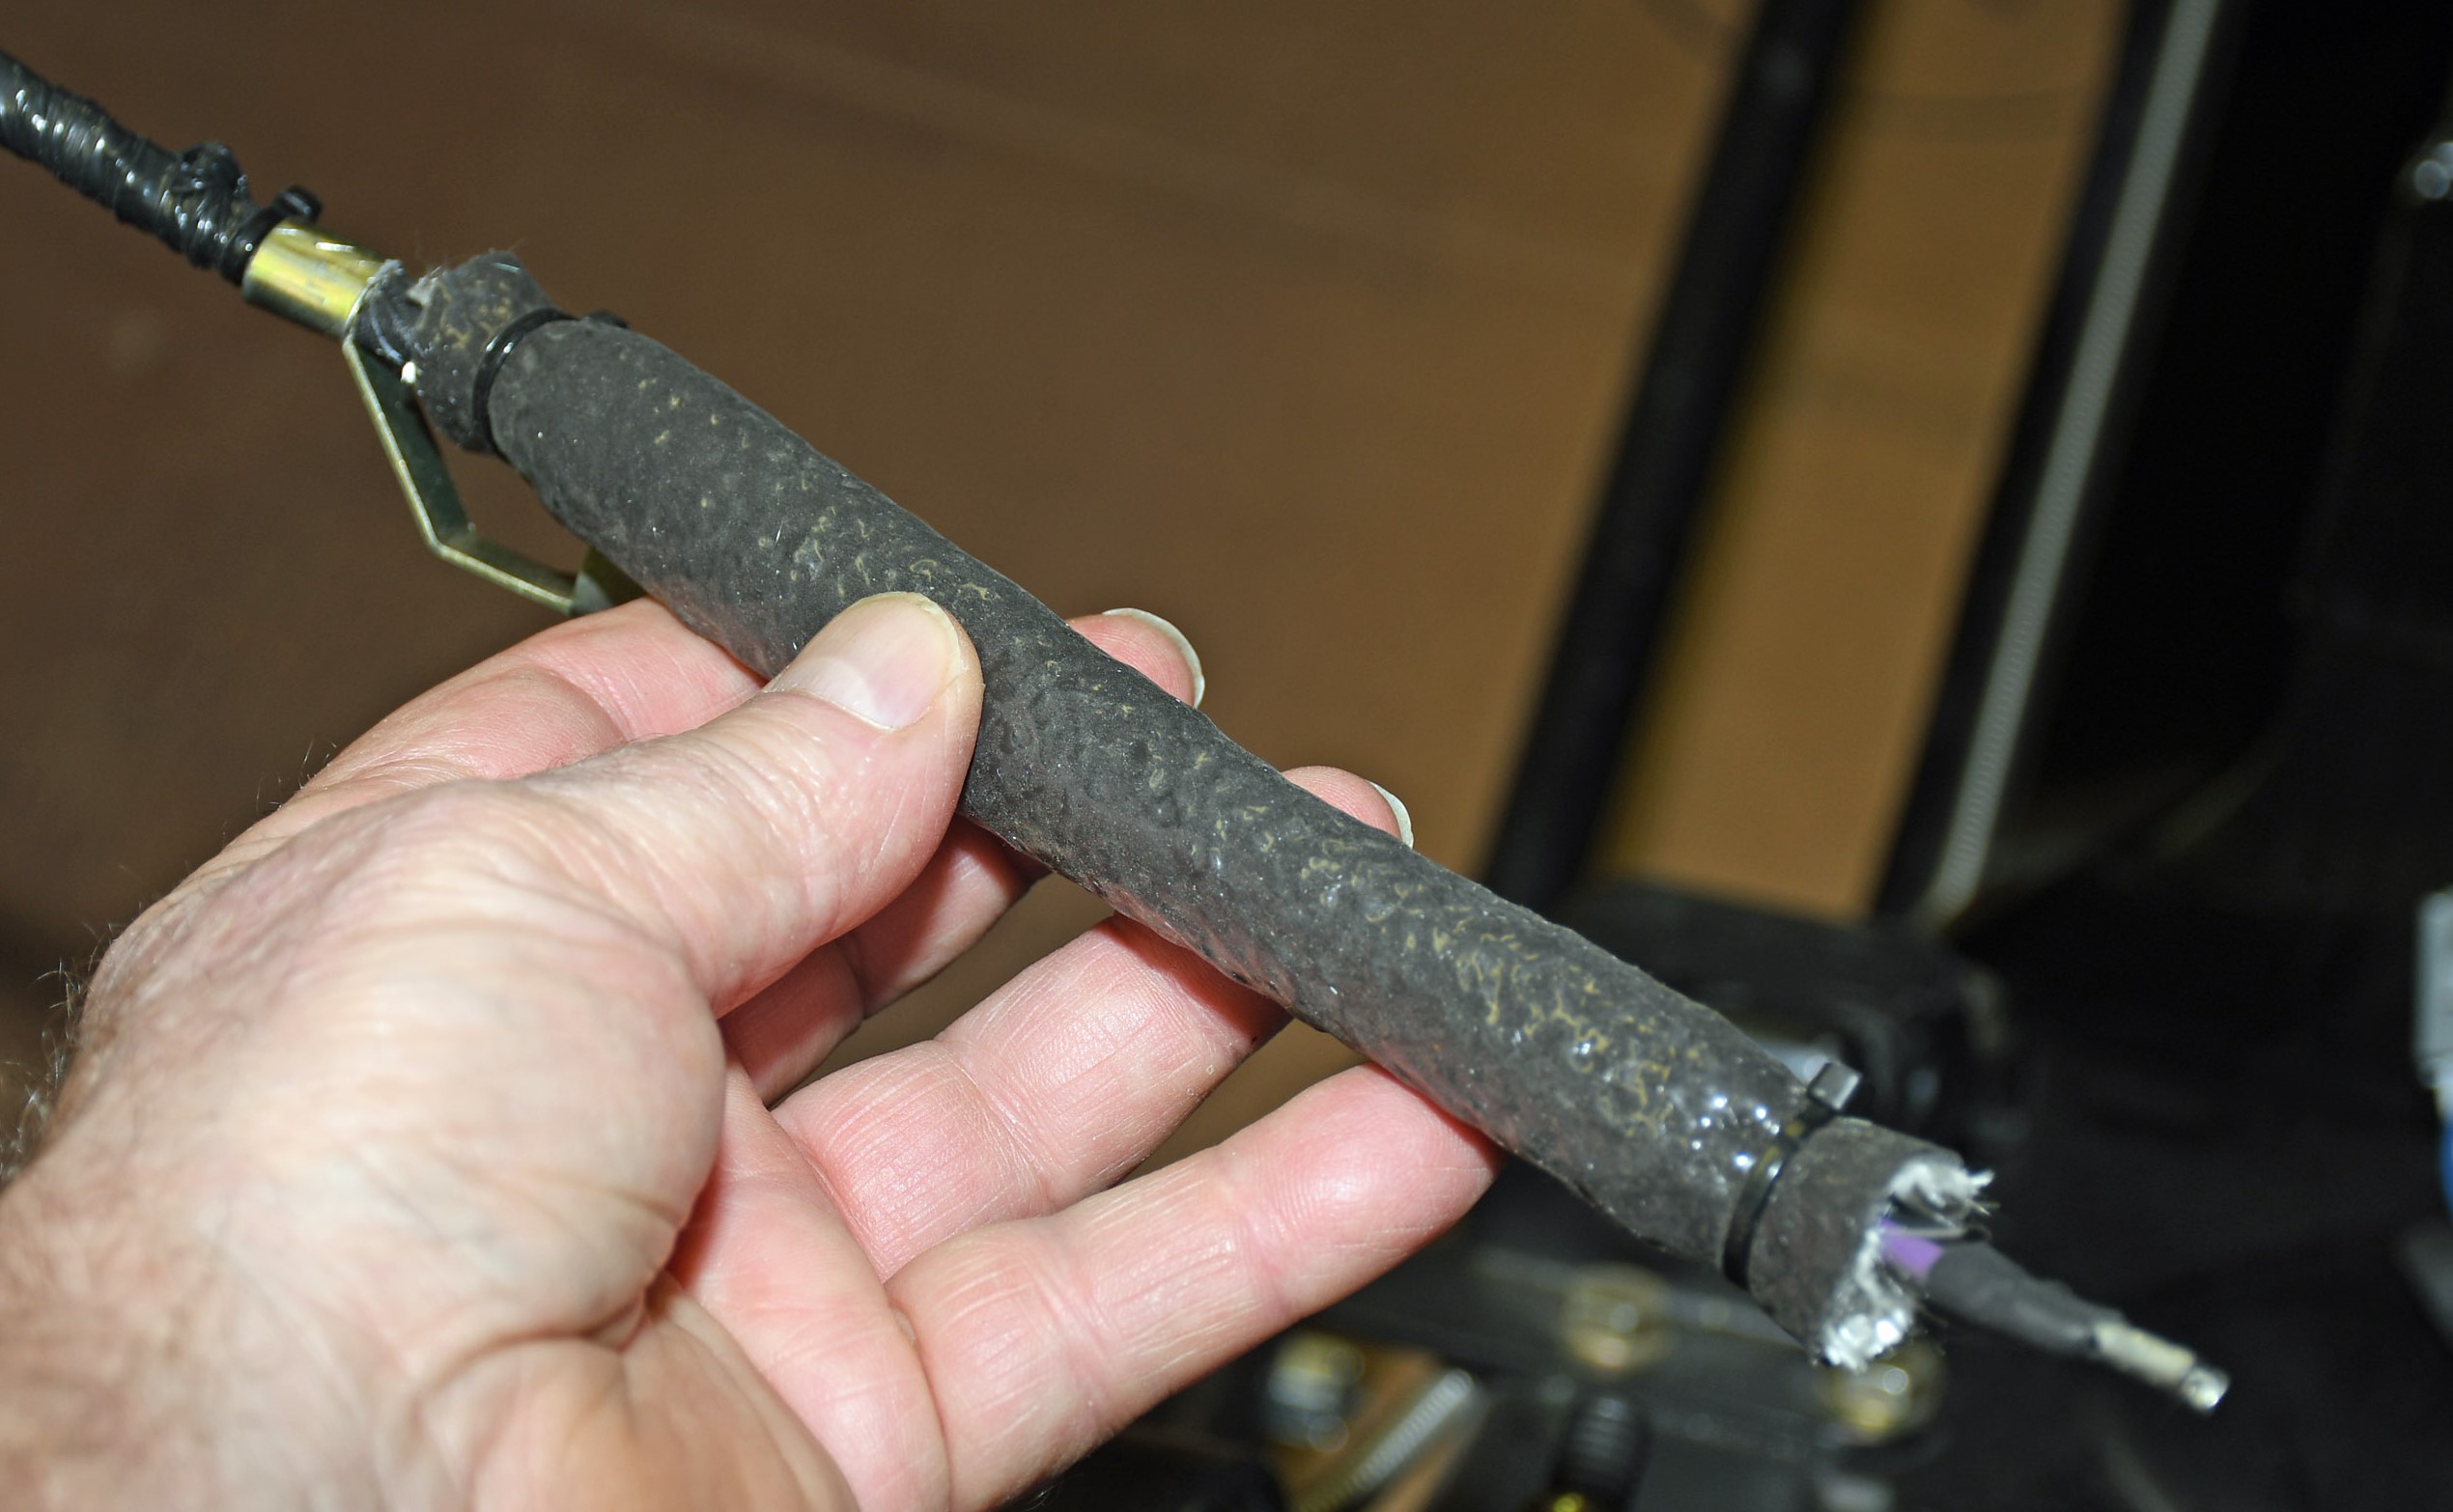
When you’re figuring out how to layout your wires, it’s a good idea to loosely install them in the intended looms before you terminate the ends, add sleeves and so on. This gives you a pretty good idea with regard to length. (Image/Wayne Scraba)Note here, we have an 8.5mm wire in a loom designed for a 10.5mm wire. An MSD sleeve installed over the Summit Racing wire makes up the difference. (Image/Wayne Scraba)
***
Tip 12
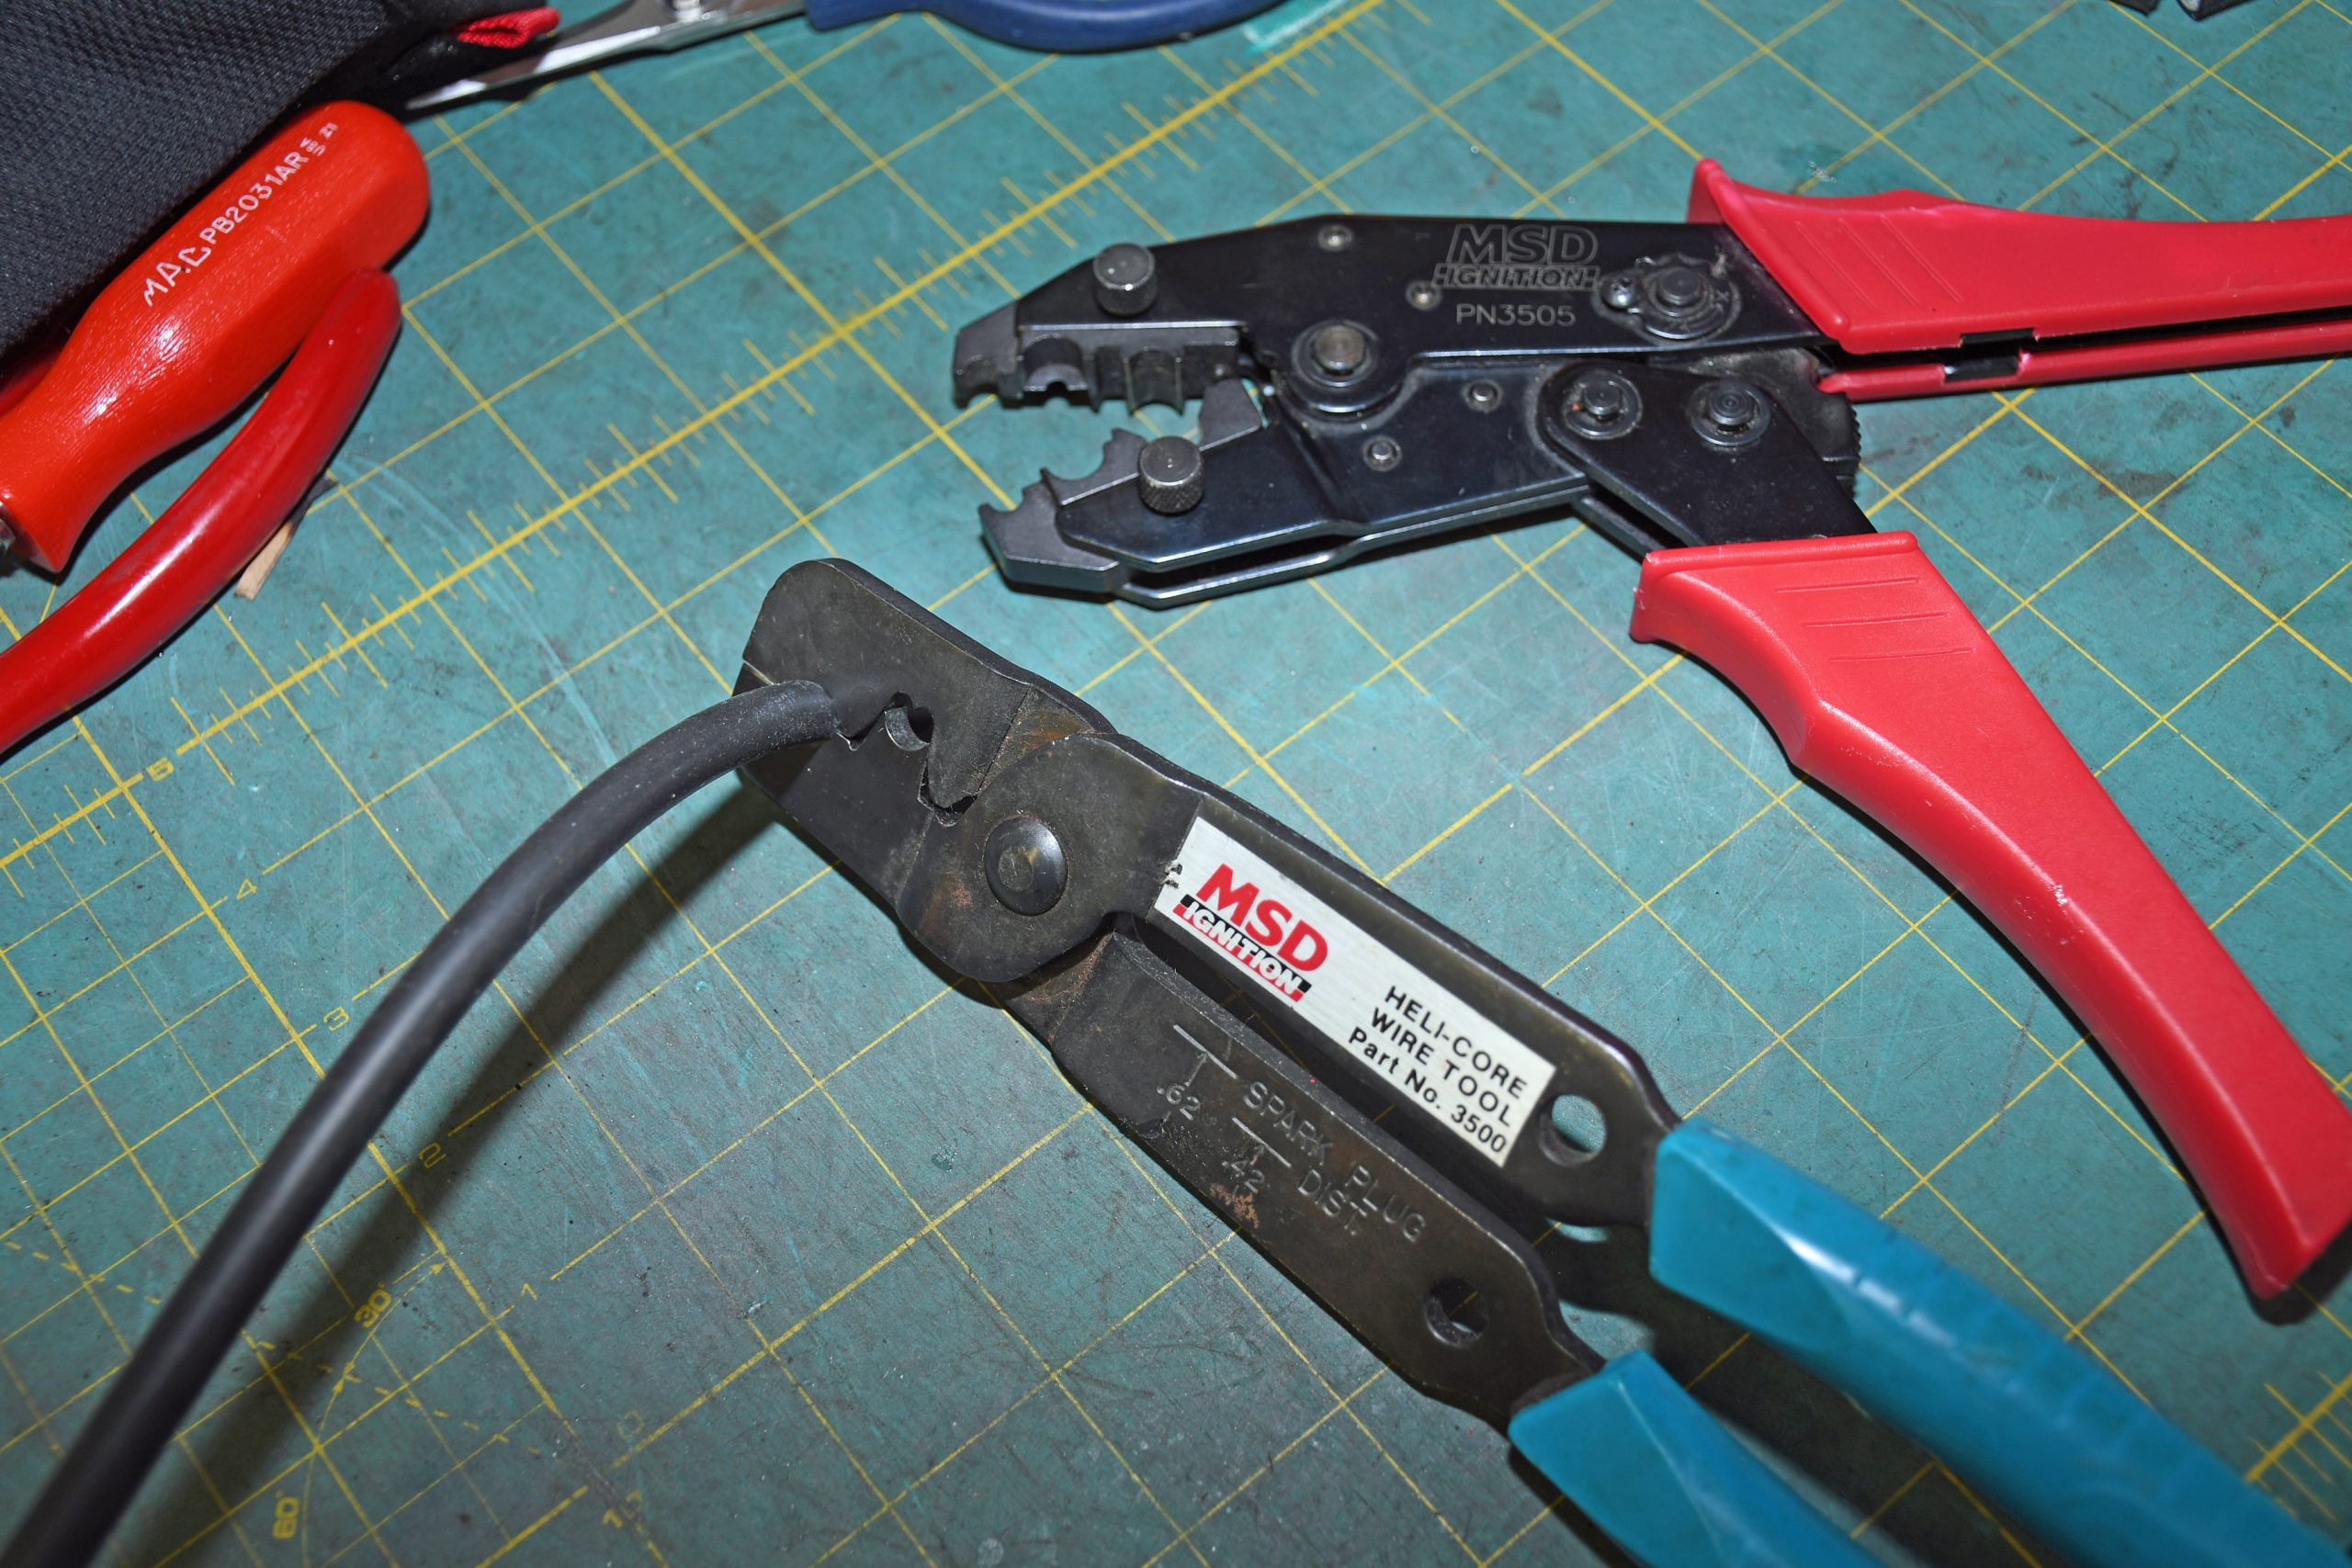
There are a number of ways to cut ignition wire to length. The writer prefers this old MSD tool for cutting jobs. (Image/Wayne Scraba)When it comes to sleeves, a set of good sharp scissors work well. (Image/Wayne Scraba)
***
Tip 13
There are also a number of ways to physically “shrink” the shrinks, but the easiest and by far the cleanest is to use a heat gun. It just flat works. (Image/Wayne Scraba)
***
Tip 14
Remember that tip about adding dielectric grease to the distributor cap boot when making up the wire? It’s also an extremely good idea to add boot to the spark plug boot too. This stops the boot from sticking solidly on the spark plug. (Image/Wayne Scraba)
***
Tip 15
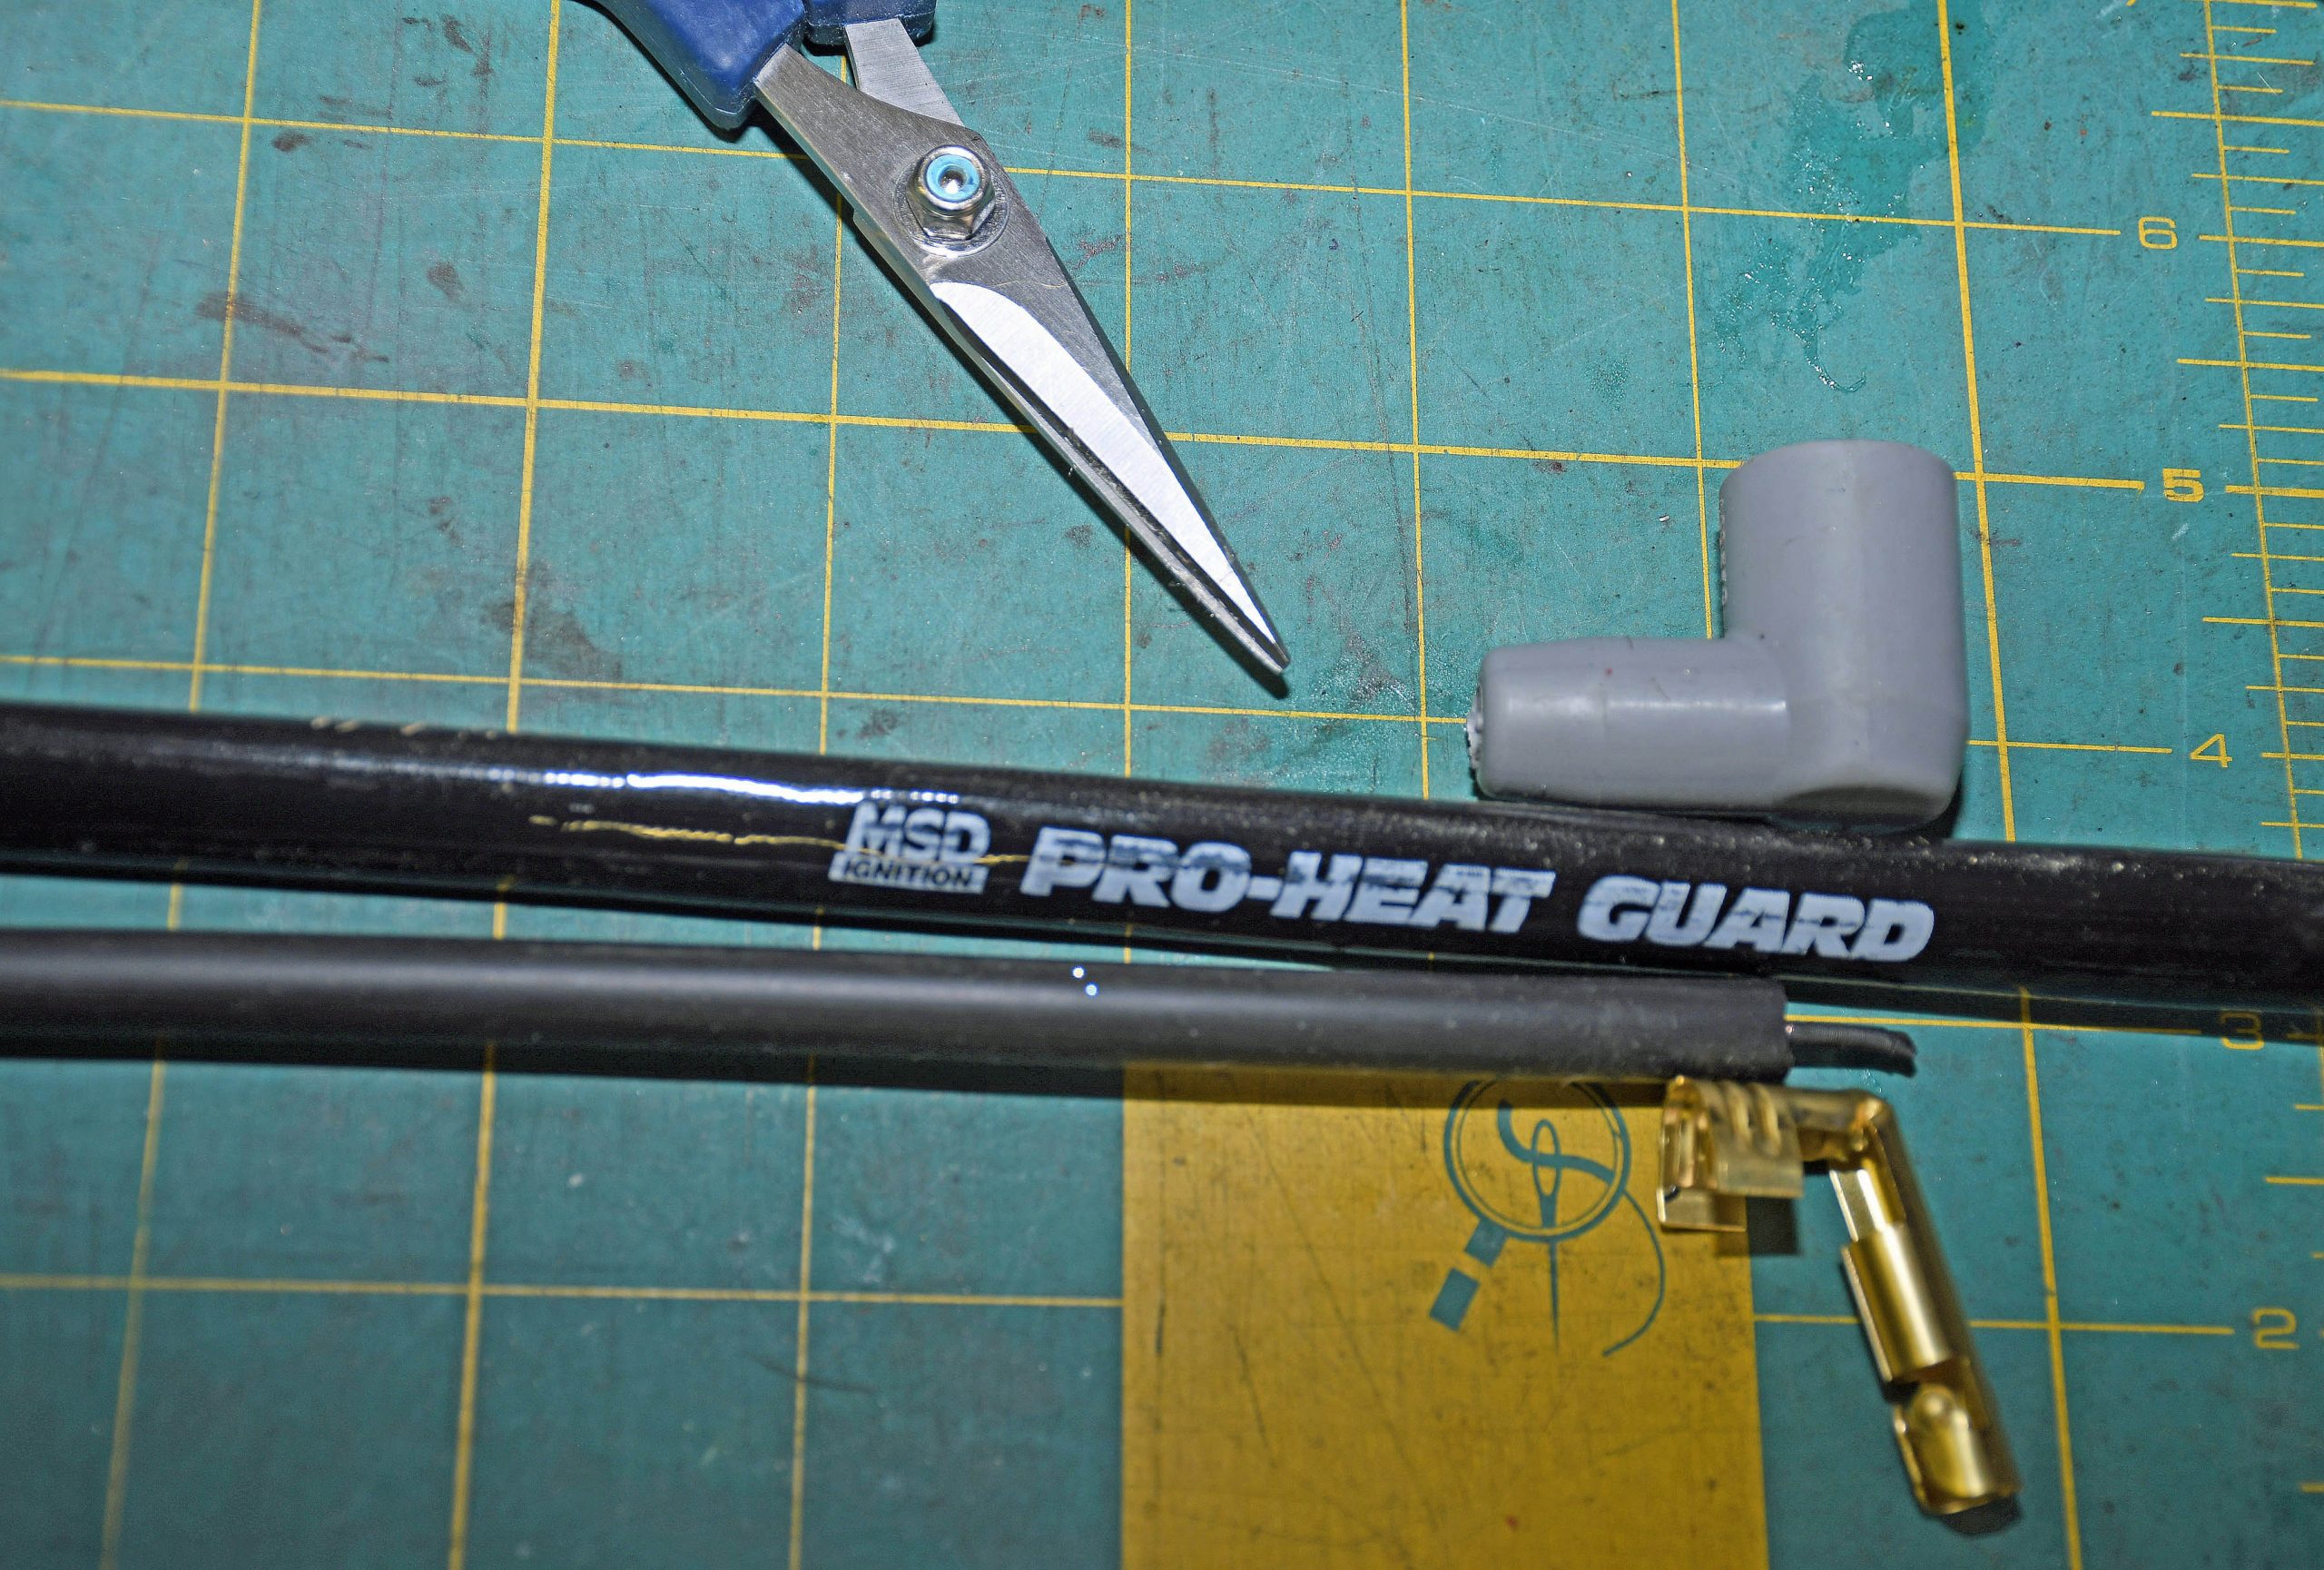
Sometimes the ignition wires will be so close to the headers, it becomes extremely difficult to prevent them from melting. For situations such as this, MSD’s Pro Boot Guard works perfectly. (Image/Wayne Scraba) By the way, I also use it over the starter wires. It keeps them from melting too. (Image/Wayne Scraba)
***
Tip 16
I use an old sewing & craft cutting mat on my workbench. As you can see, it’s laid out in a grid, complete with a built-in ruler. It works perfectly for laying out and cutting wires and sleeves. If your significant other doesn’t sew, then check out the local quilting shops. They sell them in all sorts of different sizes. (Image/Wayne Scraba)
***
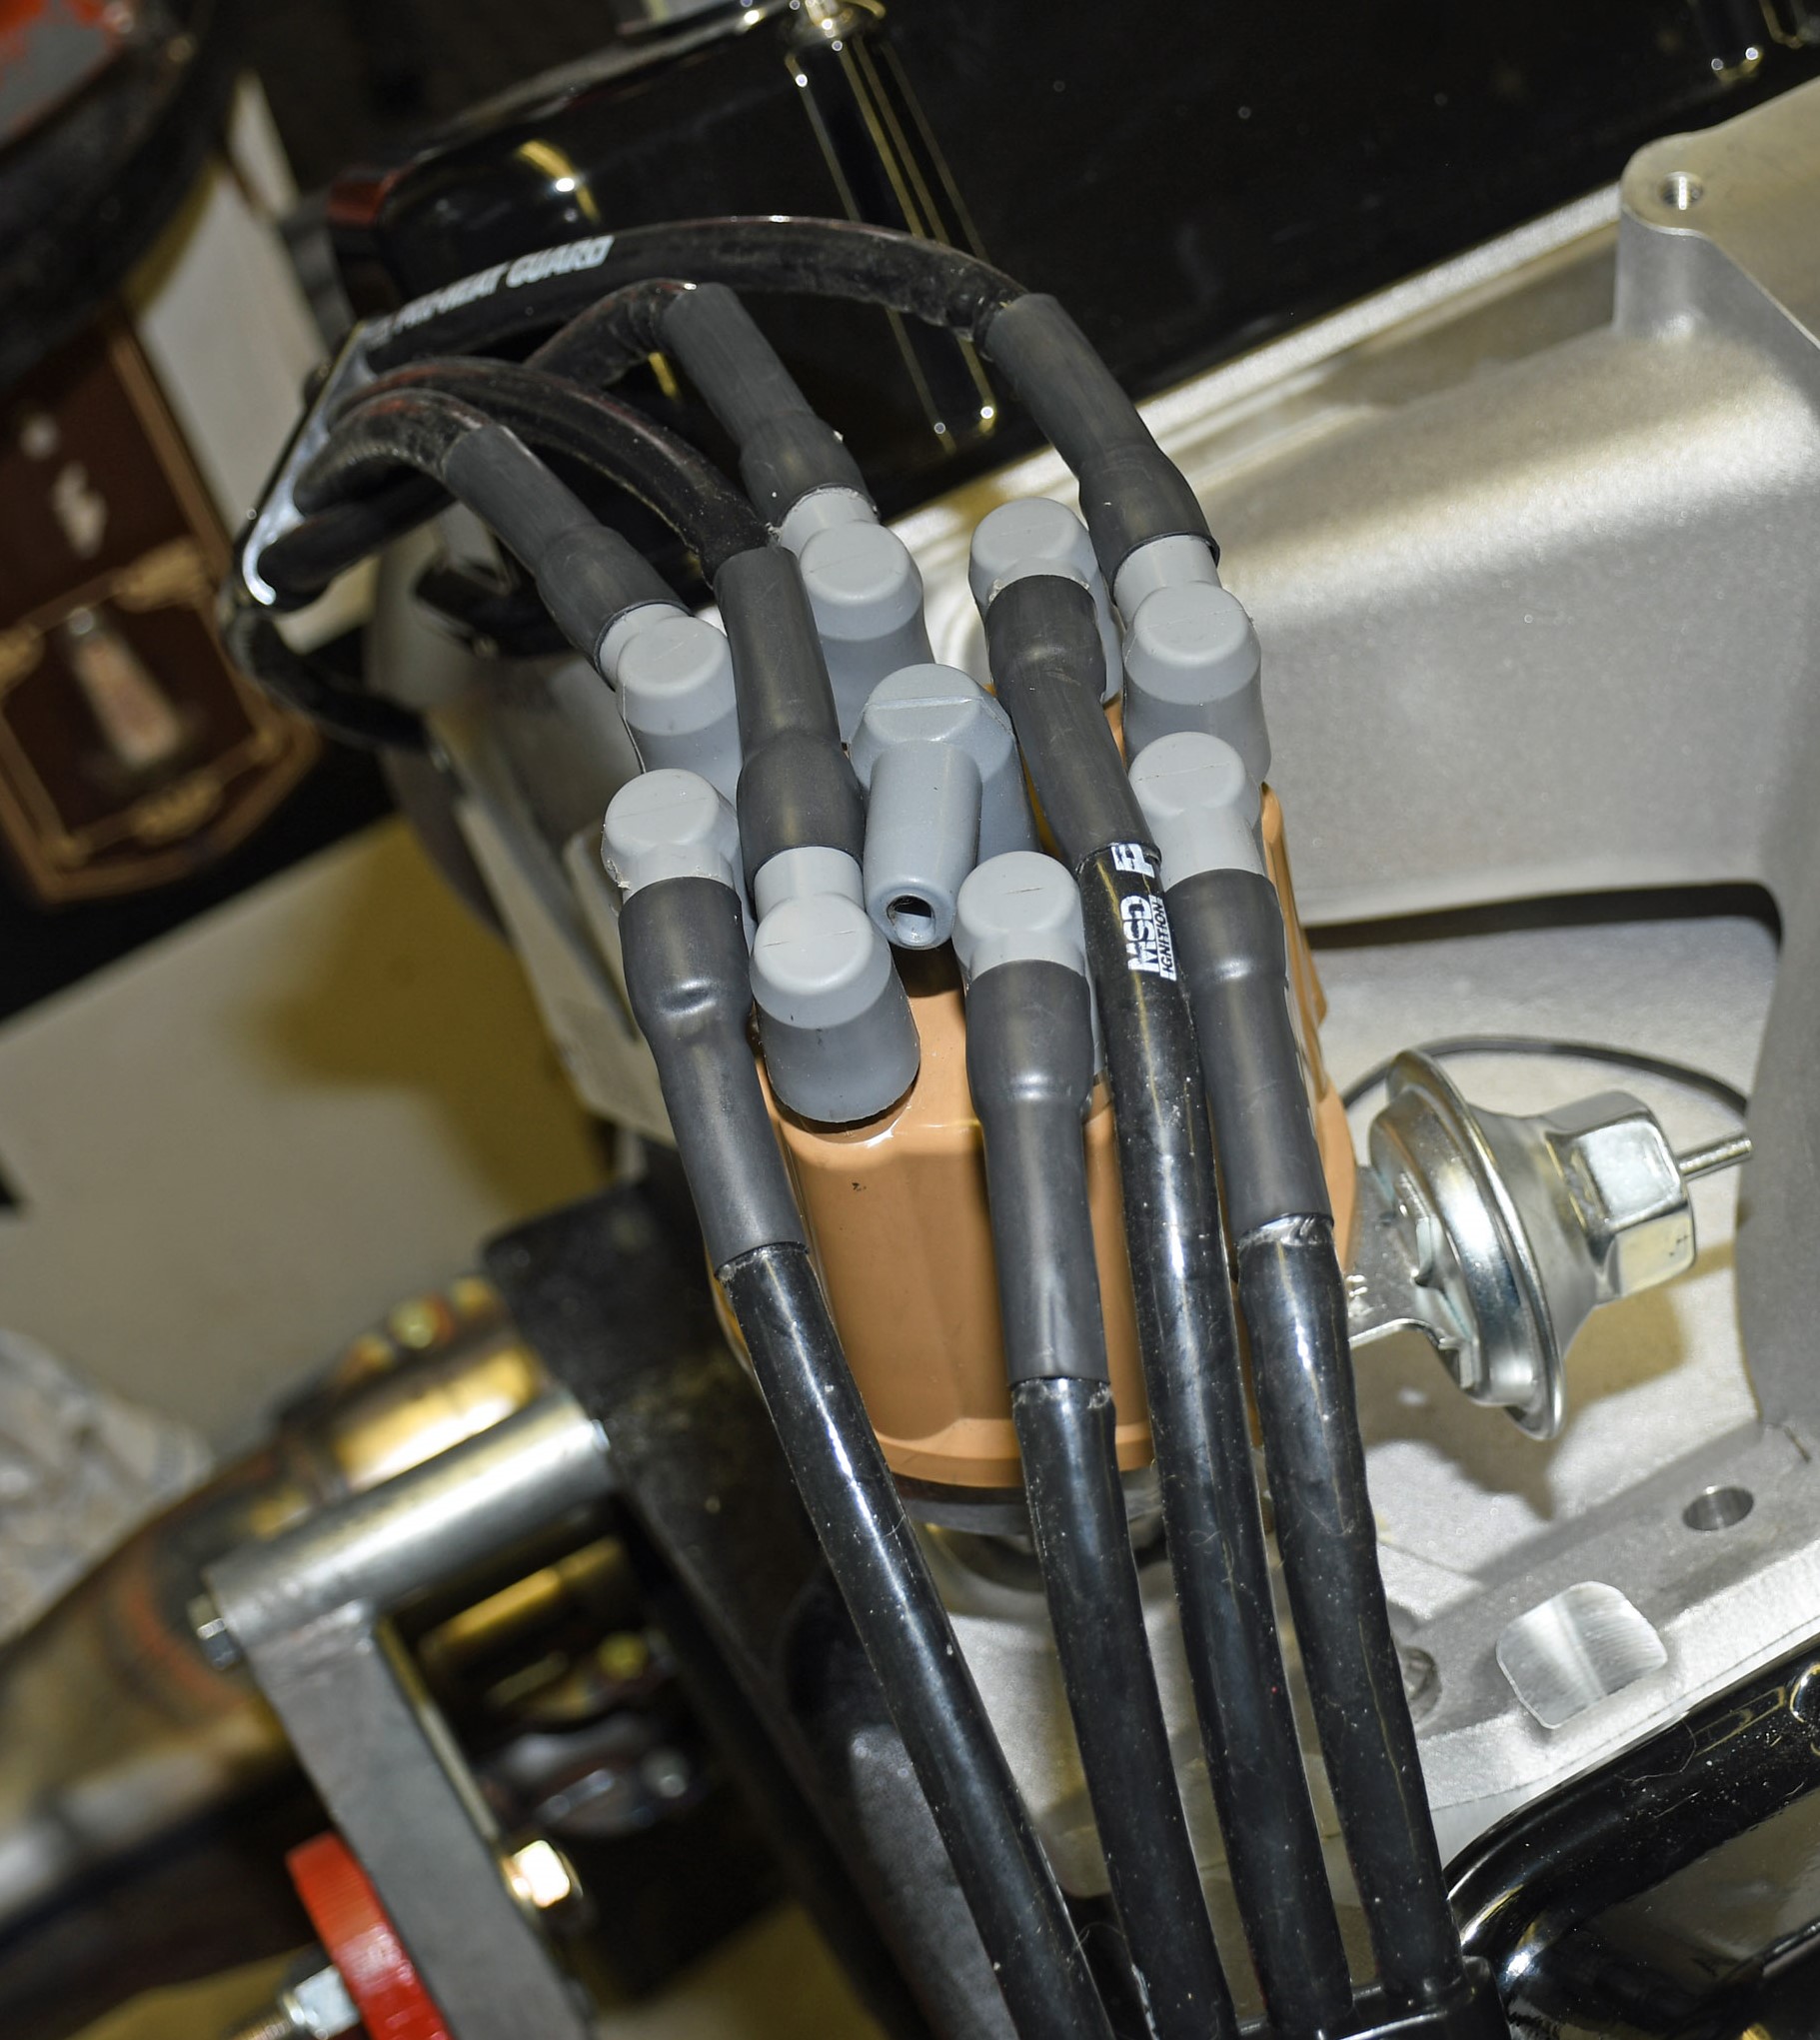
Tip 17
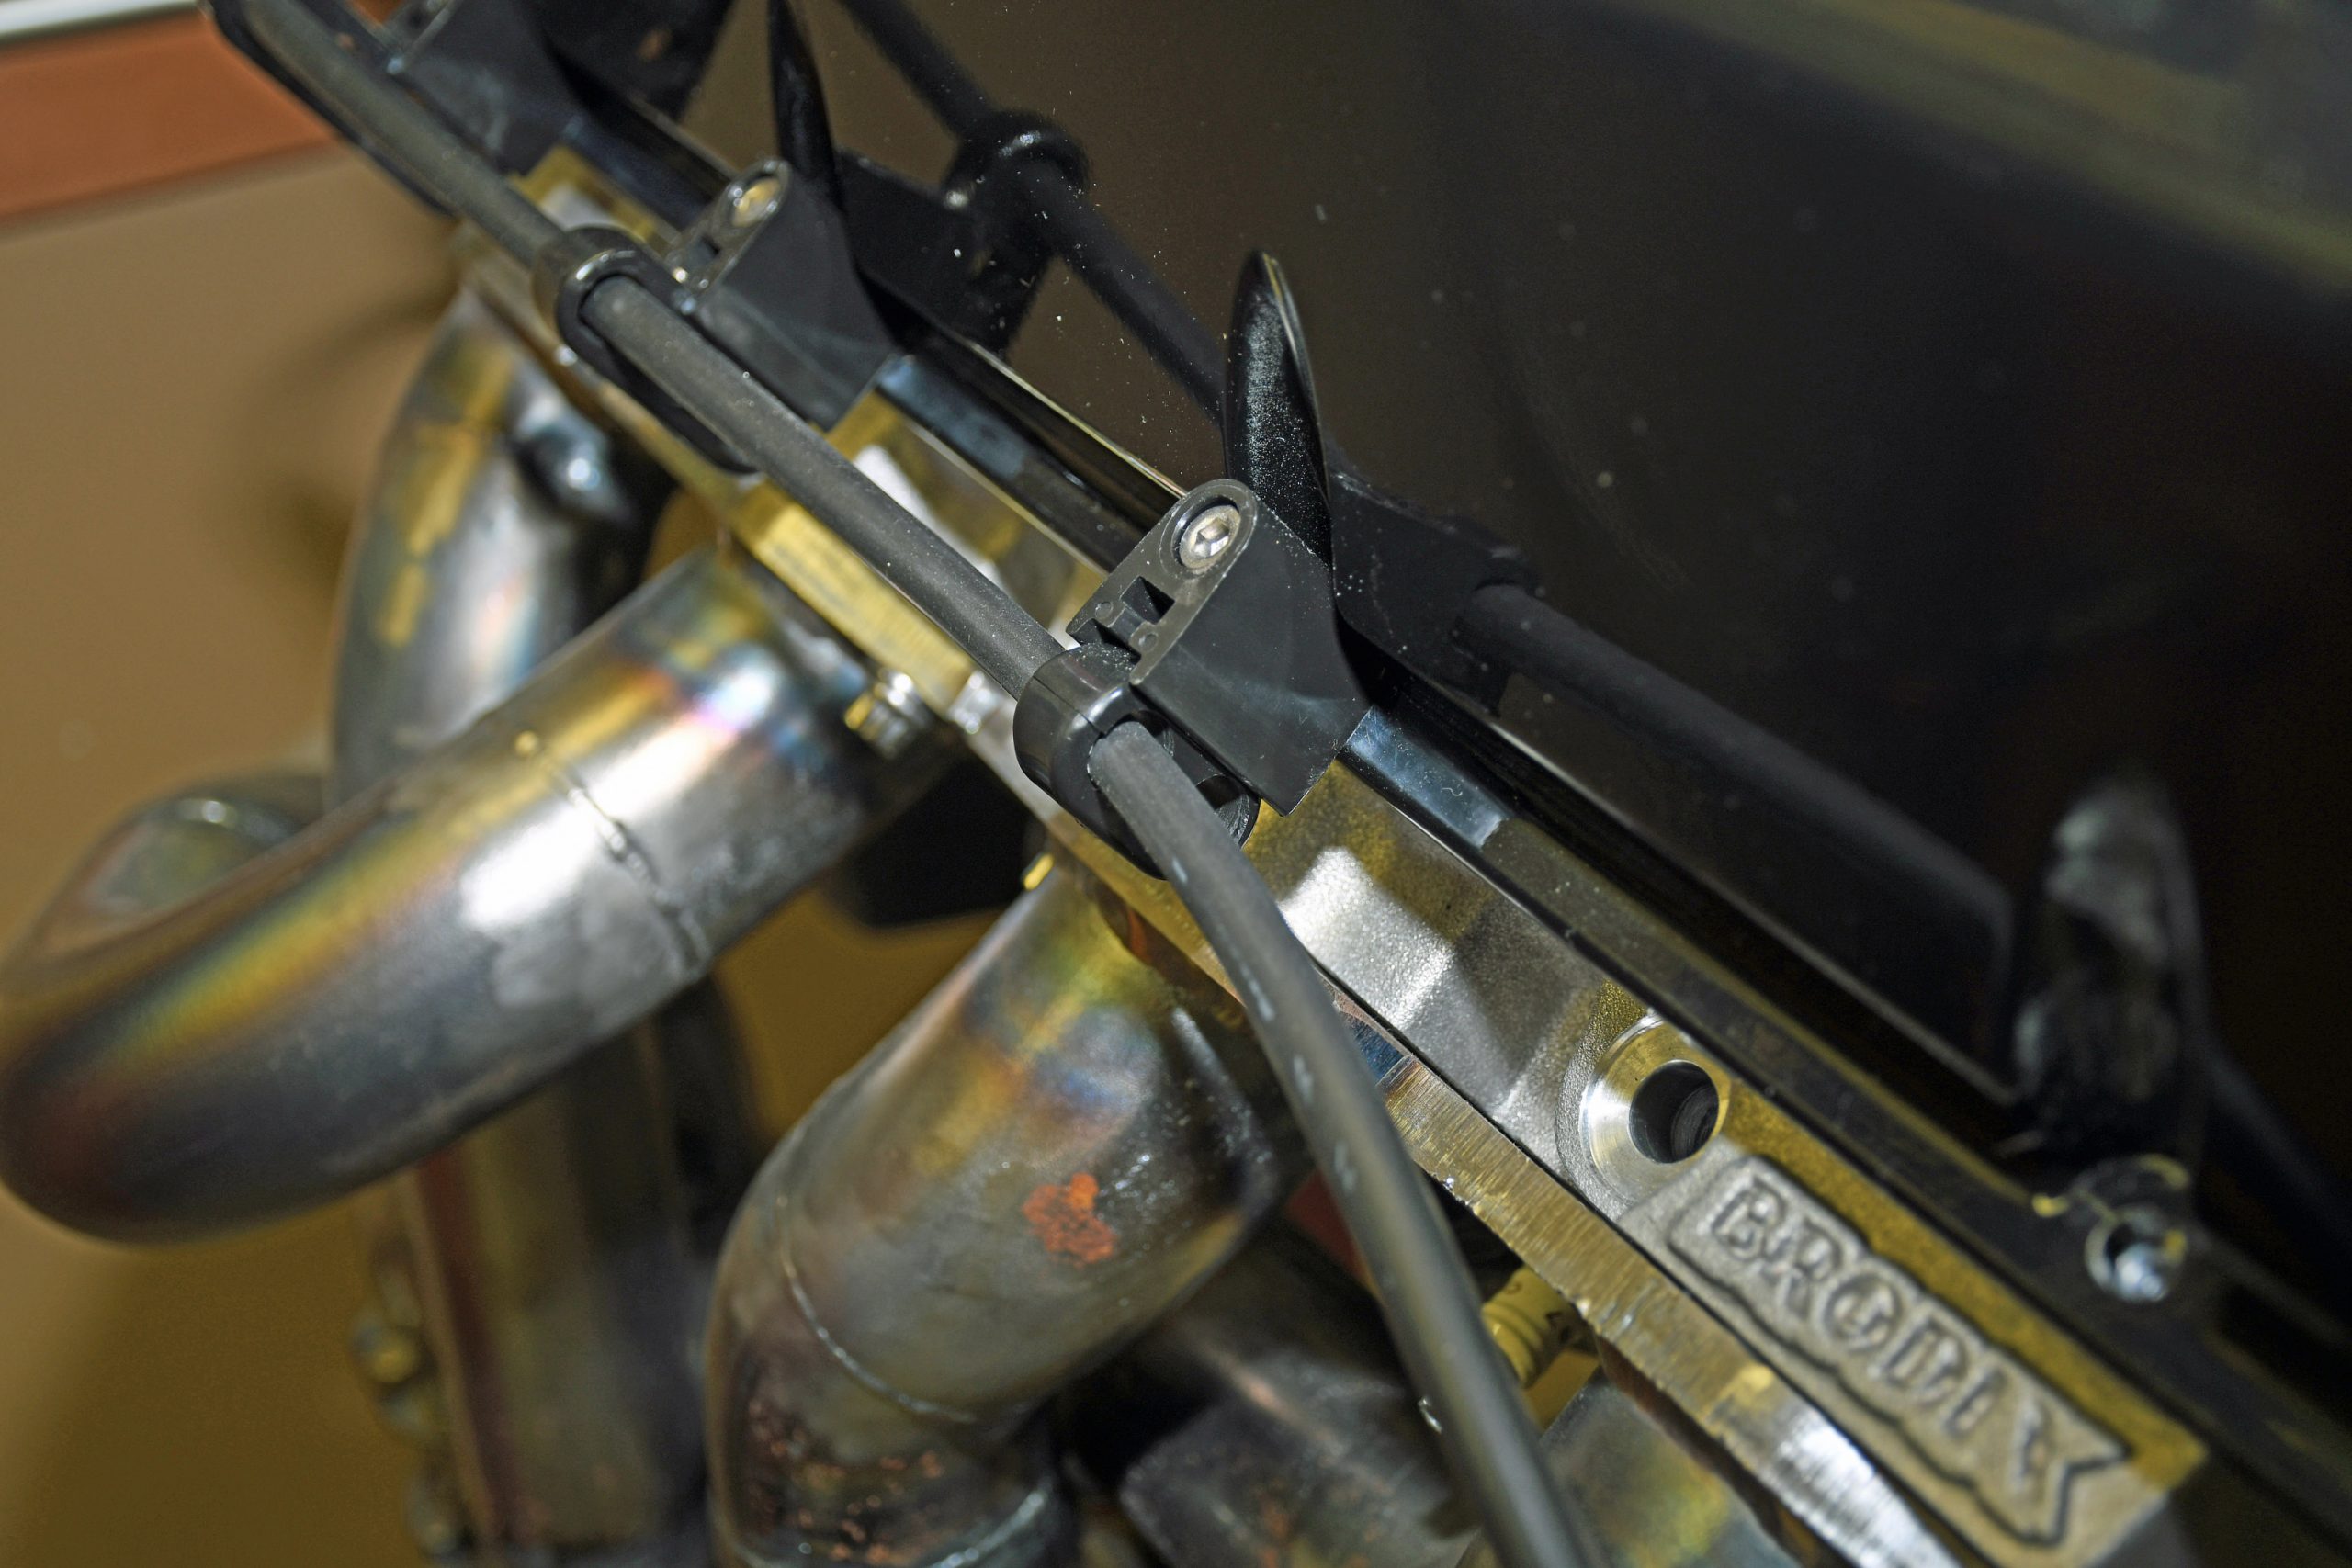
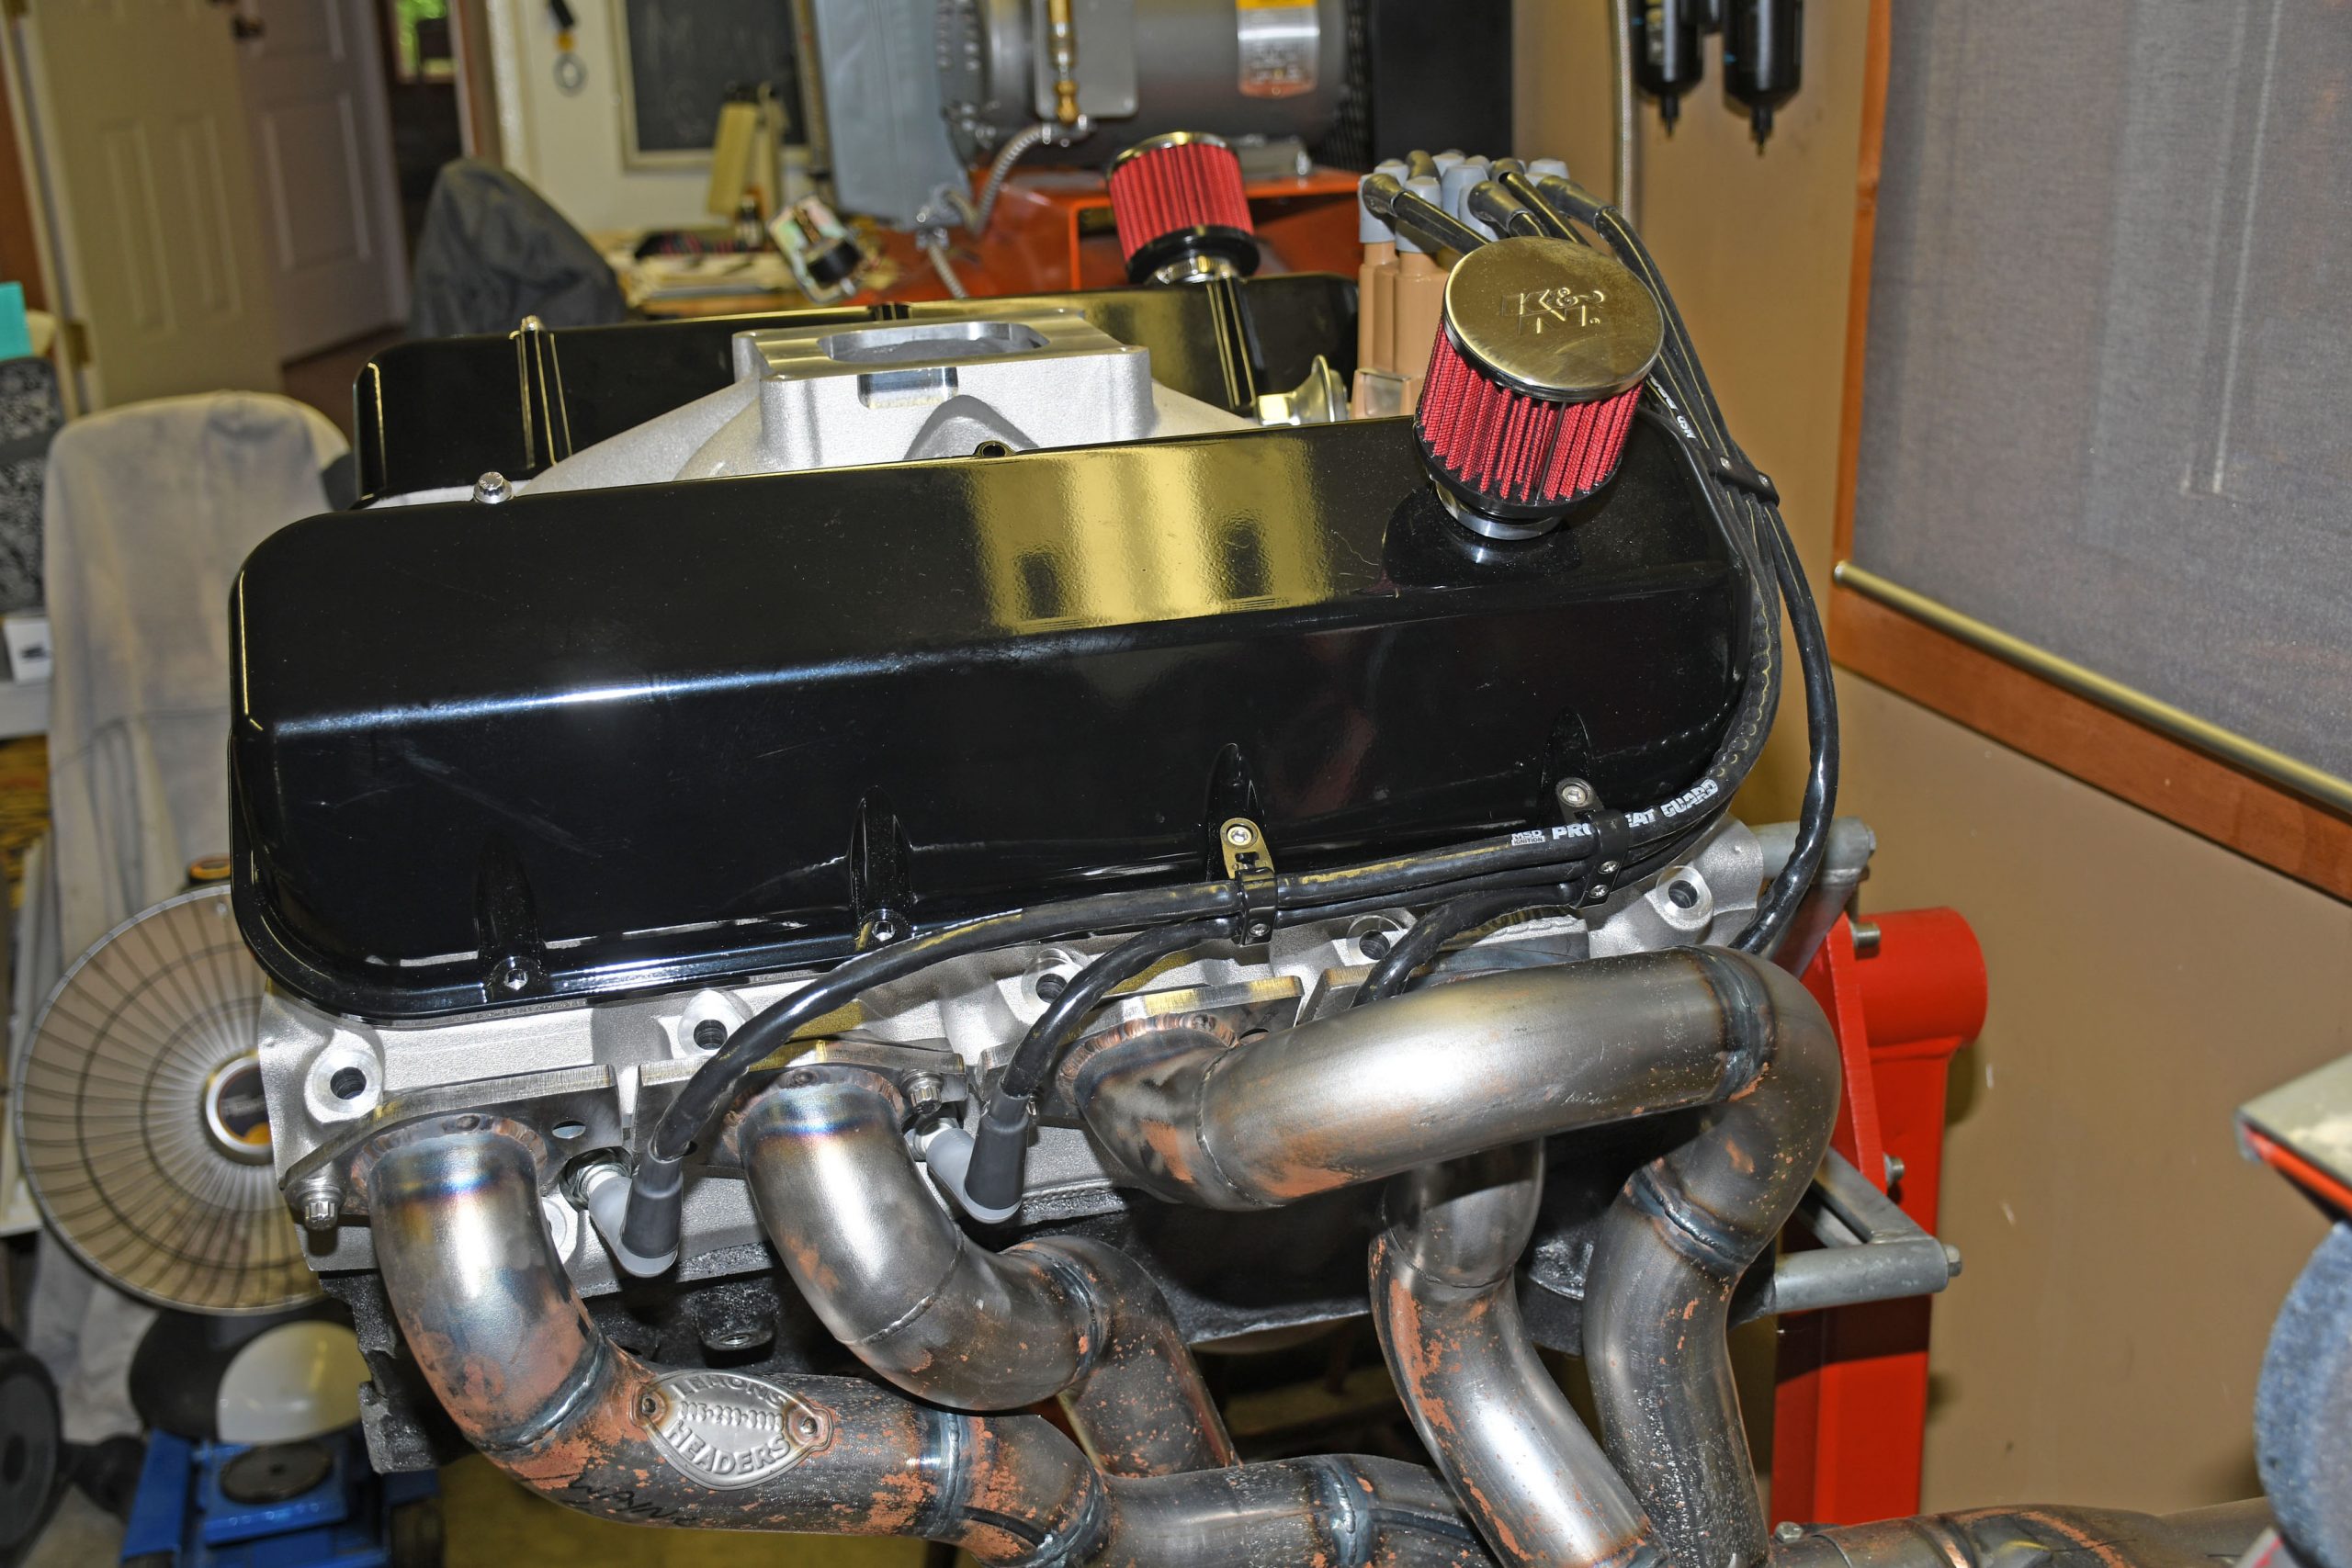
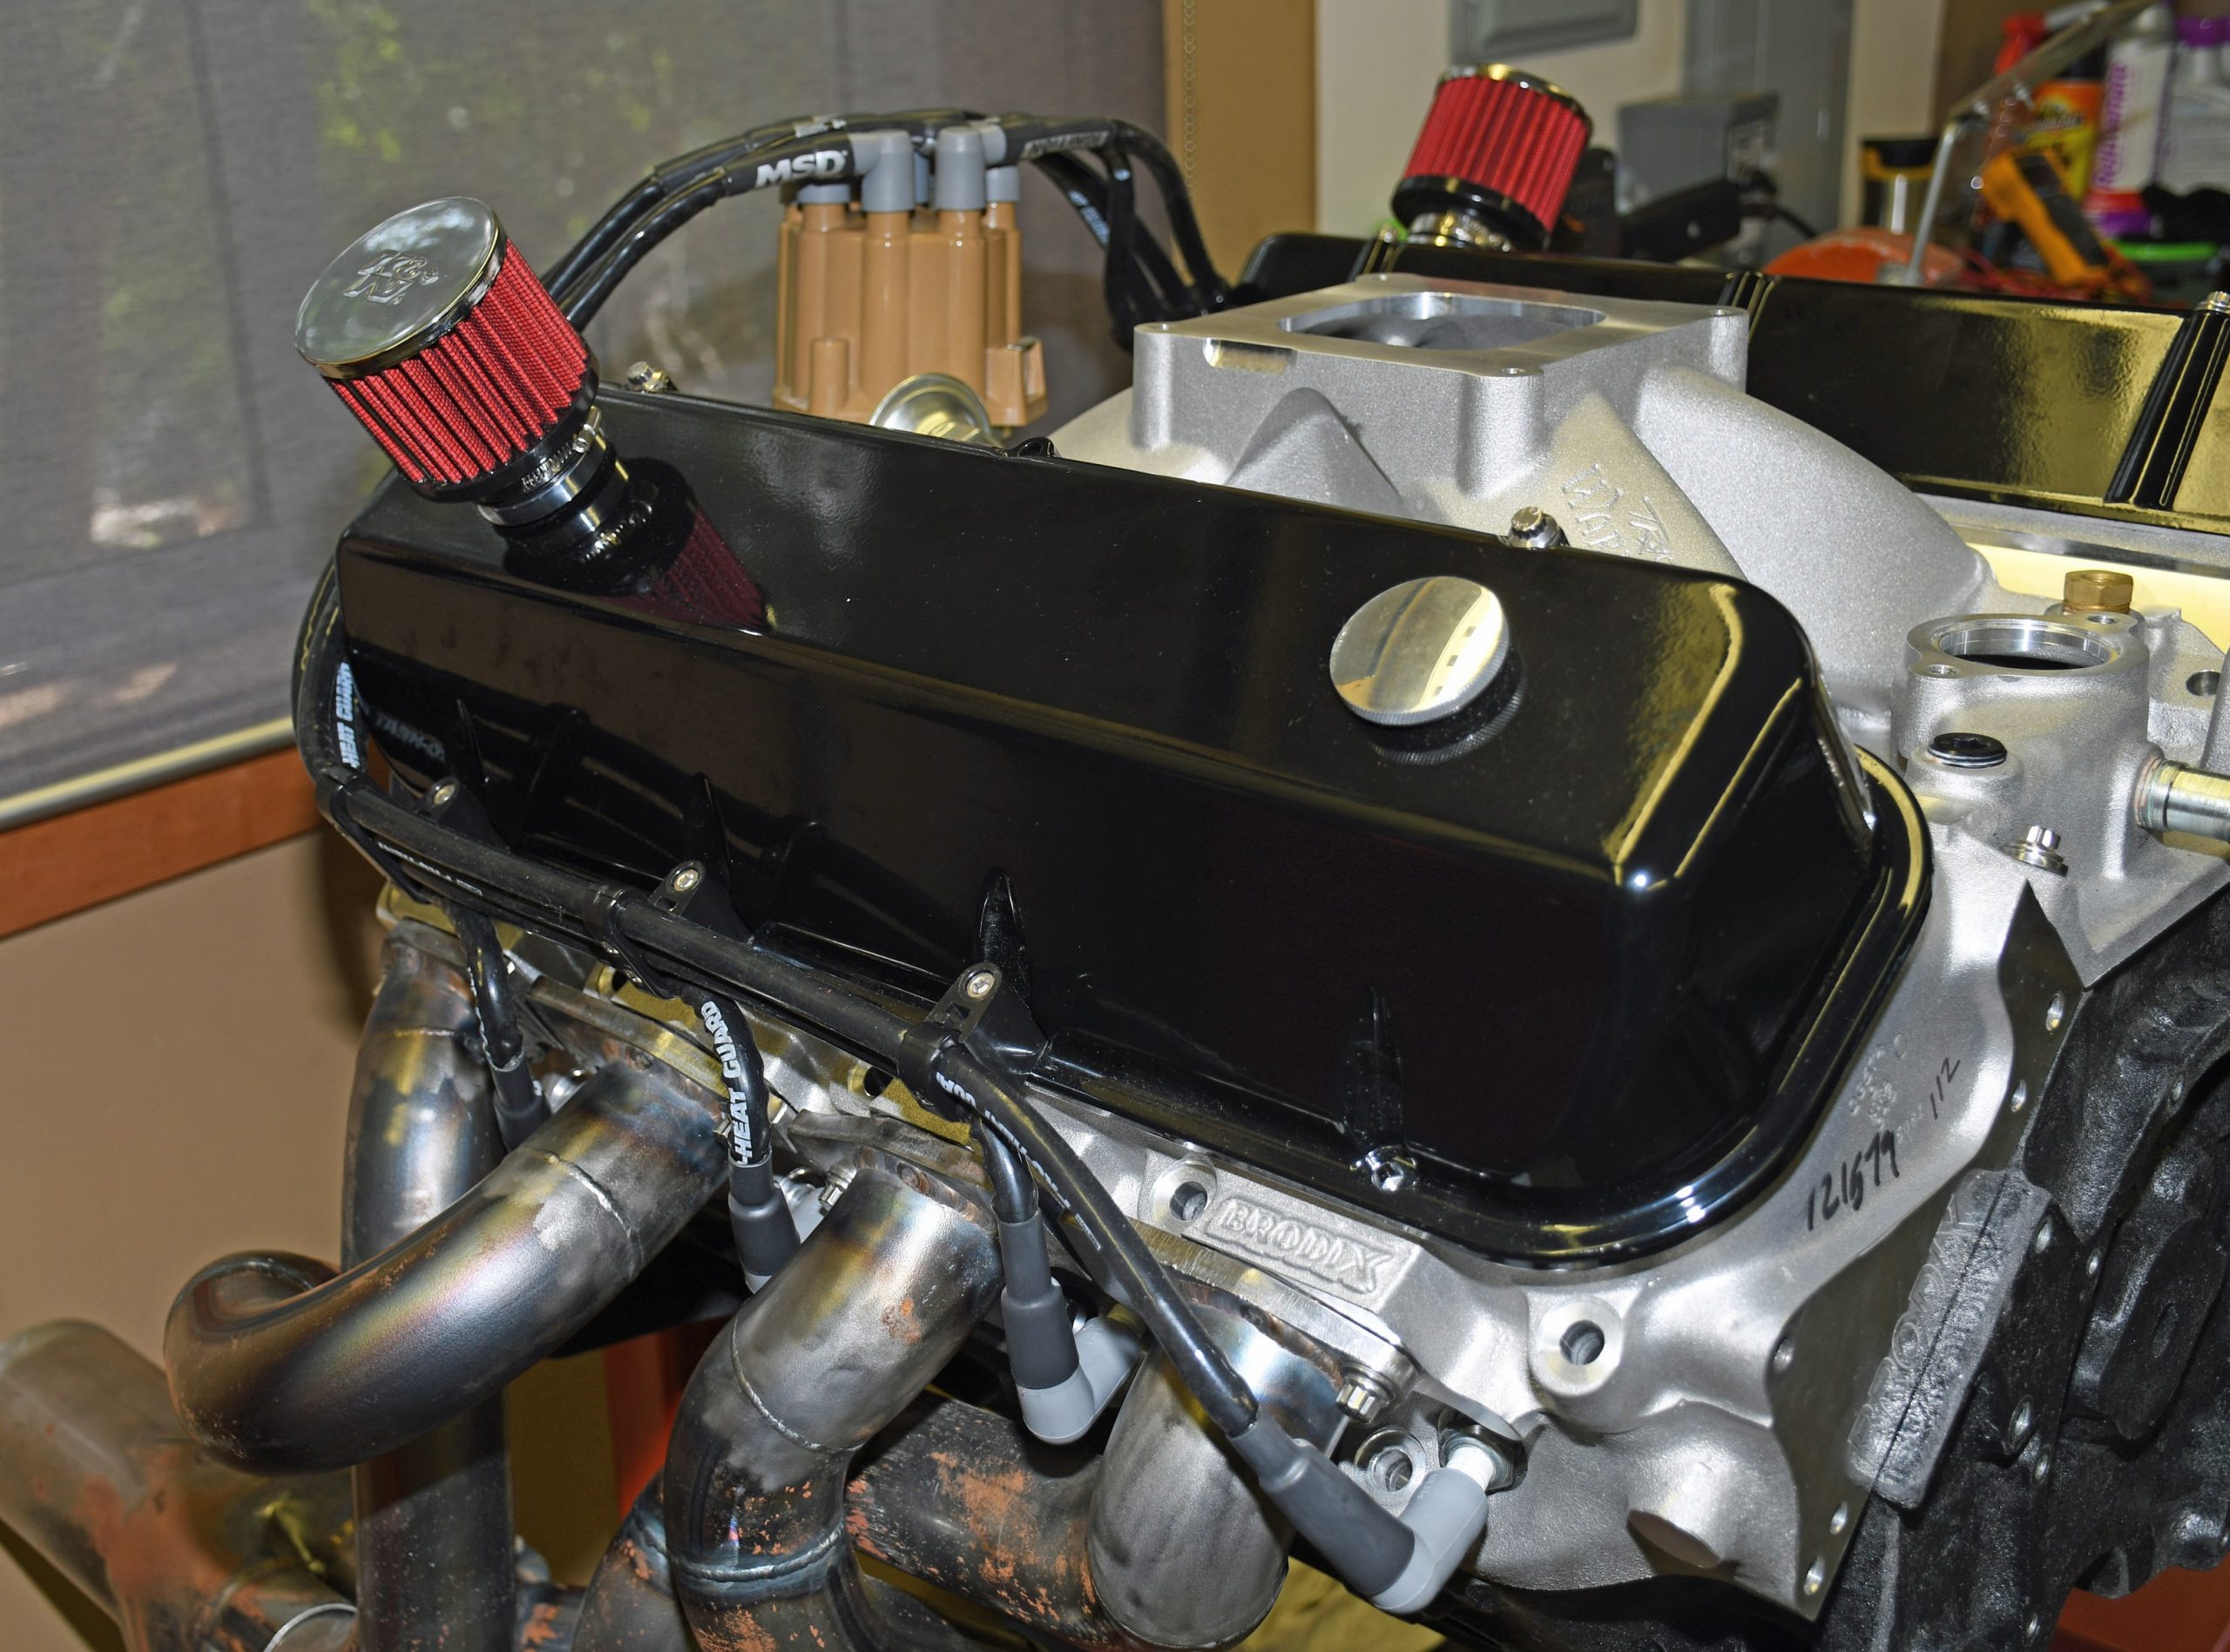
With some engine combinations, you can’t use a full complement (usually three) of wire dividers on both sides. The reason is due to cylinder bank offset, as shown here. Compare this to other images of the passenger side of the engine. (Image/Wayne Scraba)
***
Tip 18
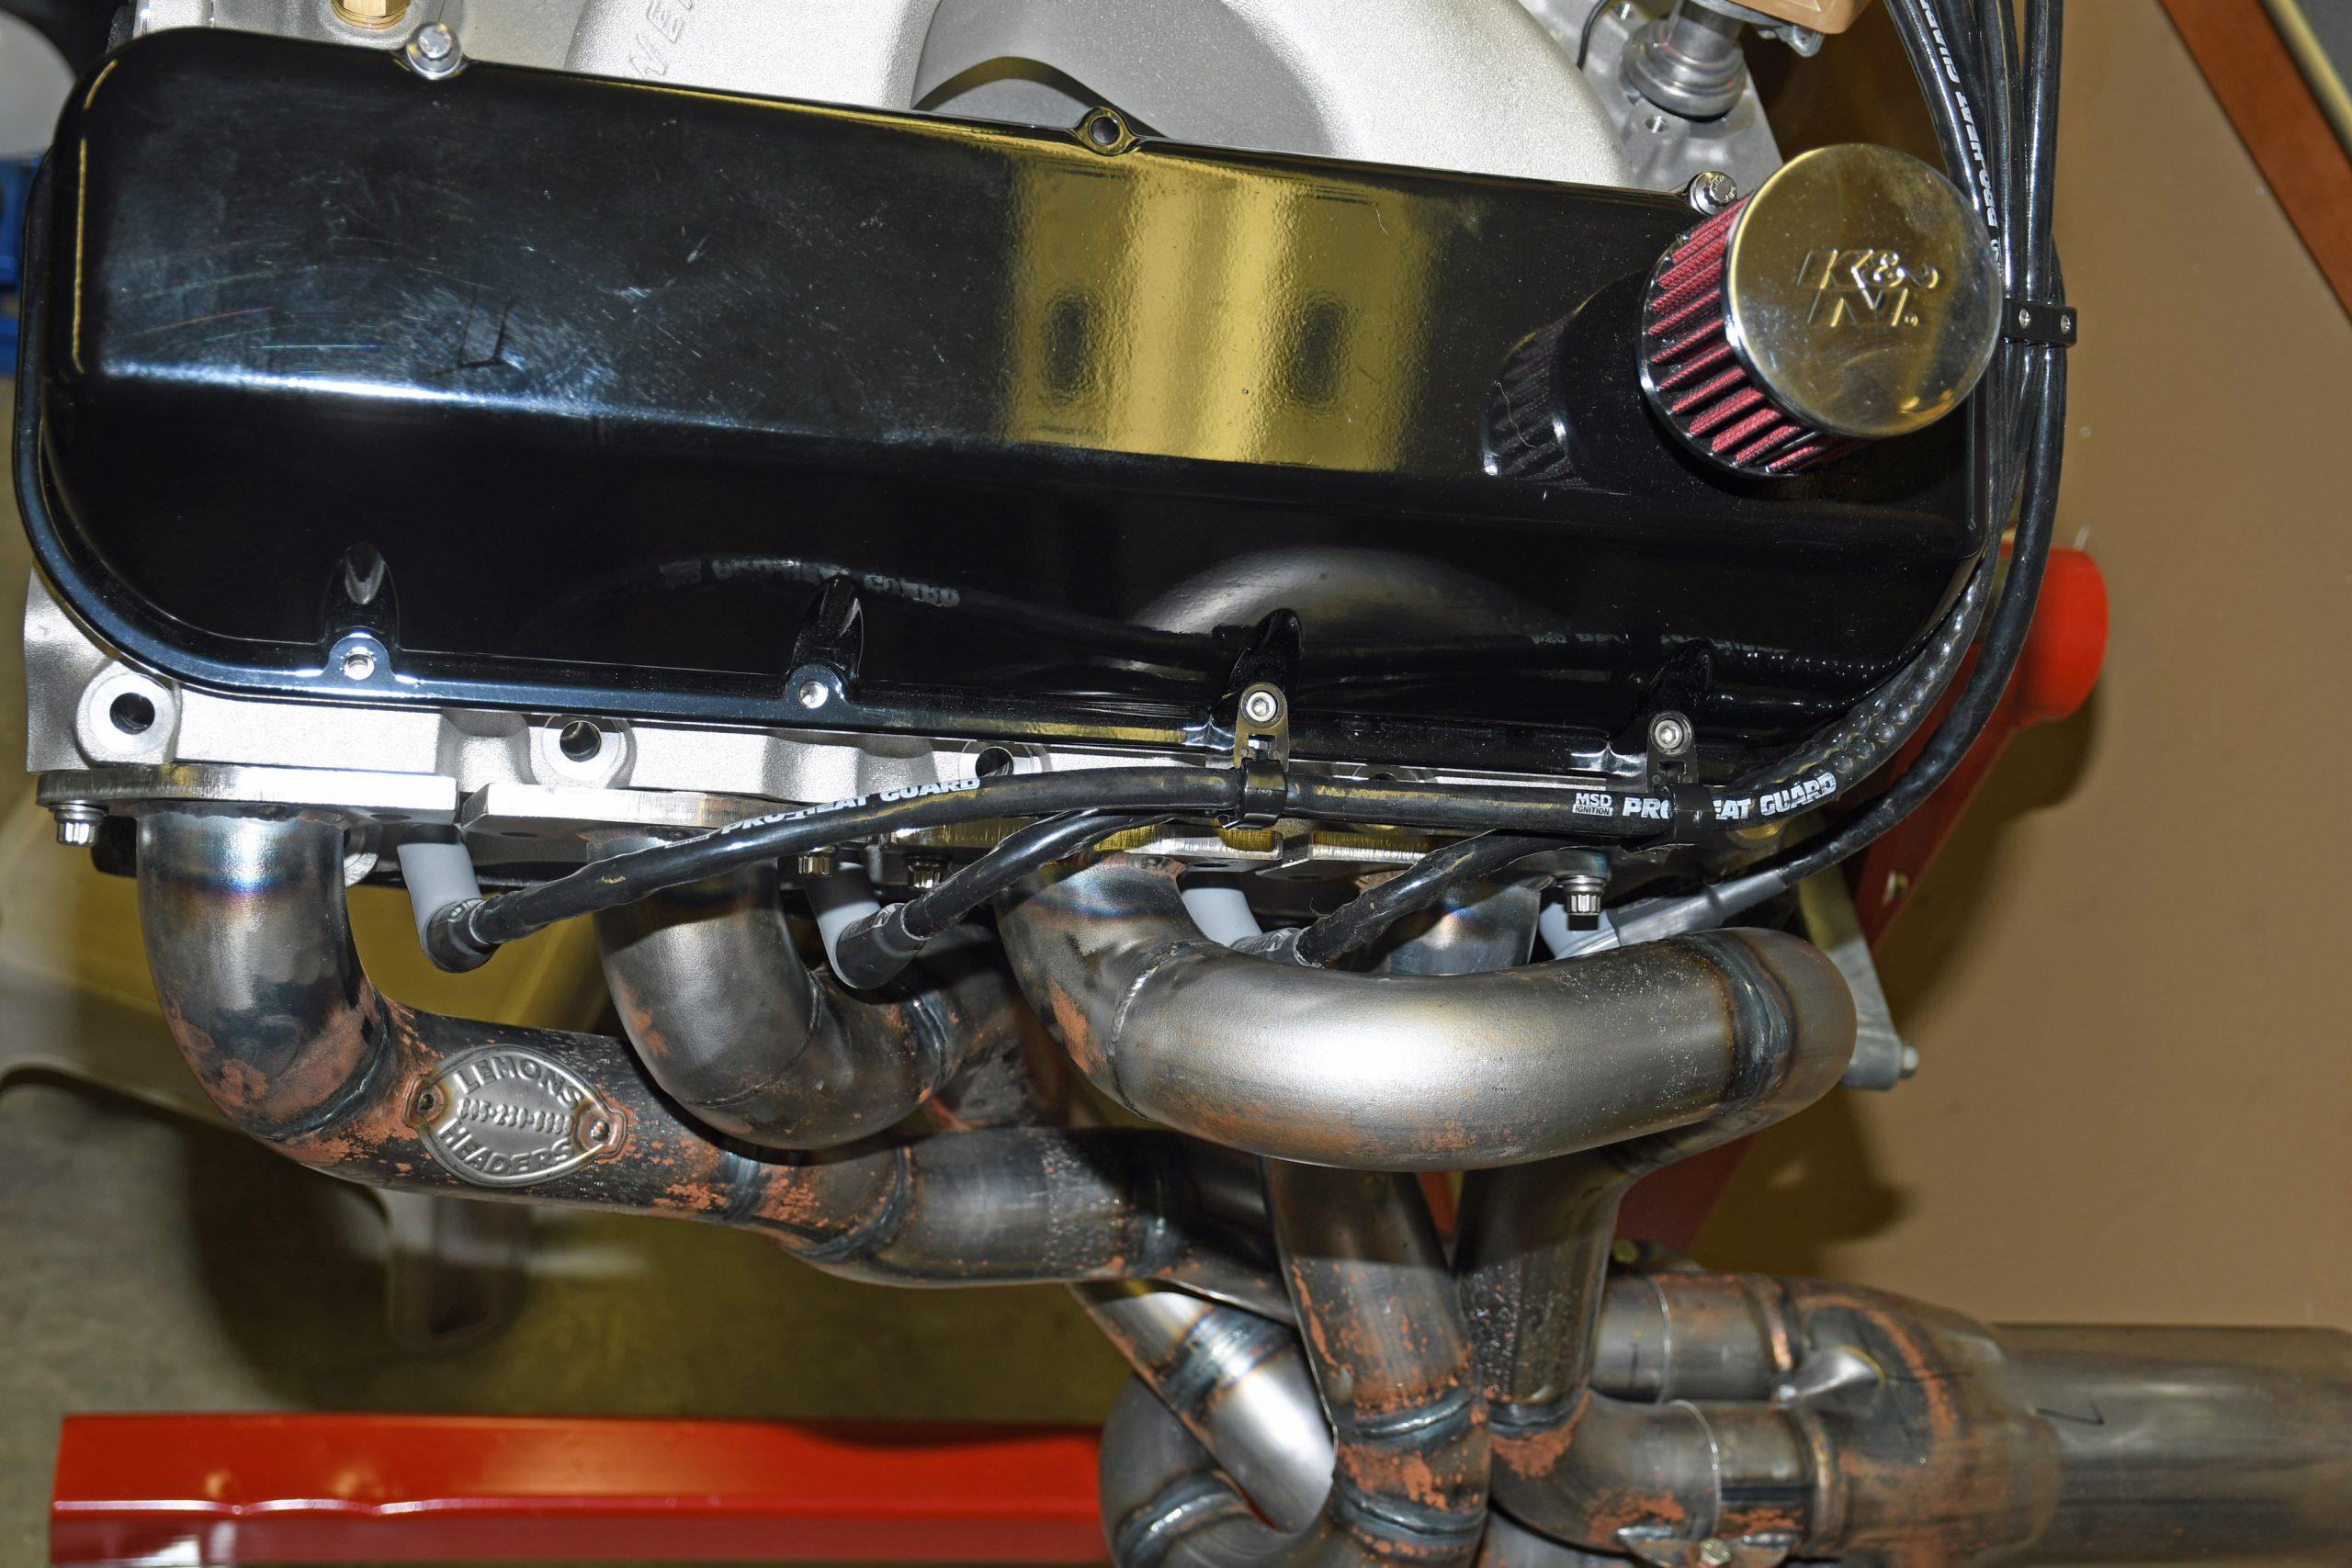
You’ll get all sorts of arguments over this, but plenty of racers (and ex-racers!) prefer to route ignition wires either under the headers (where possible) or behind the valve covers such as this. The reason is, it allows you to remove the valve covers for maintenance (valve lash, valve train inspection) without removing the wires. (Image/Wayne Scraba)
Author: Wayne Scraba
Wayne Scraba is a diehard car guy and regular contributor to OnAllCylinders. He’s owned his own speed shop, built race cars, street rods, and custom motorcycles, and restored muscle cars. He’s authored five how-to books and written over 4,500 tech articles that have appeared in sixty different high performance automotive, motorcycle and aviation magazines worldwide.